
For Steamposium, I decided to paint my nails with a modern Victorian theme. I cut out nail-shaped pieces of lace, and pressed them onto Sinful Colors Rich In Heart. This is one of my favorite colors, one of my favorite colors; a dark gothic bronze. 

While the 2nd coat was still wet, I pressed the lace on top. It looked fantastic! Then, to seal the lace on the nail and smooth out the finish, I added a top coat. This is wear it all went wrong. The color below wicked u to the lace when wet, making the lace look like nothing more than a pile of textured dirt.You can see this look on the thumb of the below picture:  I opted to wear the nails with the lace exposed, which looked great. However, with nothing to protect the fabric, it caught on everything I touched and because torn and stringy within a day. It was so bad that the cashier at the grocery store thought that I had affixed cobwebs on my nails for Halloween!
I think the trick is to use only black lace, so that any wicking of polish doesn’t change the look of the lace. When searching other nail polish websites for lacy looks, I noted that all lace was indeed black. Now I need to get some black lace and try that out!


Tag Archive: Super Shiney

The Central Library in downtown Seattle, a remarkable feat of architecture and icon of Seattle’s literacy, is celebrating it’s 10-Year Anniversary this weekend. I decided to celebrate by doing up my nails like the pages of books!
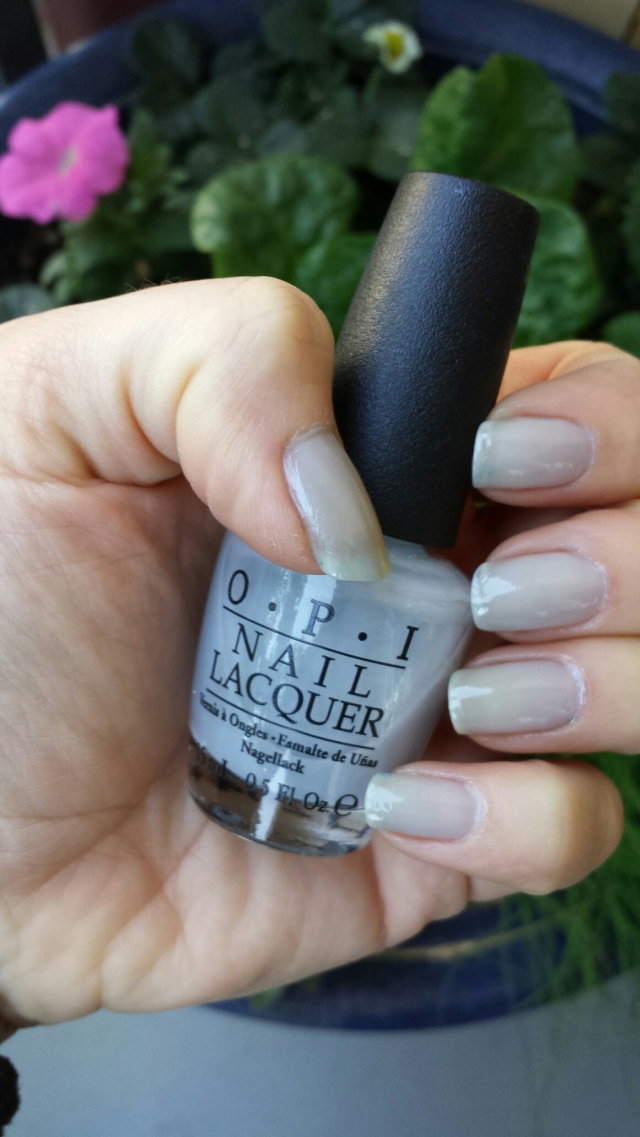
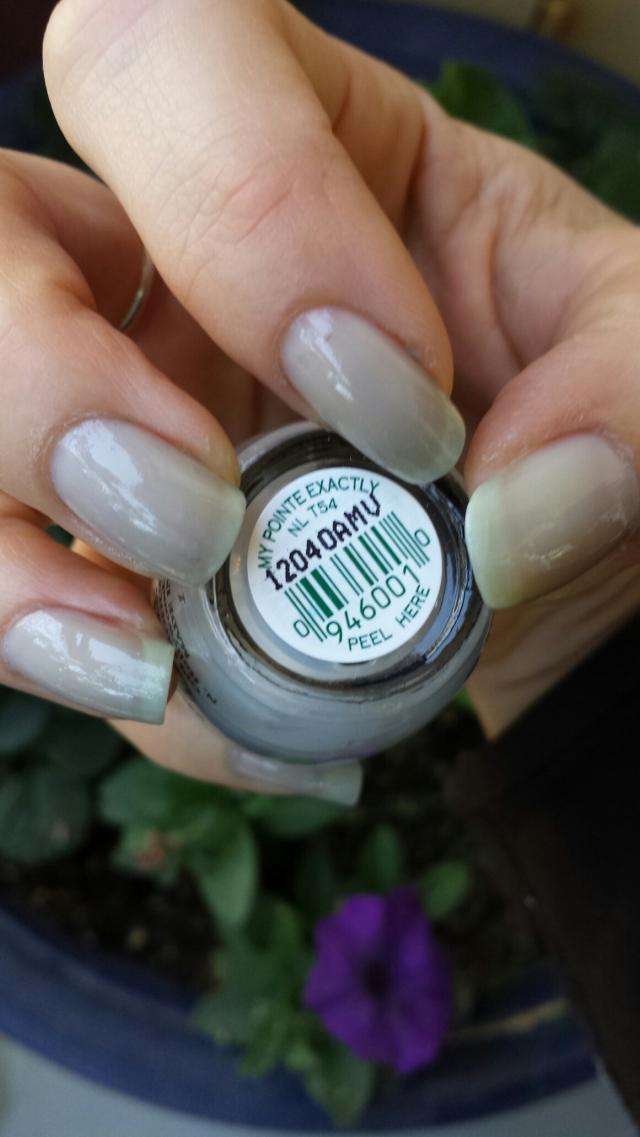
I started with Opi’s gorgeous “My Pointe Exactly.” This is one of my all-time favorite colors. It is an unlikely favorite, since I tend to prefer the bright, bold colors. Something about its pure, glossy tones and ashy greyness that still manages to be clean, crisp and bright. I just can’t get enough of this color! It is very transluscent, and I would prefer it to be a little more opaque, so I put on several coats to thicken it up.
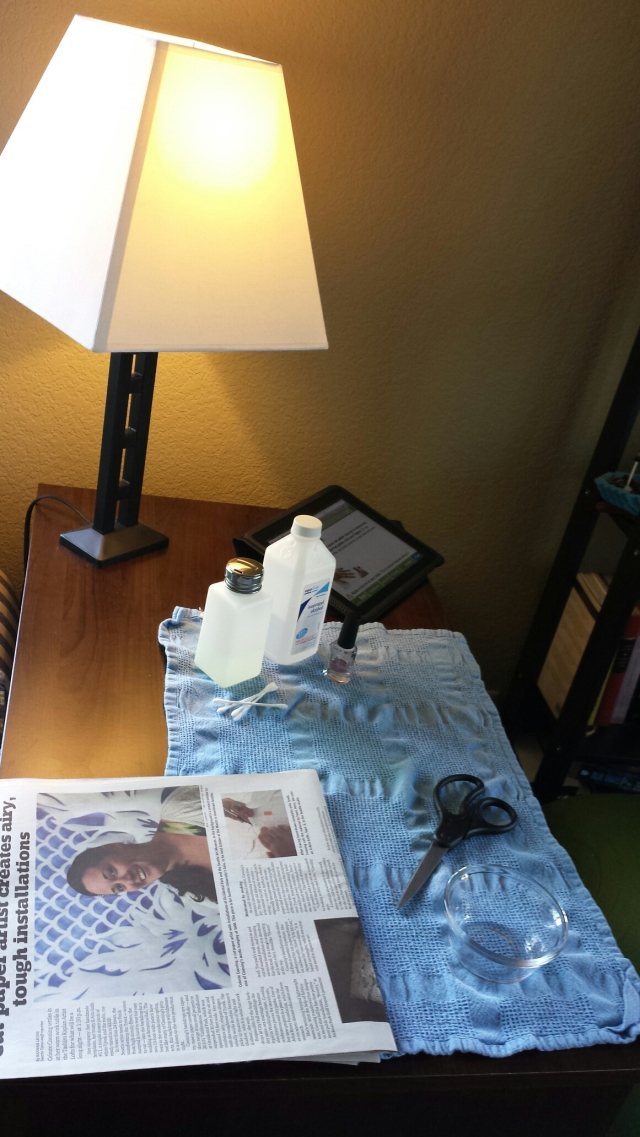
Then I set up a station with rubbing alcohol and a little bowl.
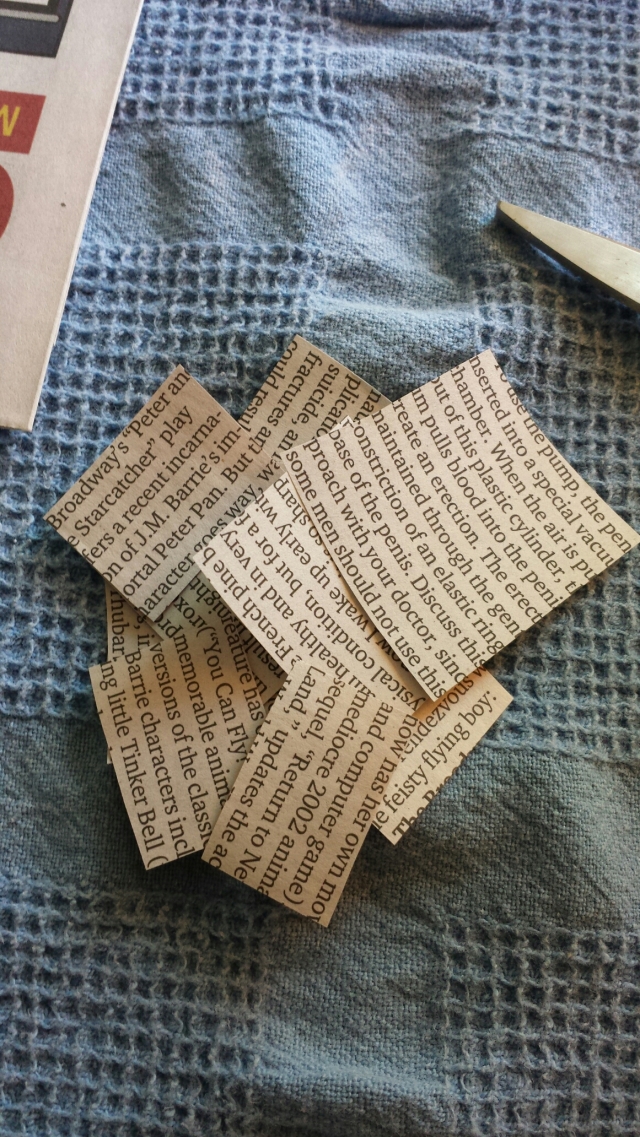
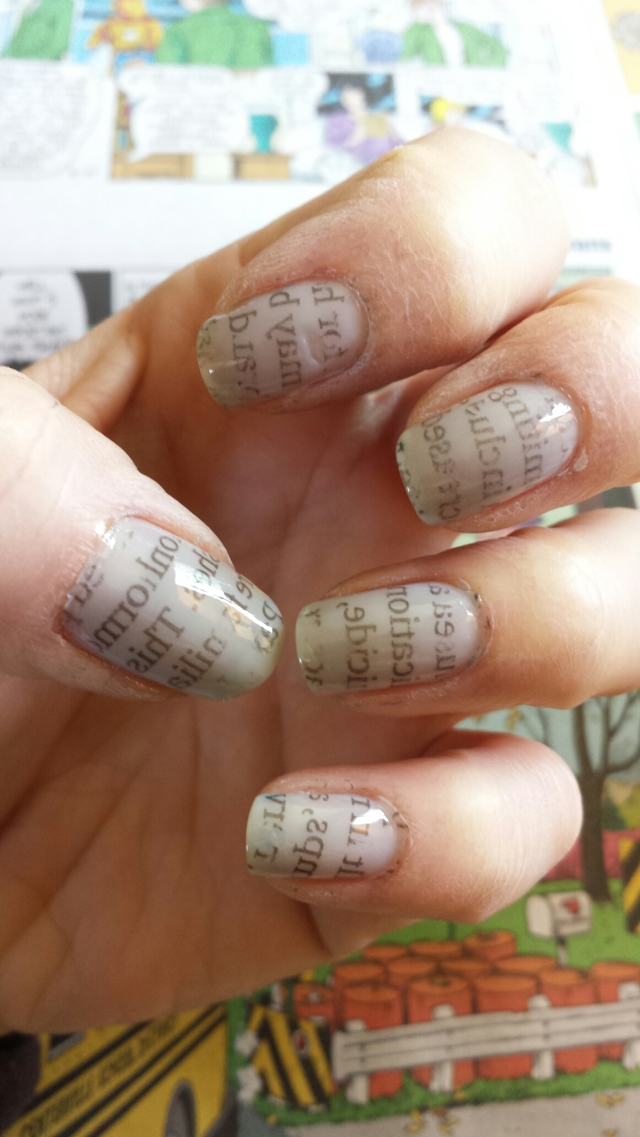
I cut up little squares of newspaper. I followed some instructions online and soaked the nail with dried polish in the alcohol for about 5 seconds, then transferred the newsprint on the same way you would with a temporary tattoo (pressing it to the nail for a minute or so). This gave less than stellar results. You could barely see the transfer on the nail. Perhaps it was that I was using a newspaper that was over a year ol (don’t read a lot of newspapers!).
So, next I soaked the clipping itself in the alcohol for several minutes and soaked my nail for about 15 seconds. Then I pressed the paper on the nail, hard, for about a minute. The results were much better! I tried to redo some of the nails that didn’t turn out so visible in the beginning, but oddly enough, didn’t get much improvement. Even after redos, the left hand overall looked much better than the right. Perhaps my right hand is that much stronger that it pressed onto the nail better? Who knows.
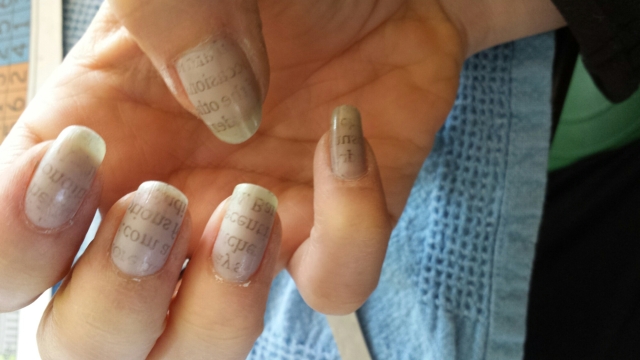
On the photo above, you can the see how the alchol took away the shine of the base color, and how the left hand just didn’t turn out that well.
What I do know is that I am quite pleased with the result and will be experimenting a lot more with this effect! I added a lot of top coat to help seal in the effect. I’d like to try this next time with my matte top coat to make the nail look more like paper.
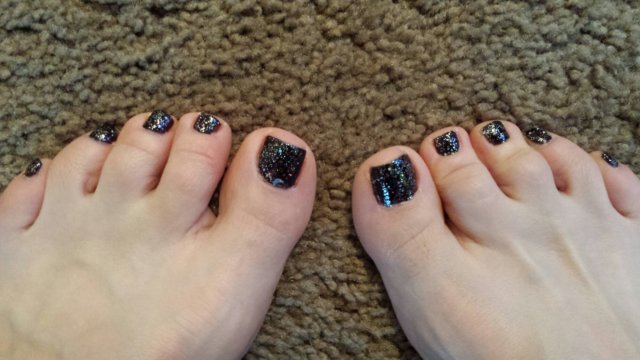
I couldn’t resist trying out one of the new jewel glitter polishes from LA Colors that the boy’s mom got me for Christmas. I tried it on my toes, and I love the unexpected holographic effect so much that I can’t wait to try them on my manicure. I seriously can’t wait! I used a black base, Sinful Colors in inkewell. The effect is totally dimensional. I was expected just a glittery overcoat, but this was quite nice.
I tried a different polish I got a long time ago that is a celestial confetti. It is the same color as the LA Colors, and I thought if they were both kinda sparse, they’d go well together. That is the little moon you see on one toe. Turns out that stuff is way too sparse. The LA Colors looked this good with just one coat.
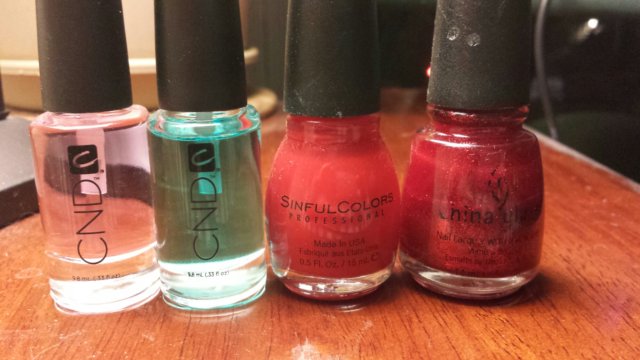
I took a Sinful Colors red and added a China Glaze sparkly red tip. It looks great in person, but I am having a hard time capturing it in an image. I used the CND base and top coats again, and do seem to be getting longer life out of my nails now. The following photos were taken about 3 days after they were painted. You can see wear on the edges, but it’s not too bad.
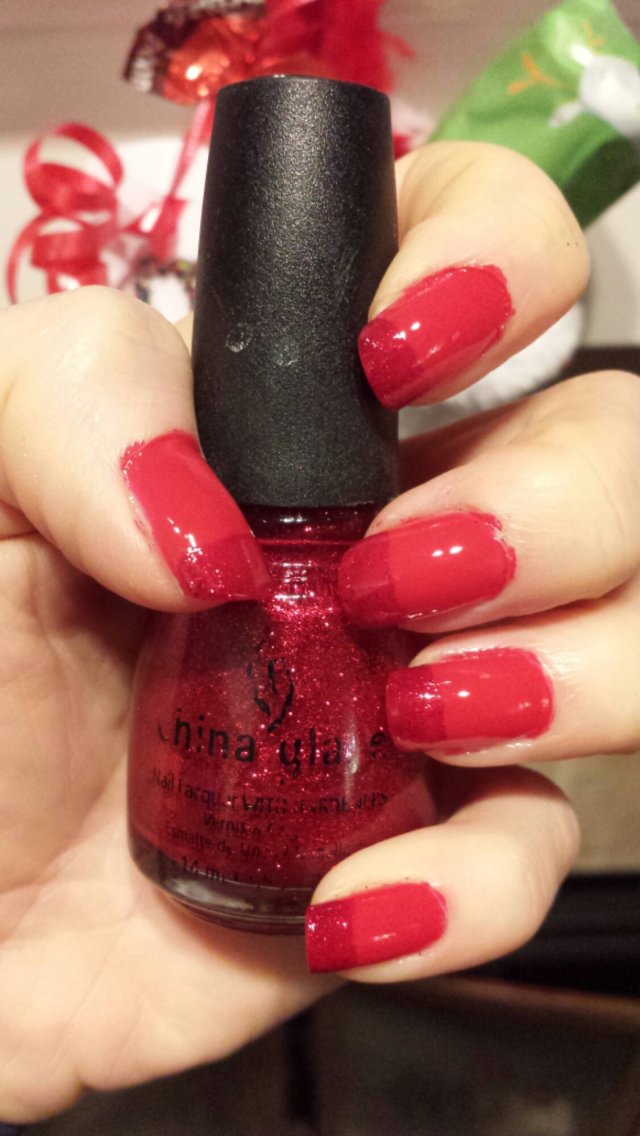
So I think you can actually see the difference best in this photo.
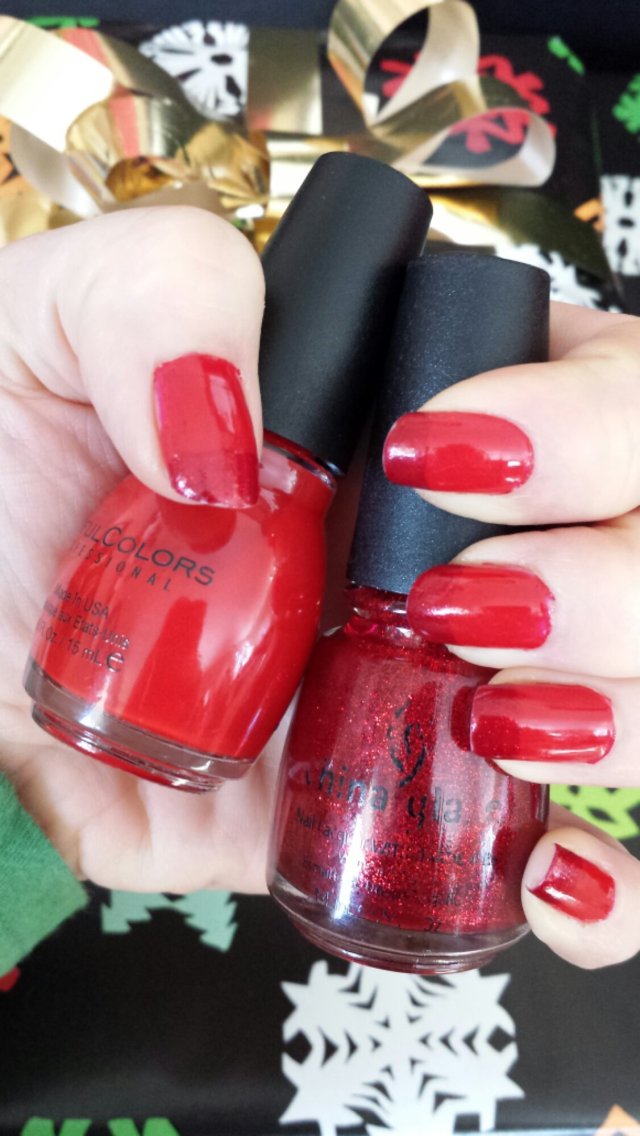
This image was taken inside, a few days after the manicure. I am shocked at how poorly it came out. You can hardly see the definition between the shiny red and the sparkling, glimmering tips. I swear they look amazing!
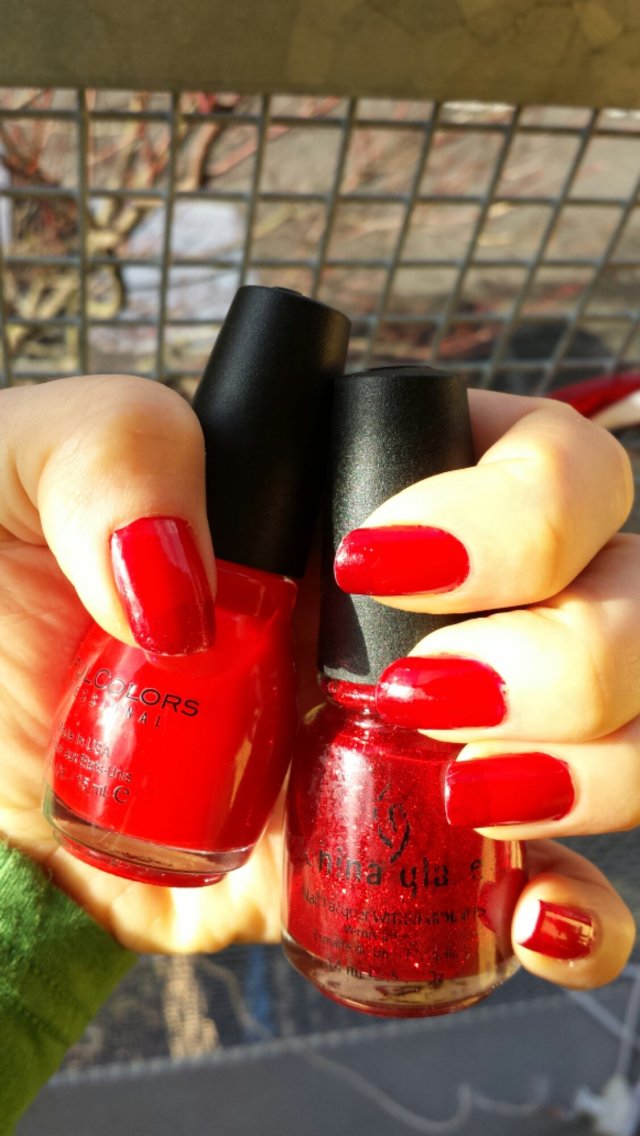
This was taken outside. I thought it was funny how much the tone of the reds changed in the light.
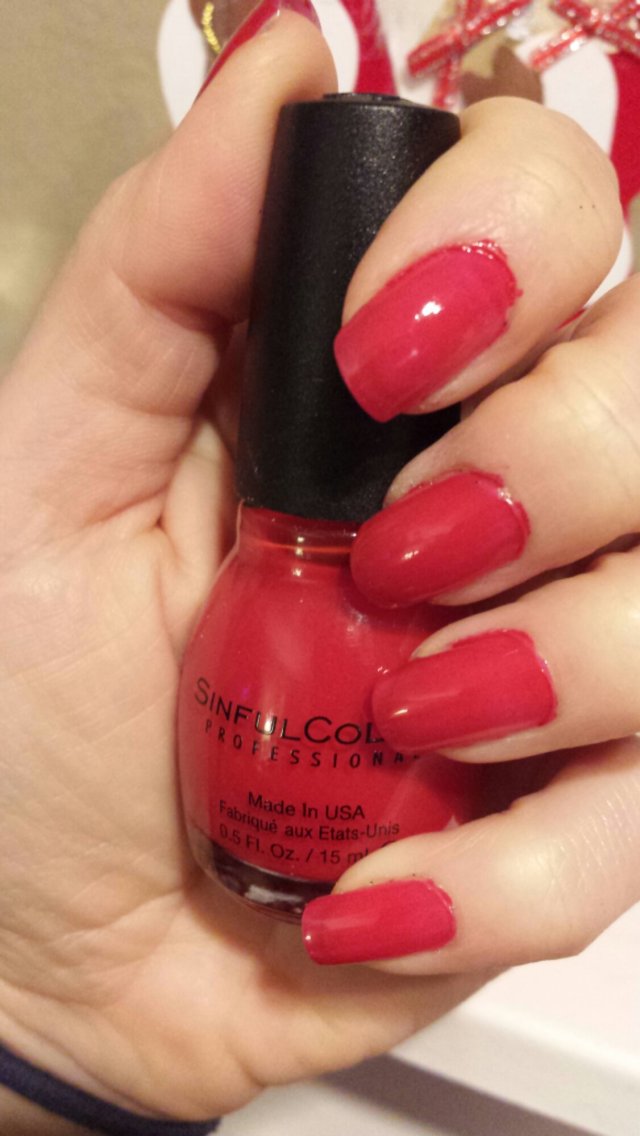
Above is the red before I added the shimmer tip. I have really been liking the glitter on the tips only lately. Glitter takes so much time to remove, so it’s a lot easier to just do it on part of the nail.
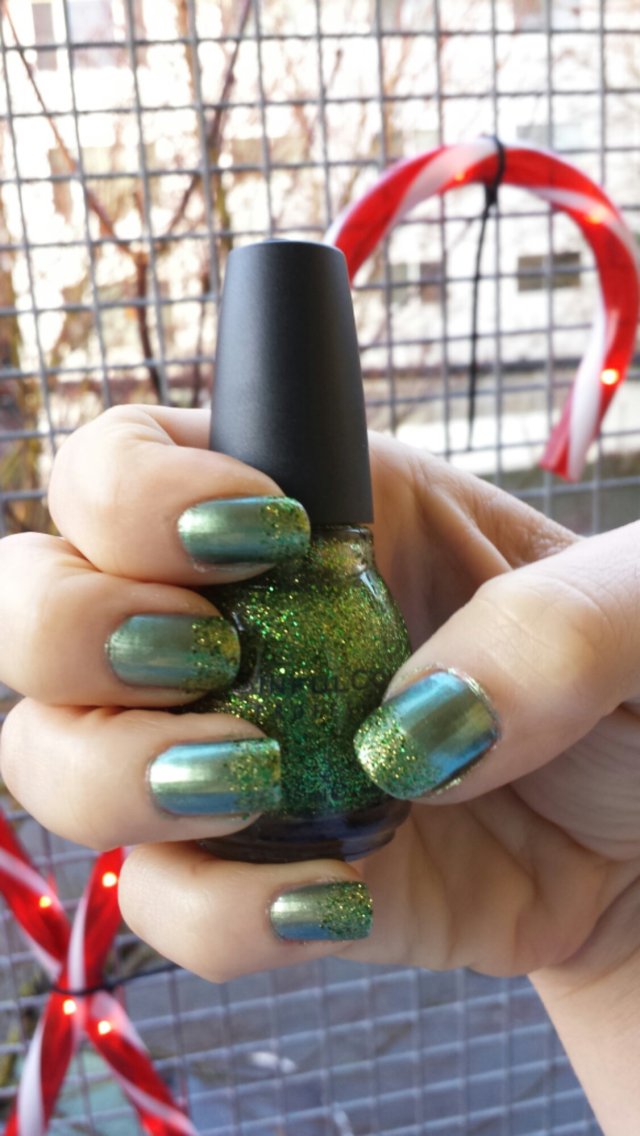
Today I used Sinful Colors Professional in “Call You Later 932”. It’s a green and gold sparkle with a great name. I layered it on top of Maybelline Color Show Holographic (which really isn’t that holographic) in “Mystic Green 25”. I used the uber-expensive CND Stickey base coat and CND Super Shiney TopmCoat. After a few uses, the CND seems to keep chipping back by 2 or 3 days. I am taking polish off after a week and having it not look desperate. That still seems too short, but it helps.
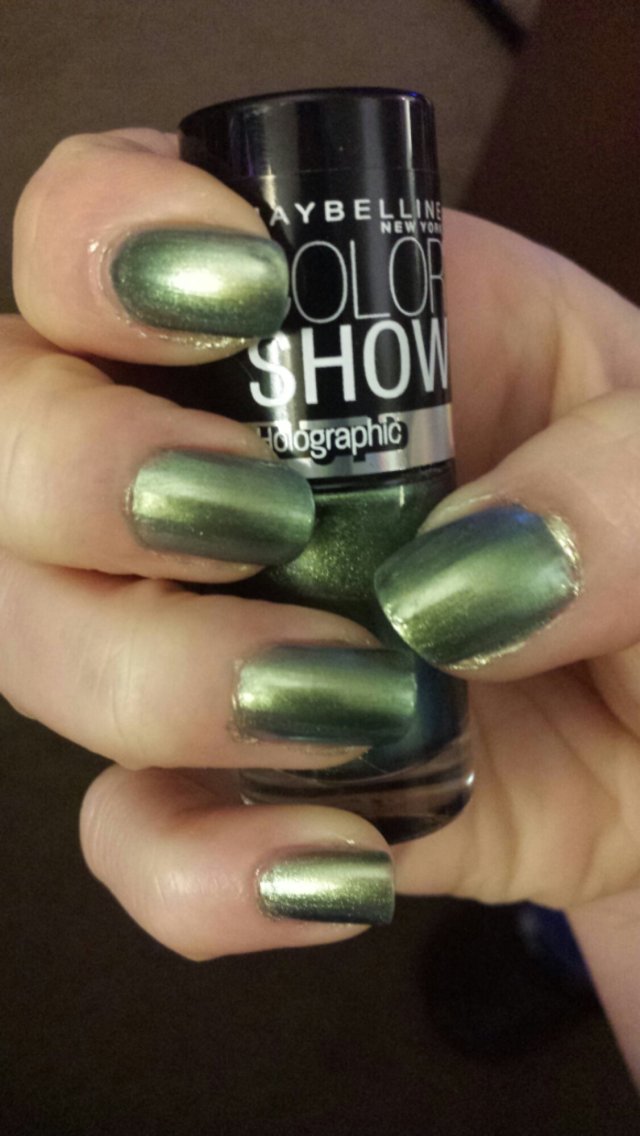
This is the first installment of holiday nails. I have 2 weeks to go, so I am going for one week of green and one week of red instead of combining the 2 colors like I usually do. I am feeling more subdued this year.
 This week’s manicure started out with CND Stickey base coat. For the base color I used Sinful Colors in #214 Fiji. This is one of my favorite colors, and the polish was difficult to use because the bottle is almost empty. I then layered China Glaze Crackle Glaze in 1045 Latticed Lilac. I used CND Super Shiney top coat.
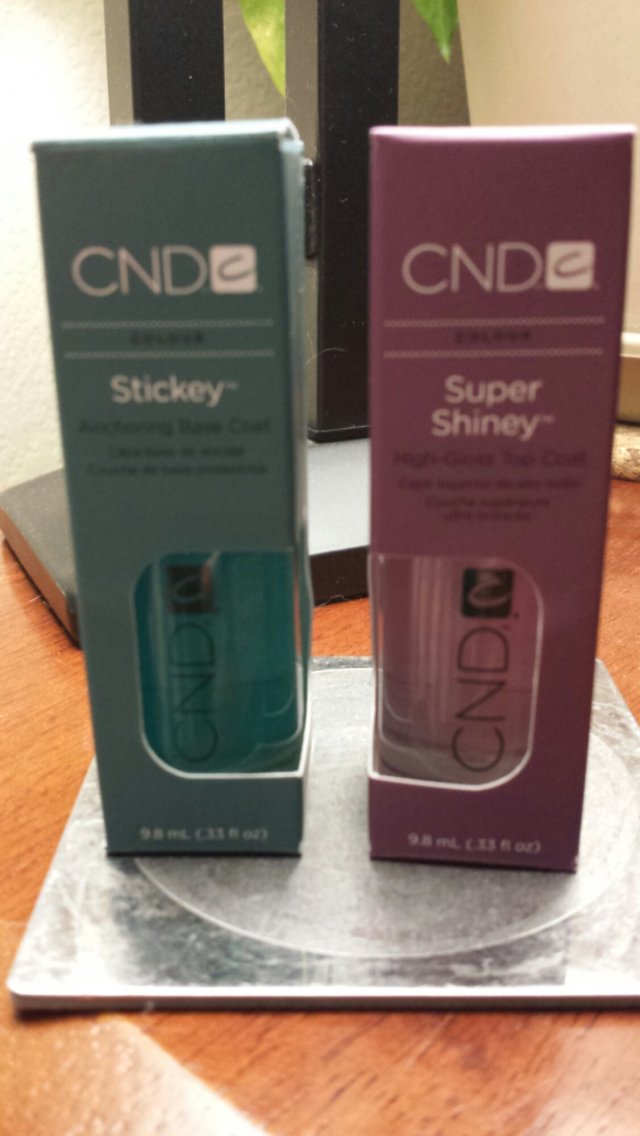
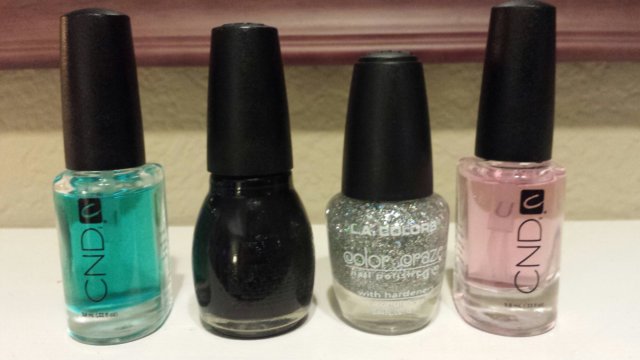
The boy convinced me to buy some obnoxiously priced basecoat and topcoat. He suggested that getting something really fancy might significant extend the life of my manicure. I was sold. Could it really keep my nails from chipping? I am dreaming of the lasting power of gel nails. I applied it tonight. I went to Ed Wyse and went with the employee’s suggestion. I got CND colour Sticky Anchoring Base Coat. Since I have over 70 colors of polish, I am not in a place to switch to gel polish or another proprietary system that promises to last. This one claims to work with other polishes by creating a sticky base that bonds to the color. It went on easy and even. I added 2 coats of polish immediately, before the sticky had time to dry. I finished with CND colour Super Shiney High-Gloss Top Coat. It claims to be “a super-hard, high-gloss top coat that seals and protects nail colour.” It didn’t shine up my nail nails as much as other high-gloss topcoats I’ve tried, but it was shiny enough.
The colour (ack, thanks to this brand I am fluctuating between American and European spelling!) I used was Sally Hansen Lustre Shine Nial color in 008 copperhead (see next post). Check back to find out how well the CND performed!


