

Today I didn’t feel like doing anything I needed to be doing. You know, running errands and paying bills and other things that I am just tired of doing. Well, maybe if I spend the morning painting my nails and making them looking fantastic, then I’ll be justified in not doing anything at all! Yes! Maybe, if I make them look really good, I can get away with not exercising today! Deal!

So, I was inspired by the thought of argyle socks and World Cup fashion. Not that I pay attention to world cup fashion, or have any idea of what that would actually be, again, it’s just sort of a hint of what came into mind with an inspiration. This was a 6-color job. I started out with my usual CND Stickey Base coat, which I really use with every manicure, even though I don’t always mention it. Then I went to Essence Color and Go in 145 Flashy Pumpkin. I wore it with just that one coat for a day to make sure I had a solid base. Then I added a corner stripe of Essense Color and Go in 133 Oh My Glitter. Doing a stripe along the corner of the nail to the top edge of the nail at an angle was MUCH easier to do than the straight top french manicure style. MUCH easier! Then I added the opposite angle of Island Girl Color changing polish in whatever color they call it. It’s a grass green that changes to a bright yellow.

Then it was time to add the striping tape. My pack of Stripe ‘Em nail striping tape includes 10 colors. One of them was white.

This time, my second time applying the stripes to the nails, was much easier to do than the first time. The first time I was very conscientious of the amount of tape I used, and tried to line up one end of the nail to the end of the tape each time. This time, I threw the concept of waste to the wind and first pressed the tape onto the center of the nail, allowing a little to splay over the edge of each nail on both sides. After firmly pressing down on the tape all along the nail, I cut off both ends with tiny swiss army knife scissors. This was fast and easy, and allowed me to quickly apply 3 stripes to each nail.

I played around with the patter that I applied them in, doing some with two on this side, and two on the other side. On some I lined up a strip with the purple stripe and on others I lined up the strip with the green stripe. However, on all nails I stayed consistent in that I always used 3 stripes and that each time I made an x and each time aligned with one of the color triangles.

It was pretty cool to see the contrast of how matte the the green is in comparison to the other colors, which you can see a little bit in the outdoor photo pre-stripe, but can see better in the indoor photo pre-stripe.

As soon as the stripes were on, I slowly applied 5 coats of clear polish and then a layer of CND Super Shiney top coat. I hope this manicure lasts longer than my last striping job!

Tag Archive: essence

 I love holiday-themed nails and I wanted to try my hand at my new Muse nail art pen for designing jack-o-lantern images on my nails. I tried this pen once before, and found it to be easier to draw precise lines than any other Nail art pen I’ve tried. It has needle-thin applicator and squeeze bottle that allows for a steady flow of polish. Sadly, my designs still looked childish when it was all said and done. So, I had to improvise.
I started out with Essence Colour and Go in 145 flashy pumpkin. What a fun color!
Then I tried to make Jack-o-lantern images with the pen. As you can see, they didn’t turn out so great.

So I worked over the images with Sinful Colors Professional in 1130 Inkwell. I realized pretty quickly that I needed to use tape to mask the polish. If I had more time, I think they could have turned out quite well. I would like to spend some time cutting a jack-o-lantern toothy smile out of tape. But, alas, work beckons, so that will have to be for another day.
It turned out okay. Not totally jack-o-lantern like, certainly not professional looking, but I did achieve the look of holiday nails. Halloween is, after all, the best holiday ever.

Share this:


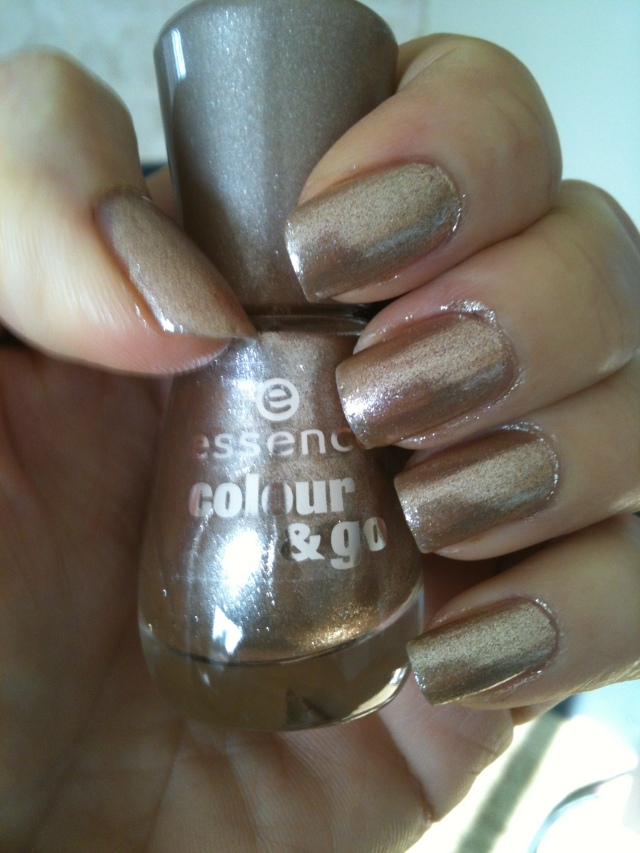
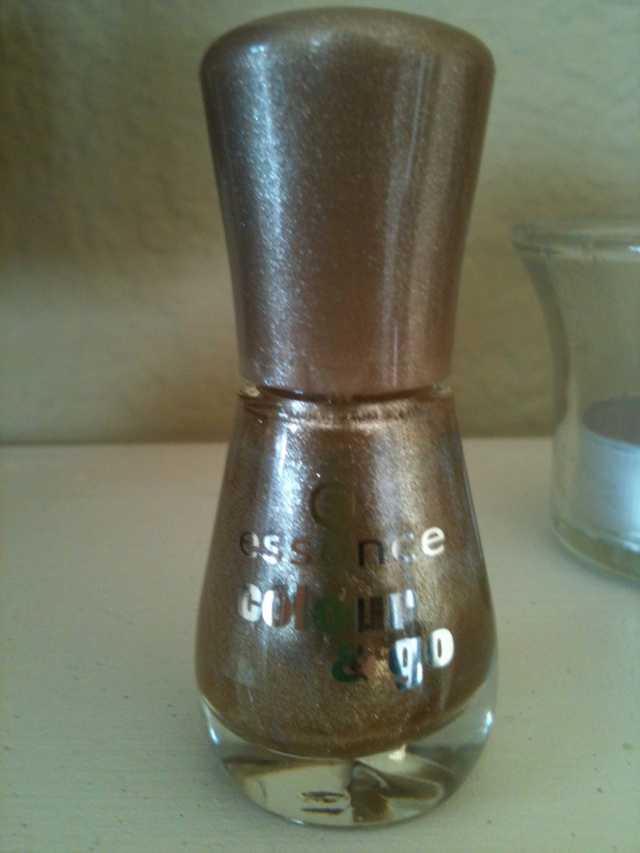
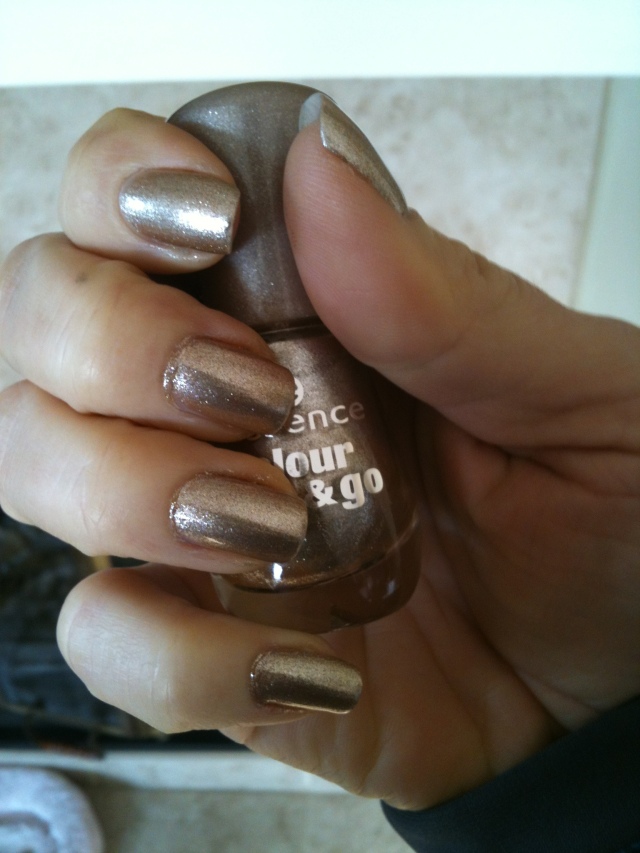
This is not a color I would have been caught dead wearing 10 years ago…or 5 years ago, or 20 years ago, or any other time really. But something about where I live and work now makes me drawn to more subtle and elegant tones. Or perhaps this is just all part of a maturation process? Who knows. What I do know is I could not get enough of this fun, light, gold. I think it compliments my skin and nail shape pretty well, too. This is another hue by Essense Color and Go.
Share this:


I couldn’t resist picking this color up. I don’t know how exactly to describe it. It’s Essense Color and Go, but no number or color is indicated on the bottle. I love the iridescence, holographic tint to these colors. I think that will always be my favorite effect in polish. This has a luminous purple to blue effect that is impossible to capture on camera.
Unfortunately, this color, even with my usual top coat, didn’t last more than 12 hours before chipping. Bummer.

