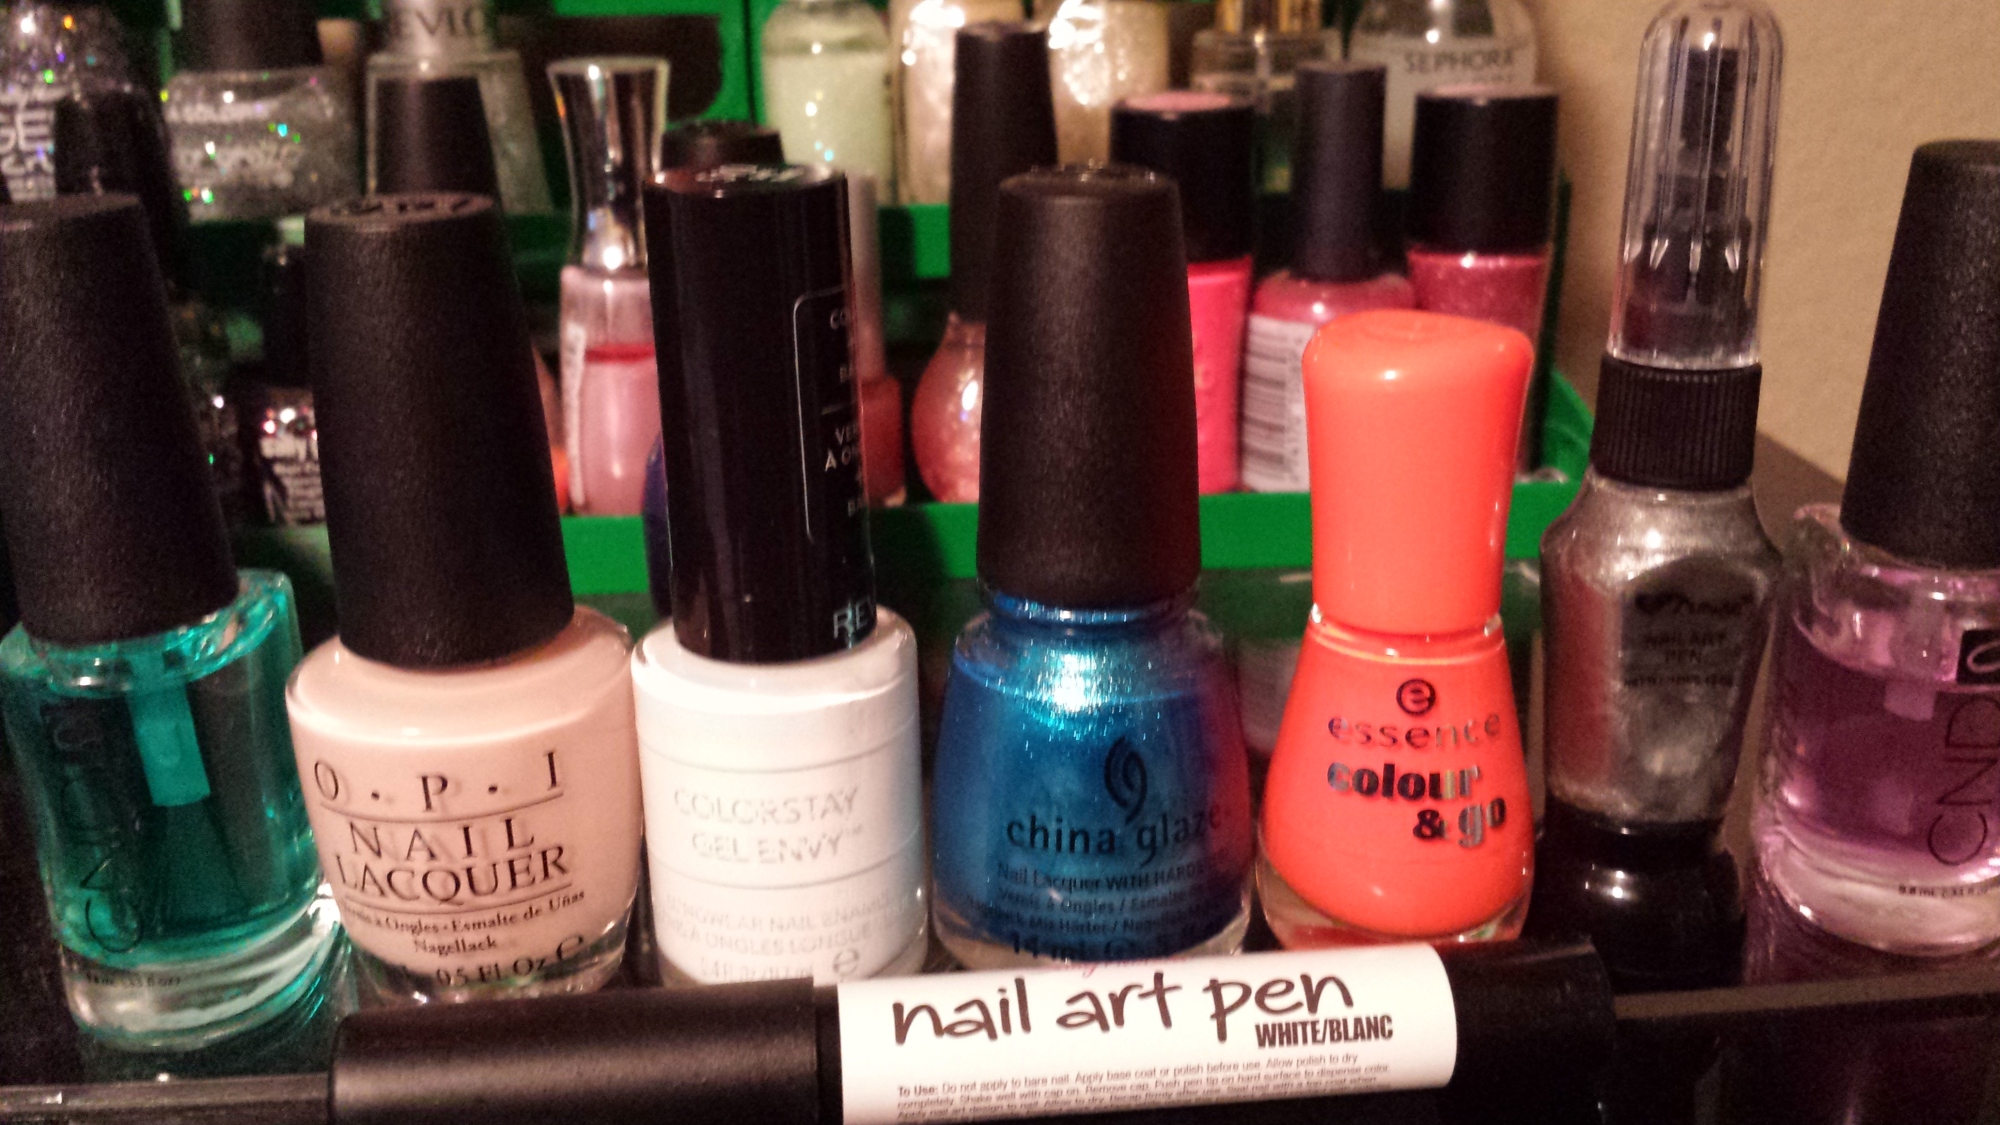
I thought it would be a great idea to try my nail polish stamps with gel nails. Guess what? It doesn’t work. Like, not at all. It was late at night and I had to do something! I needed easy holiday nails now! I pulled up an old standby, “ruby pumps” by China Glaze. WIth each brush stroke a memory filled my head. How is it I have so many memories with this color? I started to recount all these memories and I realized I’ve had this color for 25 years. 25 freaking years! Unlike other colors, this one is a deep and sparkly red and perfect for the holidays. I tended to wear it for parties and special holidays events. This wasn’t a color for just any day. I guess that’s why I can look back to so many different times I wore this color. I always wore it for something special. And now “ruby pumps” has 25 years of special memories attached to it.
Tag Archive: christmas
Marry Christmas to all and to all a good night. I wanted to go over the top this year for my Christmas nails. I chose a black base and used a makeup sponge to blot intense glitter on the top and bottom of the nails. B helped me decide whether top of the nail should be red or green, and I think he made a good choice. However, after the manicure was finished, he pointed out that my nails look like strawberries! Now that’s all I can see! It took a few days for me to realize thatt it’s not real strawberries they look like, but the strawberry candies that you get in the sausage and cheese gift sets from Hillshire Farms at the mall. Needless to say, I love this holiday manicure, and I got a lot of compliments for it. May your holiday be filled with sparkle!


I used my nail stamp for the first time in months! I had good results with my thick green polish and a fresh stamper. However, after a while the stamp got gummed up with polish, so I cleaned it with acetone. No stamps turned out after the acetone bath, even though I rinsed and dried it. I think the the acetone may be the reason I had so many stamp fails in the past. I sprinkled red glitter over the stamped areas that didn’t transfer very well. The effect looked busy, but still maintained an overall holiday cheer.
I wanted to do a manicure that got me into the holiday spirit, but wasn’t too FULL ON holidays, you know, cause it’s too early for that. So I decided to blend a metallic teal with emerald green glitter. Now, I should tell you that I actually painted these nails over 5 days ago. I just took pictures today and look how fresh they are stil! Surre, there is a little bit of wear at the tips, but no chips yet to speak of. This glitter bottle is not very dense, so I applied it with a makeup sponge and lots of layers. Because I added so many layers of glitter, I used my “peel away base coat for glitter”. It may be a long time before I get to paint my nails again. This stuff may never come off.
 Dear dedicated readers, I know I haven’t been posting in a while. I’m still painting my nails, and still making them as great as can be, I swear. I noticed a problem with the blogging, however. I wasn’t having fun. Posting only takes a few moments, but it felt like a few moments of work. I just don’t need any more of that in life. Today, I feel like posting, so I am. You’ll know that from here on out, all my posts will be written in fun. I may not post as often, but what I do post will be fun!

This week I decided to celebrate the holidays with red and green chevron’s! All colors and tools used for this look were gifts from the bf’s mom! The Sally Hansen red was a Christmas gift, as where the sticker guides used to make the Chevron shape. The Claw Polish green came recently from her in a Halloween care package. The green is a fun Halloween color, and it glows! It makes a great Christmas color, too, don’t you think?
 I am really happy with the outcome. The look is lasting, too. Typing this, I’m a full week into the do, and I only have a small smattering of chipped spots. In fact, I tool these pictures a day or two after finishing them, and they still looked pretty good.
I painted the red first, applied the guides, then added the green on top. I had to apply two thick layers to cover the red. The sticker guides took some of the red polish underneath it, which was the only drawback.

To keep with the holiday theme I painted my nails like little tiny reindeer.
I worried painting so many layers and such thick dots, thinking they might never dry. Luckily, it dried just fine.
I didn’t do a lot of planning, but I think one of the nail tutorial videos the boy showed me last week included some sort of Rudolf design. In my design, every finger is a Rudolf. Sometimes I pretend one finger is the real Rudolf and the others are just clones, imposters. It’s up to me to figure out which one is real.
I started by painting my nails white for a snowy background. Then I made a brown curve over each nail.
Next I used a rounded toothpick to draw on some little antlers. The first few heads got ears, too, but I stopped after deciding they didn’t add to the look. Rudolf doesn’t need to hear anyway.
I blobbed on a little red nose and little back eyes. One of the Rudolfs ended up with squinty eyes. He kind looks like he’s winking at me now. Maybe he’s the real Rudolf.
I can also have fun making the Rudolfs kiss. Those thumb Rudolfs really get around.
Merry Christmas everyone!
To get into the holiday mood, I decided to painty nails with little thin stripes to look like candy canes. The boy showed me a bunch of nail tutorial videos so it looked pretty easy. He even cut and sanded me a special toothpick so I had a nice striping tool.
Maybe it was becuase my hands don’t paint so precice, maybe it was becuase I tried to paint them in bed, but they so did not work. Every line came out thick and wiggly and gloppy.
But not all is lost! I decided just to make thick stripes! They came out perfect.
But then a weird thing happened. See, I died my hair purple recently and the purple dye has been bleeding over onto everything. It stained the white polish on my nails a light purple. I could wipe it off with rubbing alcohol, but by the end of the day or the next morning, the purple would be back. Who knew I touched my hair so often? Sadly, the alcohol only worked for a couple of days. I assume at some point all the topcoat on the nails had been wiped off making the nails hard to brush clean. I ended up having to repaint the nails before they really needed it. They just didn’t look Christmasy any more with the purple overlay.
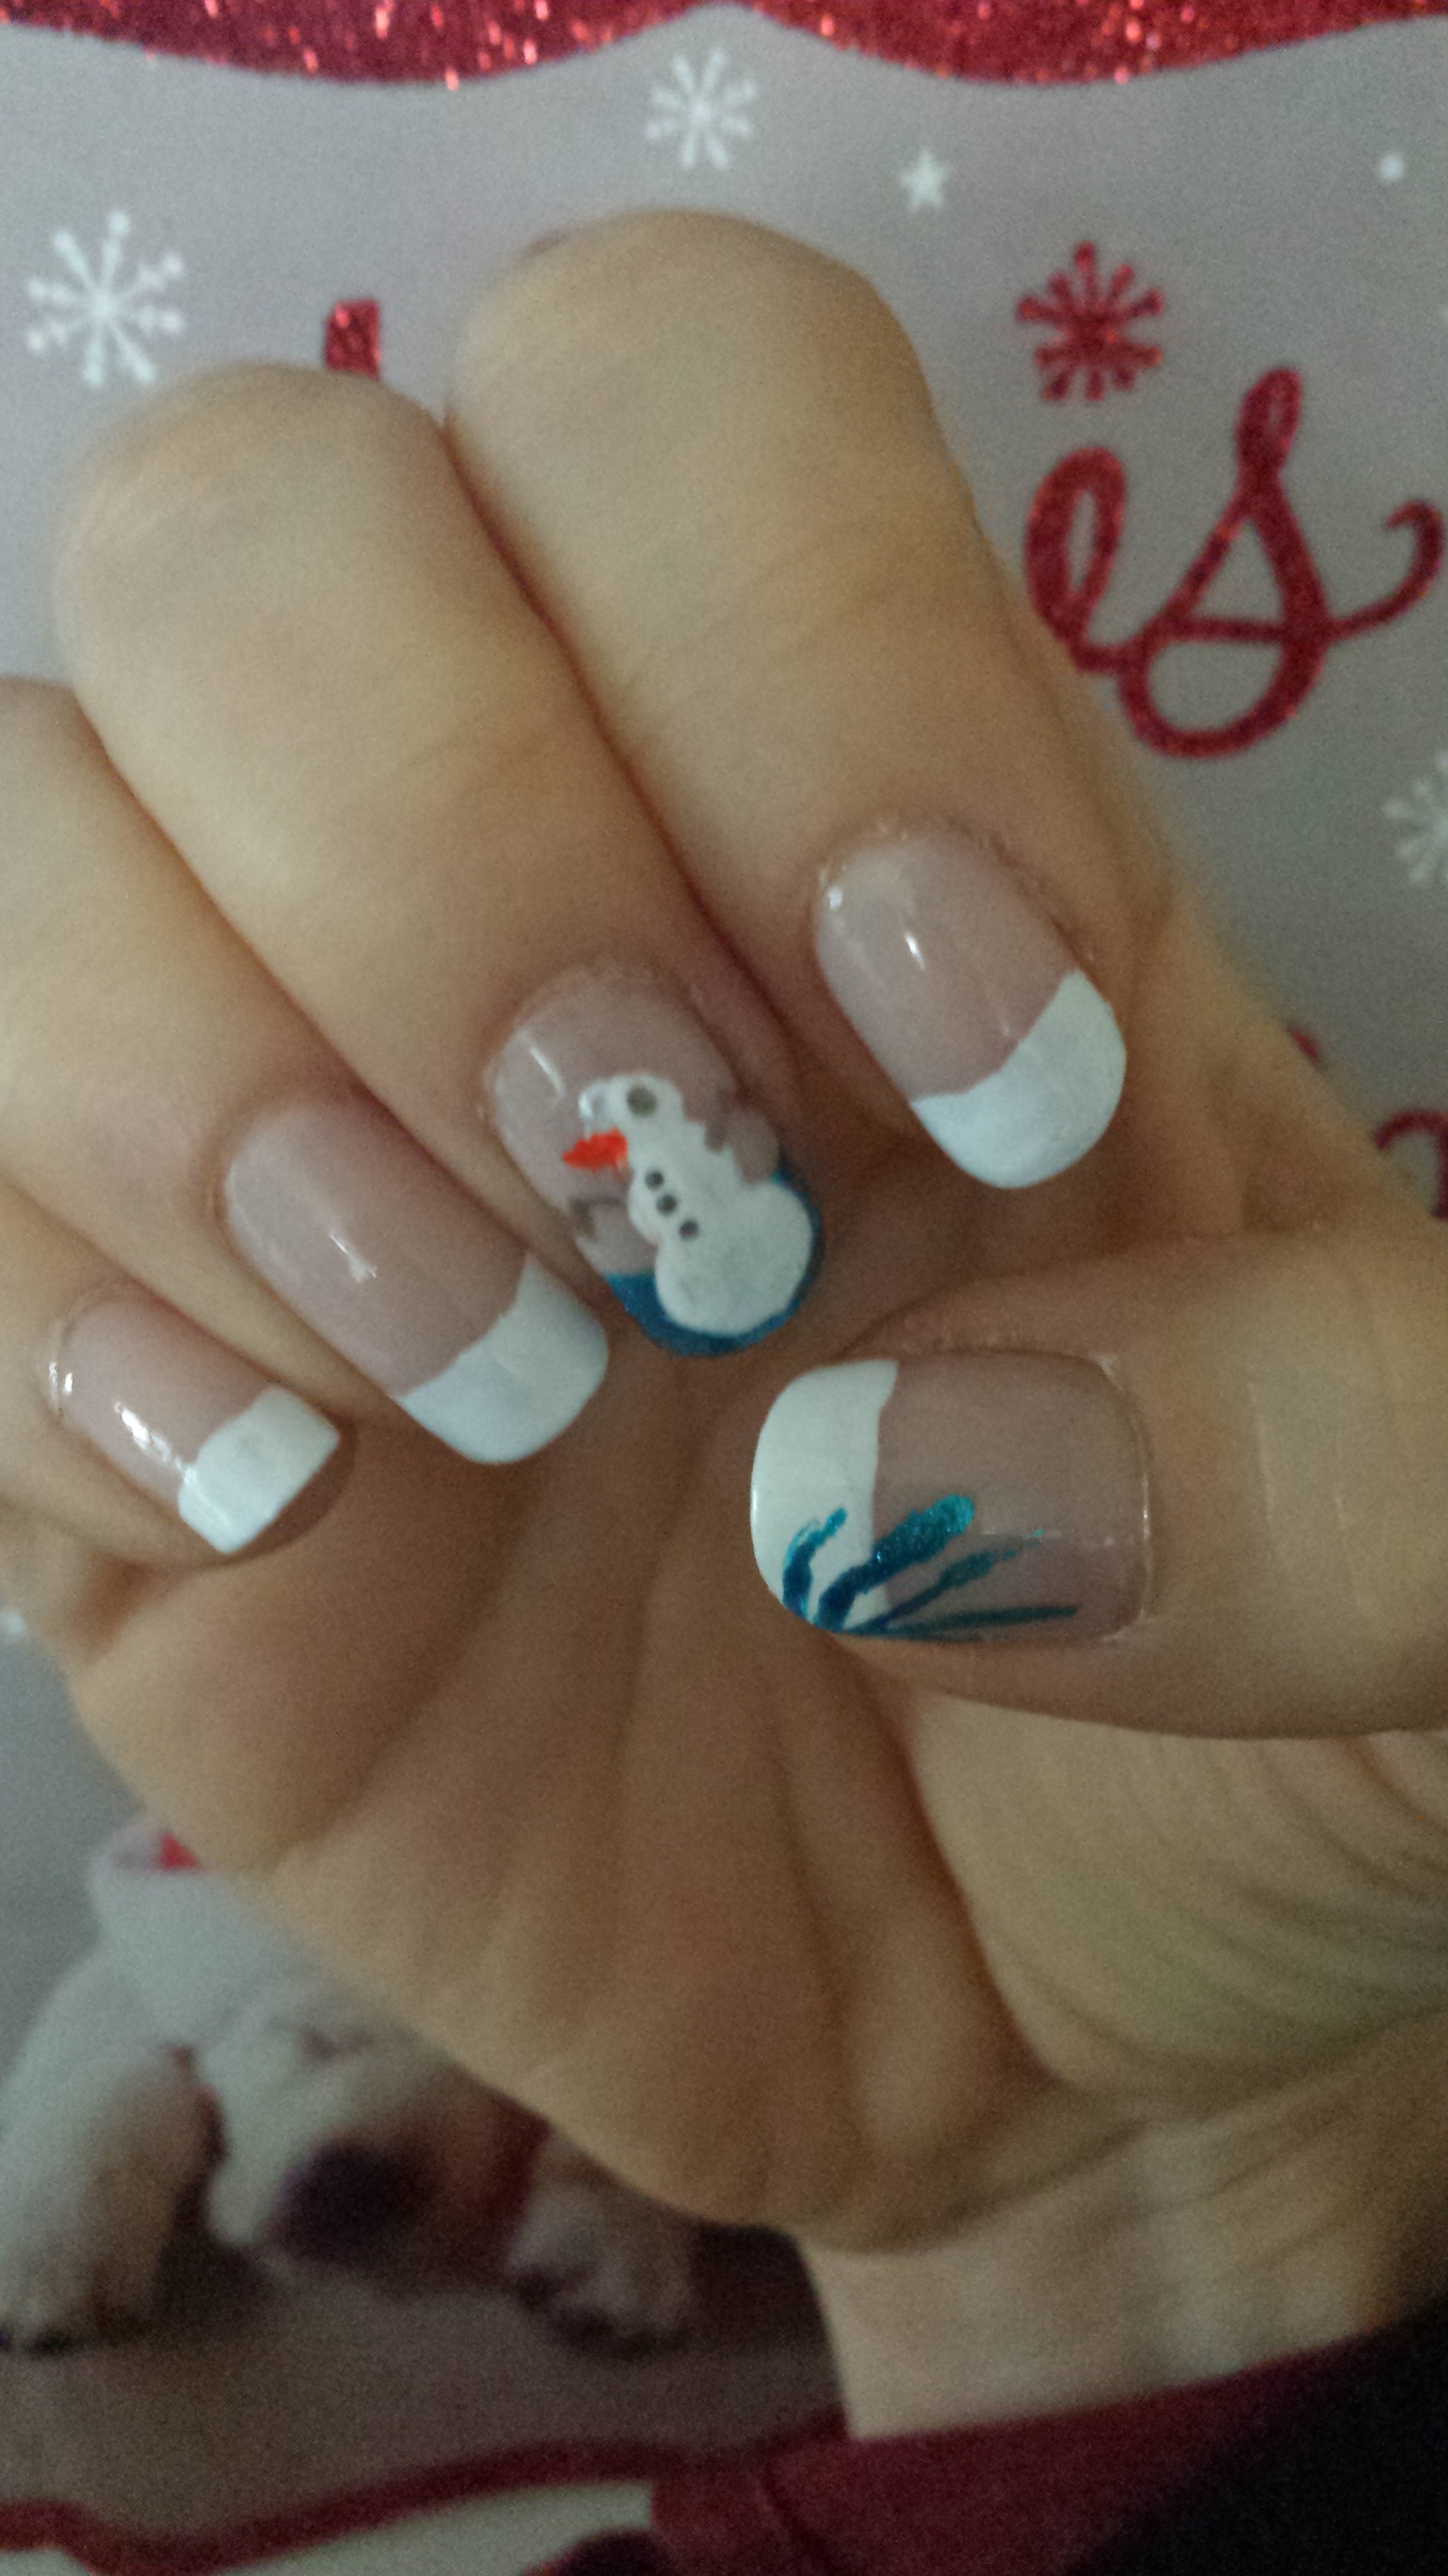
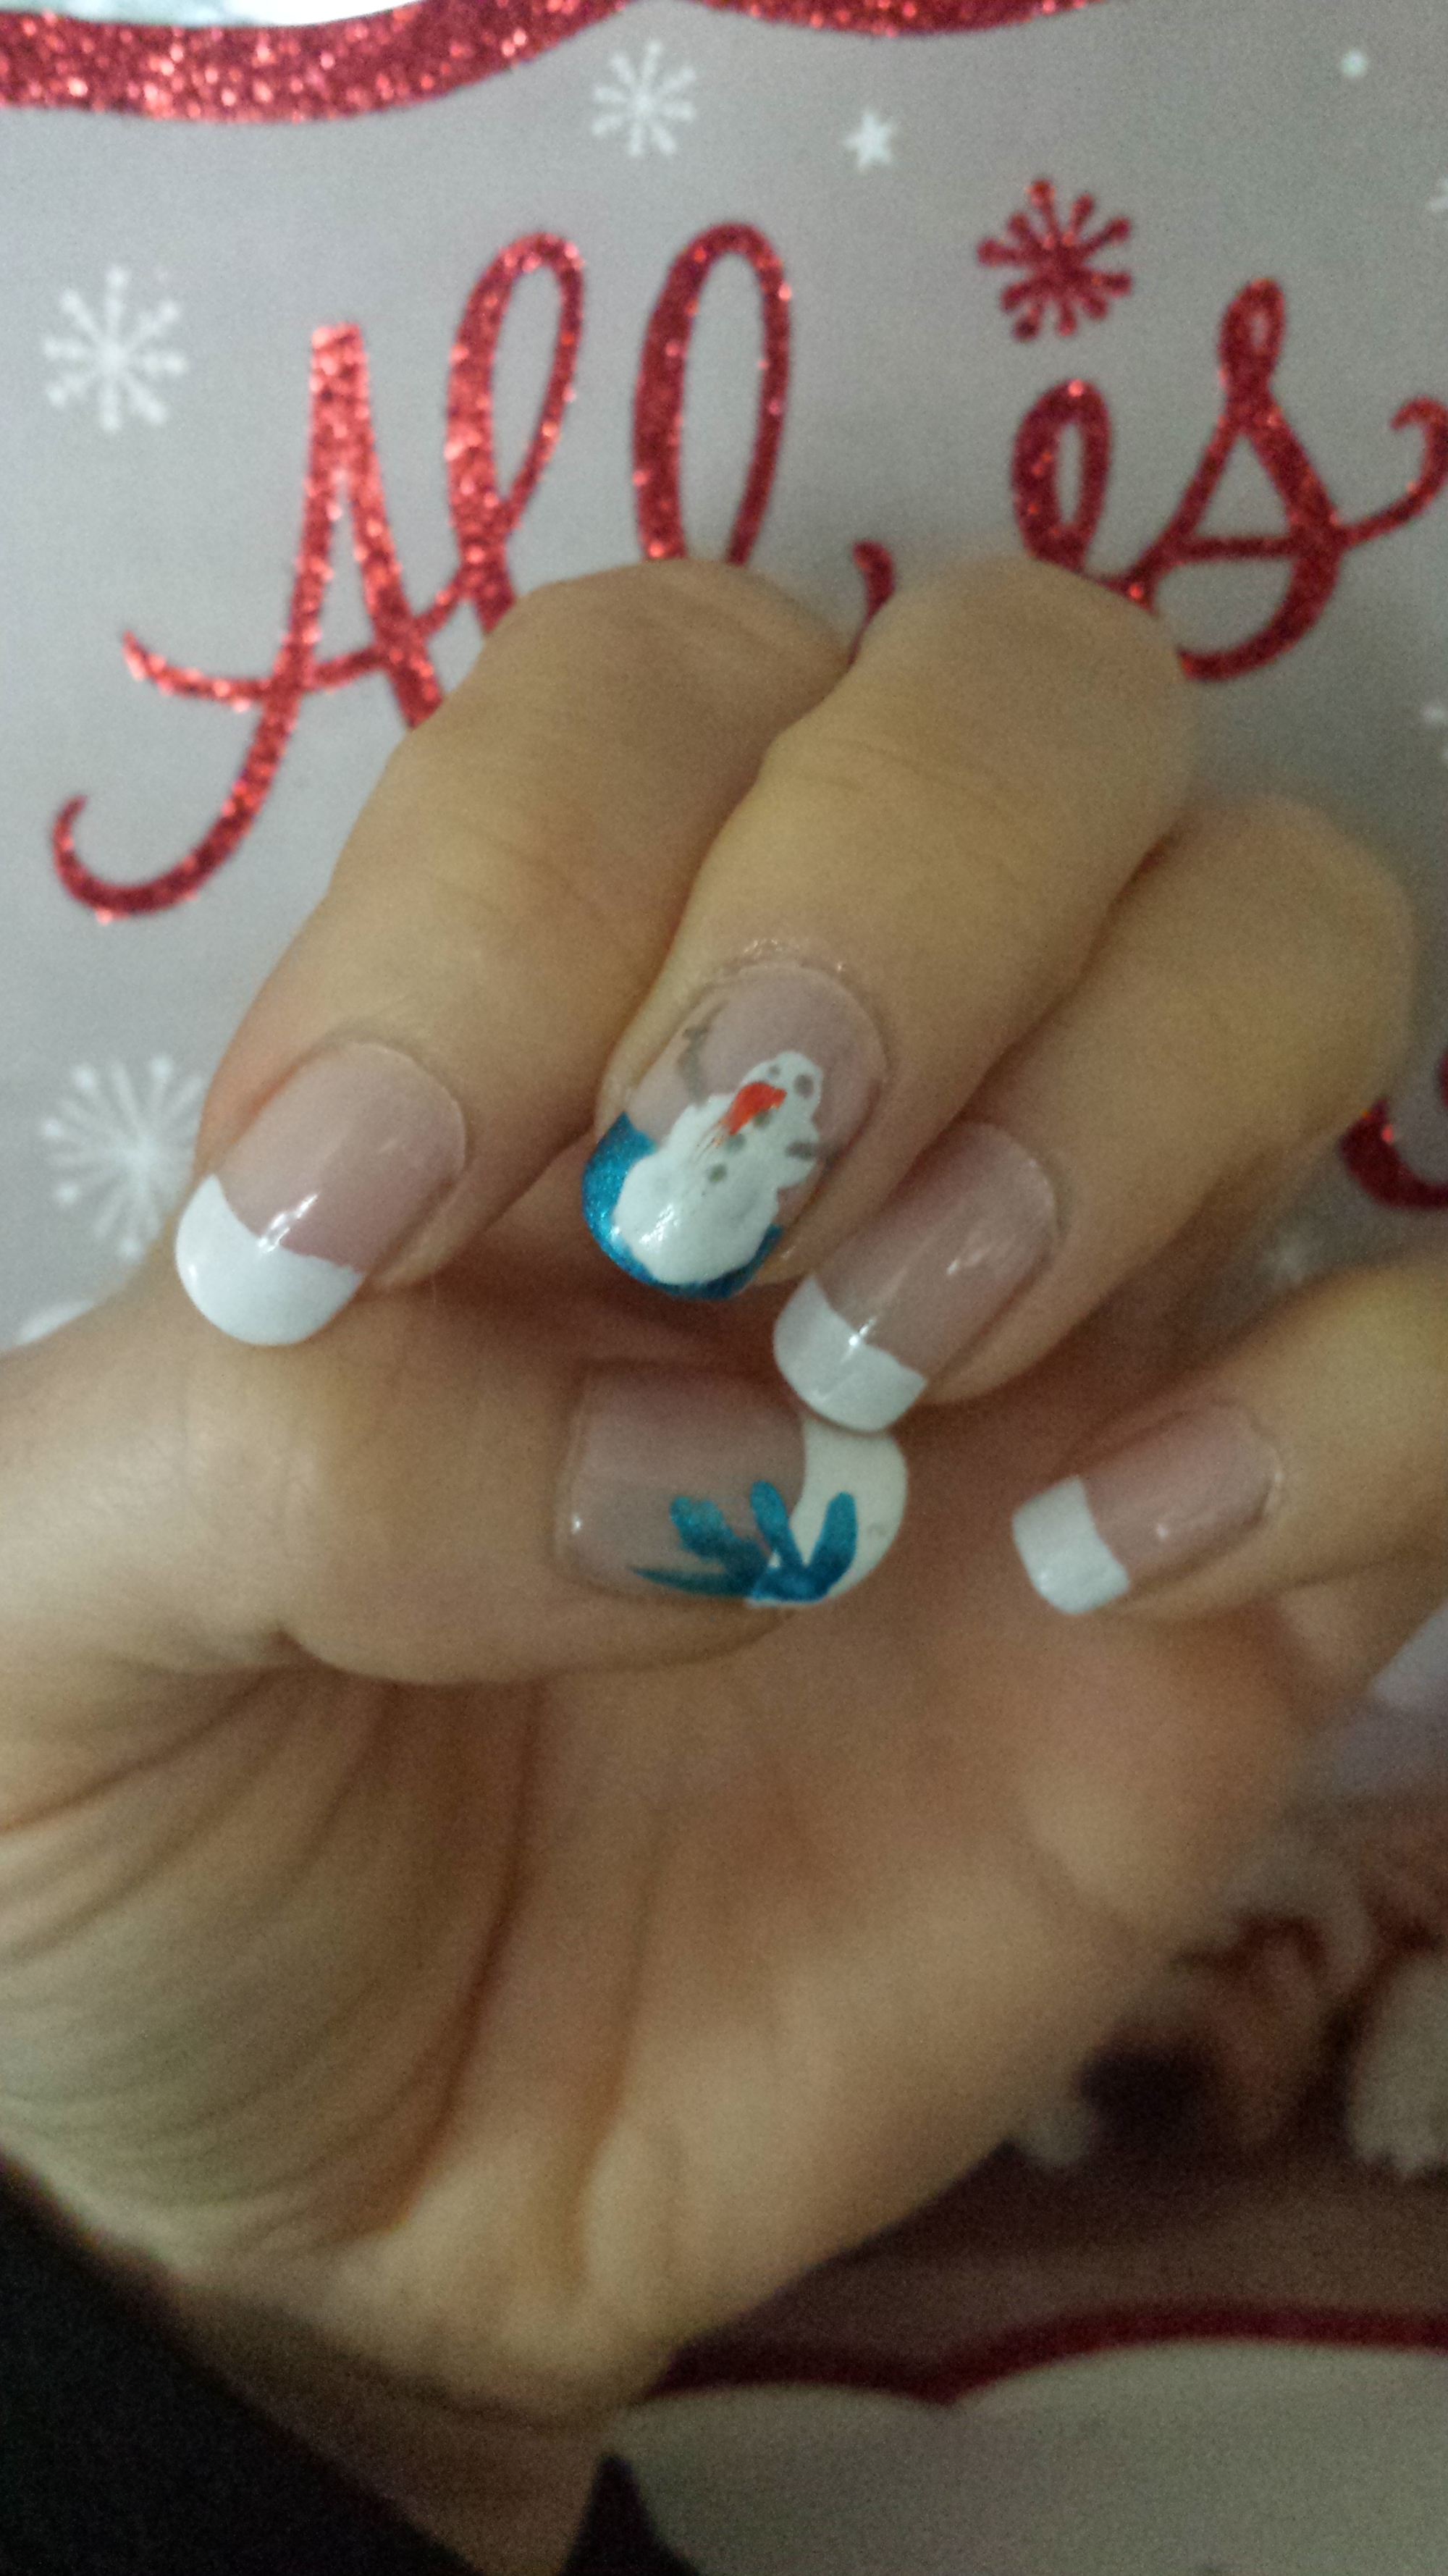
After having some snowmen nails, I decided it was time for some Christmas nails. Stay tuned for Santa hats next time! I love getting in the spirit!
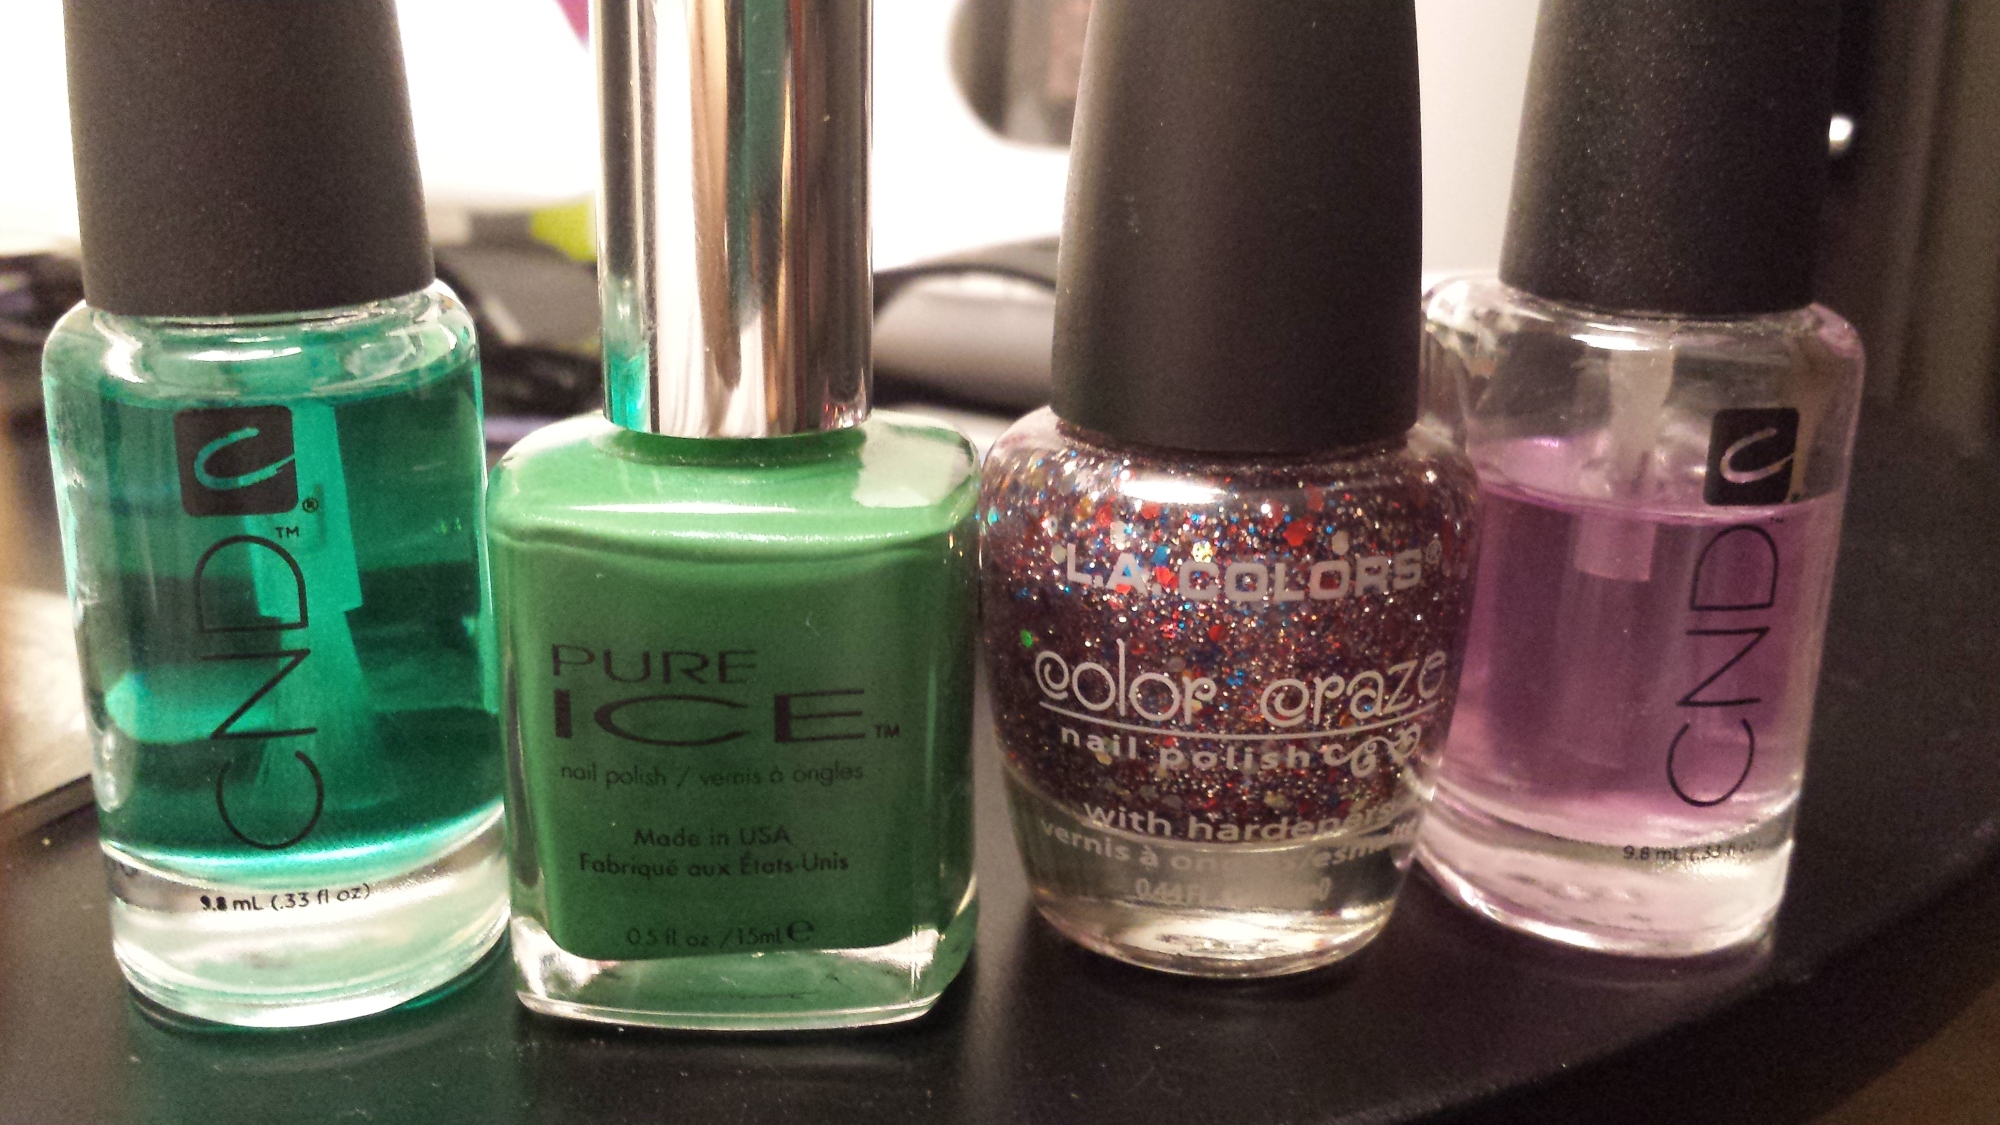
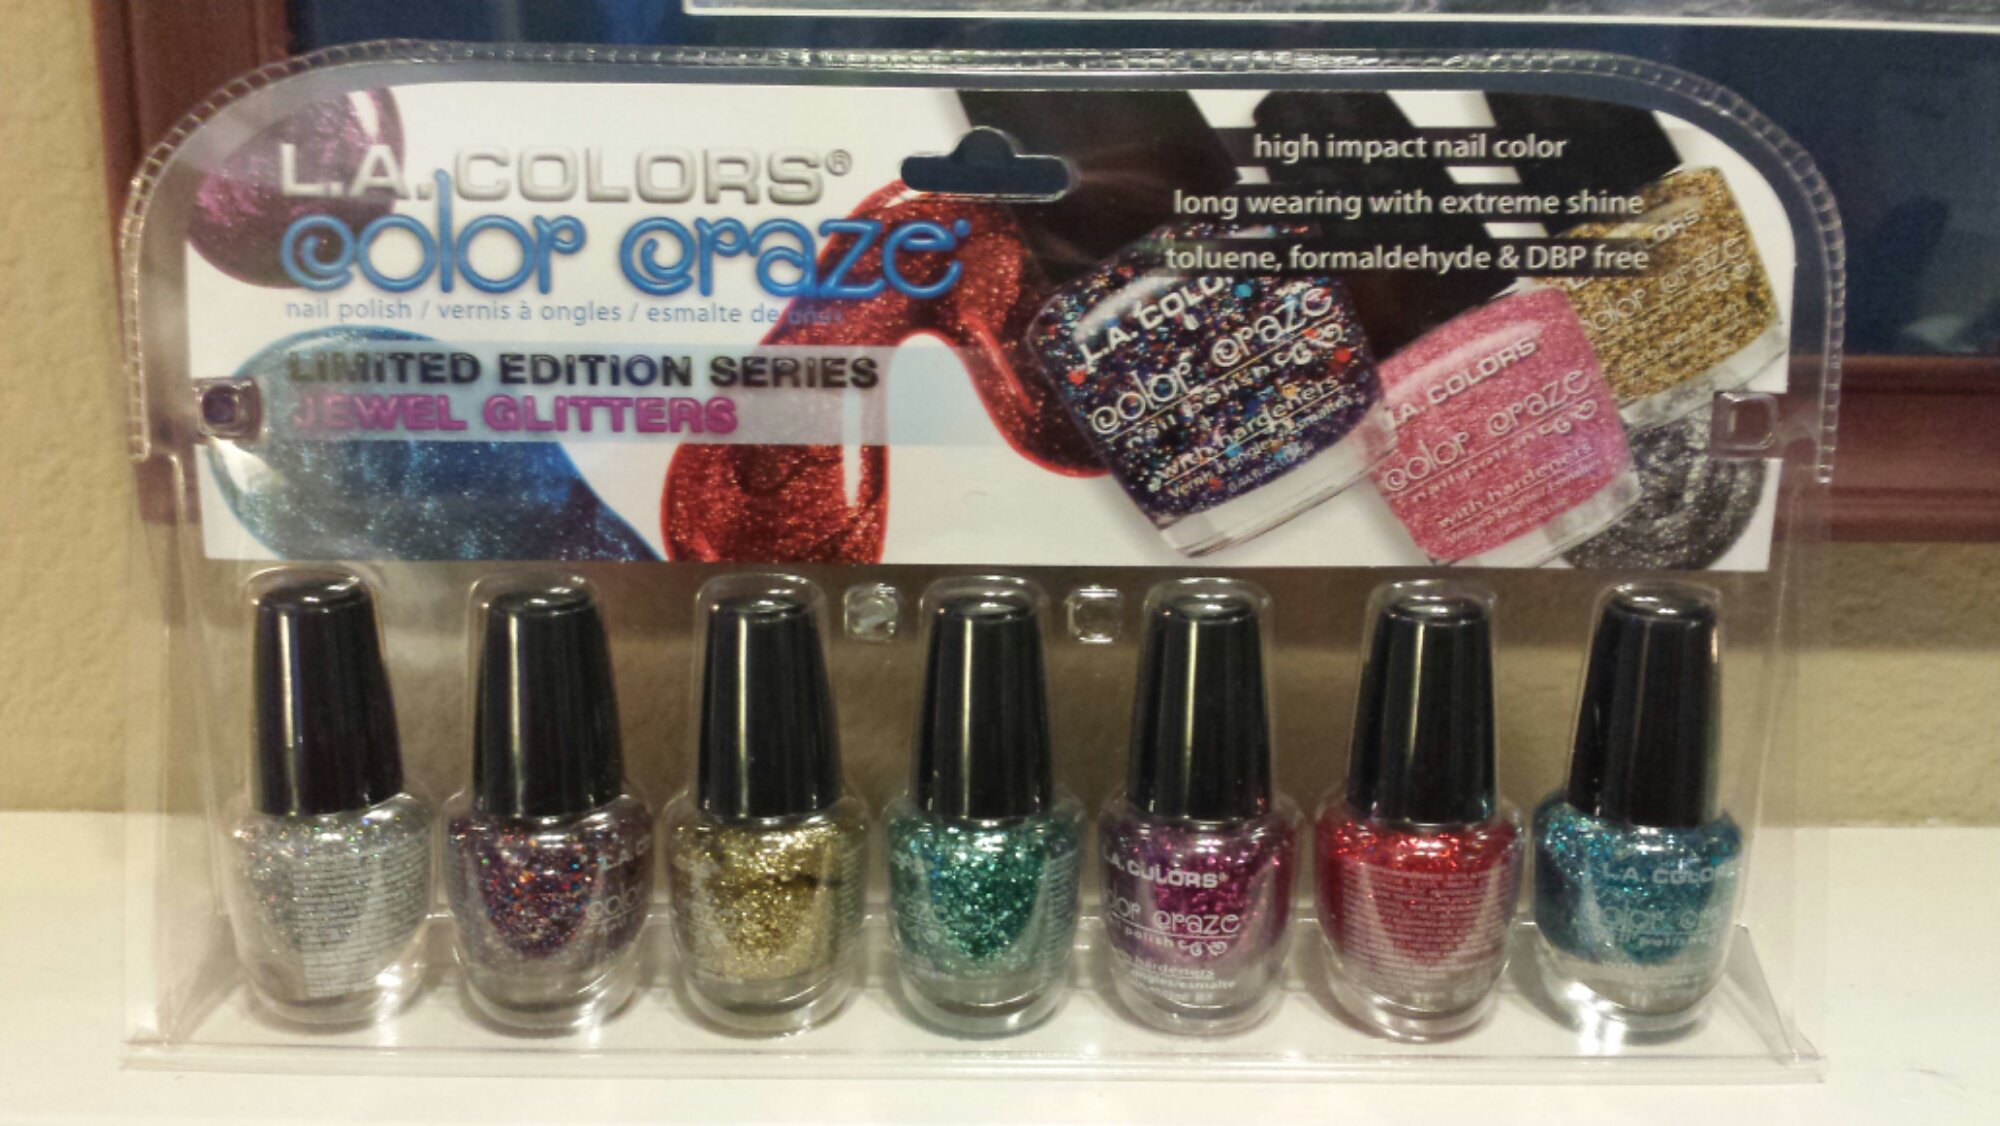
The festive, party-themed confetti is from a Color Craze L.A. Colors gift pack that the boy’s mom gave me for Christmas last year. I love the colors in this one! I did have to lay on several thick coats to get this effect, but it dried quickly and didn’t smudge.
Its so hard to find a decent green color. But I finally found one. Love it! This is Pure Ice Free Spirit. I have a feeling it will become a new favorite.
And, the green you see here was achieved with only ONE coat! Can you believe it?!


