Second to drawing pictures, building with Legos was my favorite activitiy as a young child. I played with them every day, probably until 4th or 5th grade. After that, they became more of a novelty. I still remember going over to a friend’s house one night as a teenager and playing with their huge Lego assortment until the wee hours of the night. I remember coming home at 8 or so in the morning, to some very concerned parents. I tried to explain to them that I was up all night…playing with Legos. Anyway, Lego has had an adult revival lately. While I don’t play with them as an adult (I would if I had more time!), built models do fill my home.
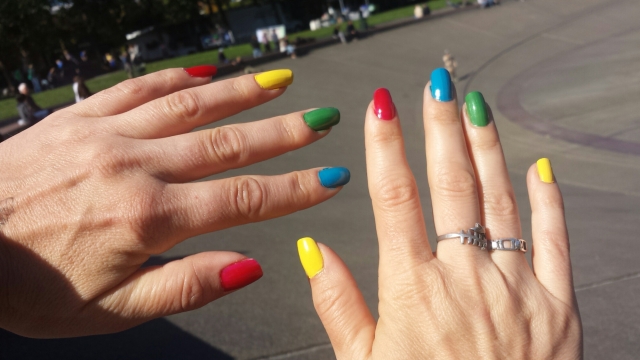
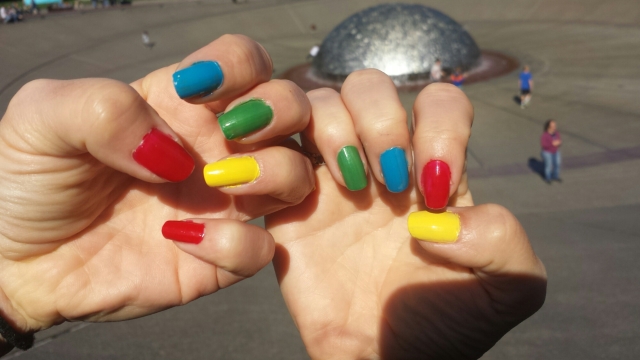
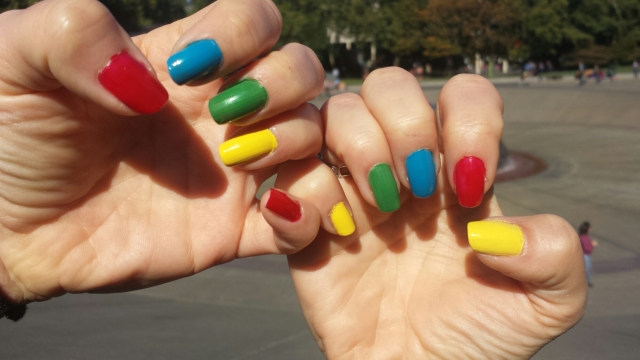
Last weekend BrickCon was held in Seattle. It is a convention full of fun displays of amazing Lego work built by people all over. Everything is inspiring, some are amazing, and some are just sheerly amazing displays of how many Legos one person can have. I wanted to paint my nails Lego-themed to go with the event. However, I had a busy week and was sure I wouldn’t have the patience or skill to outline little circle that would look any good. My goal was to paint my nails in primary Lego-like colors and then paint lines over the top so each nail would look like a stack of bricks. I got too lazy to complete the job, but I am pretty happy with just the primary colors. The result is bright and cheerful and fun.
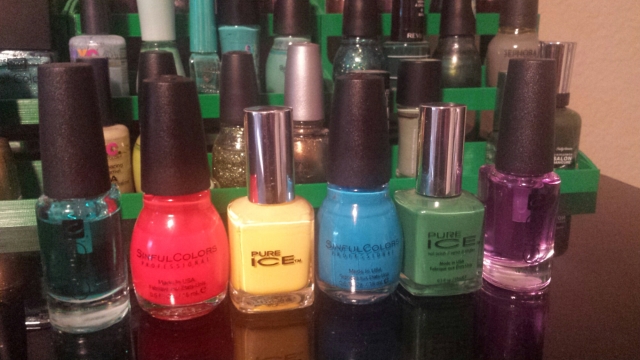
I chose a bright red, blue, yellow, and green. I painted each nail one color and then just repeated the colors, trying to avoid any “Christmas combos”. I really had fun with this one. It looks like my nails are little Lego’s themselves.
Tag Archive: nailpolish
I decided to do something totally funky this week, and they are a HIT! Inspired by a video the boy showed me a while back, I went for a psychedelic blend of summery colors. There were a lot of steps to this style, but it was remarkably easy and fun to do!
I started with a base coat, then added a white layer. This worked out well. I am pretty happy with my new white branch, though I still think it could be improved apon.
Then I played out my color selection and a selection of cups filled with water. This process needs a safe-to-spill working area, disposable cups, nail polish remover, lots of toothpicks, cotton swabs, and cotton balls. In retrospect, I should have smeared petroleum or chapstick all over my fingers first, or masked them off. You will see why soon.
THen, I carefully dripped drops of polish into the center of the cup of water. The first few drips just sort of bleed into the surface of the water, but after that they congeal and keep a circular shape. Then I added a drops on another color in the center. The properties of nail polish keep the colors from mixing with each other, or the water.
After I did this several times and got a good, solid blob or circles, I tried dipping a nail in. The results were pretty boring. Next, I tried the same thing, but dragged a toothpick into the circles to make fun kaleidoscope designs. I also made a point to toothpick all the polish remaining on the surface of the water before removing my finger from the water. This was key to keep my nail from picking up more polish on the removal, as shown below.
This created amazing results…all over my finger!
The more I worked the polish, the better the results. The below photo just has a few drags, which looked ok, but not amazing.
Some of the nails turned out totally cool, man! But, what a bummer taking the time to get all the polish off my skin! Plus, I used red, which always stains the skin! Next time I will definitely put something on my nails. It wasn’t as tedious as I though, but still took some time.
After the major cleanup, I worked the nail edges with acetone-dipped toothpicks. The pointer of my left finger was the first one I did, where I was like, “DOOOOOOD! GROOVY, MAN!”
The four fingers on my right hands also turned out pretty cool, with the flowery middle finger the best of them all:
As you can see on the below photo of the left hand, some of the “earlier” fingers aren’t as interesting. You can tell I started with the pinky and worked my way in, and I did the pointer finger last, after the thumb. Each finger shows improvement:
The right hand really is the best! As you can tell, it’s totally trip to look at! I can stop feeling and groin’ on my nails. I also can’t stop staring at them. And, fitting of the times, I quickly got Carley Simon’s “You’re so vain” stuck in my head. But, instead, I kept singing it, “I’m so vain! I probably think this song is about me!” Yup, way trip. And way fun. And, well, way to get me to stare at my nails every time I look down!
See what I did there? See, I always get a little nervous when it’s time to do 4th of July nails. I love holiday-themed-costumes, and getting in the spirit, but I am leery of coming of as one of those Proud Americans. I am truly grateful for the many fortunes benefitted to me as an American citizen, but, like so many, I share in the shame as well. I won’t dwell here, this is, after all, a nail blog, not some political thing. But, it’s important to recognize the tentativeness I feel every time I don myself in red, white, and blue.
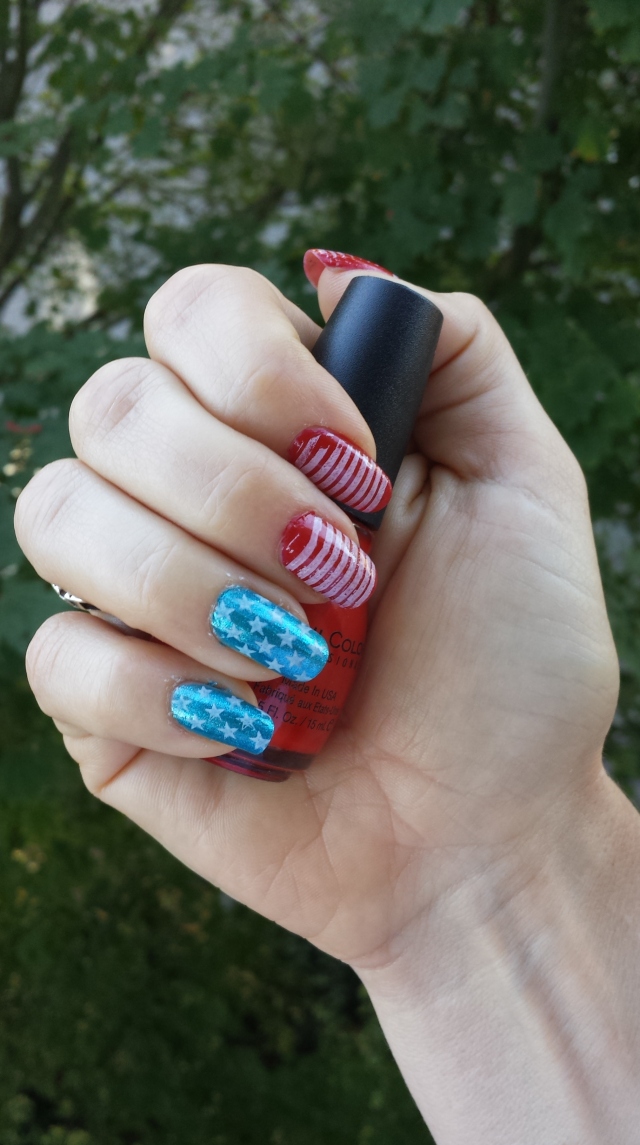
But then, the country announced that all states would recognize gay marriage. All during Pride week. So, I thought about painting my nails in some sort of rainbow fashion. While I have every color of the rainbow, none of them would contrast well or work with the nail stamps. And I had to use my nail stamping kit! So, red, white, and blue it is. And, boy am I PROUD of the results!
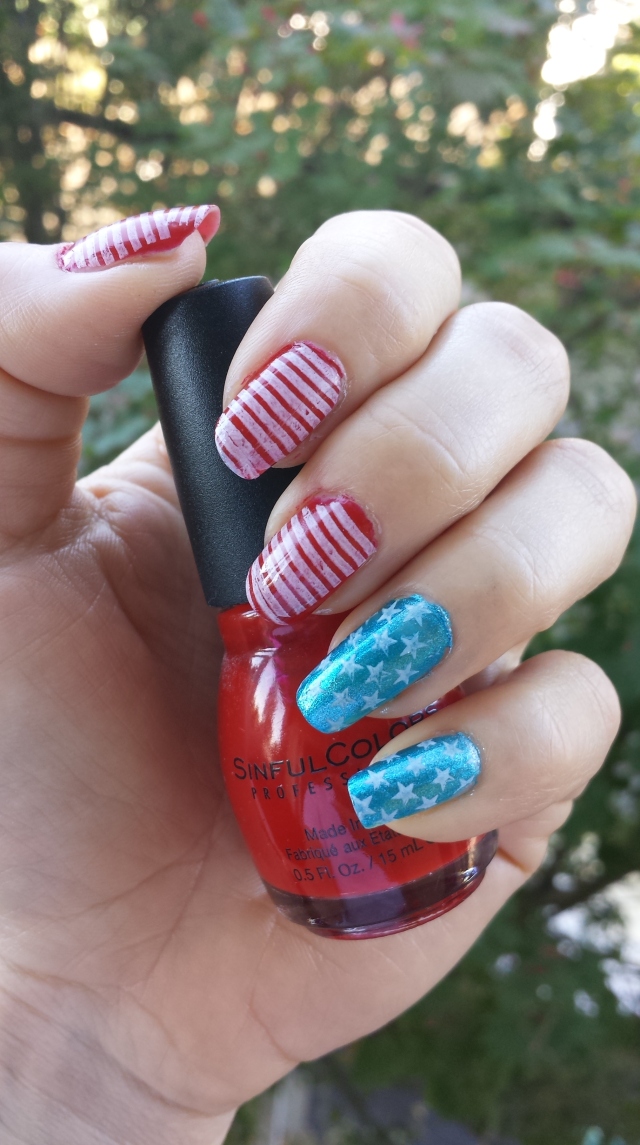
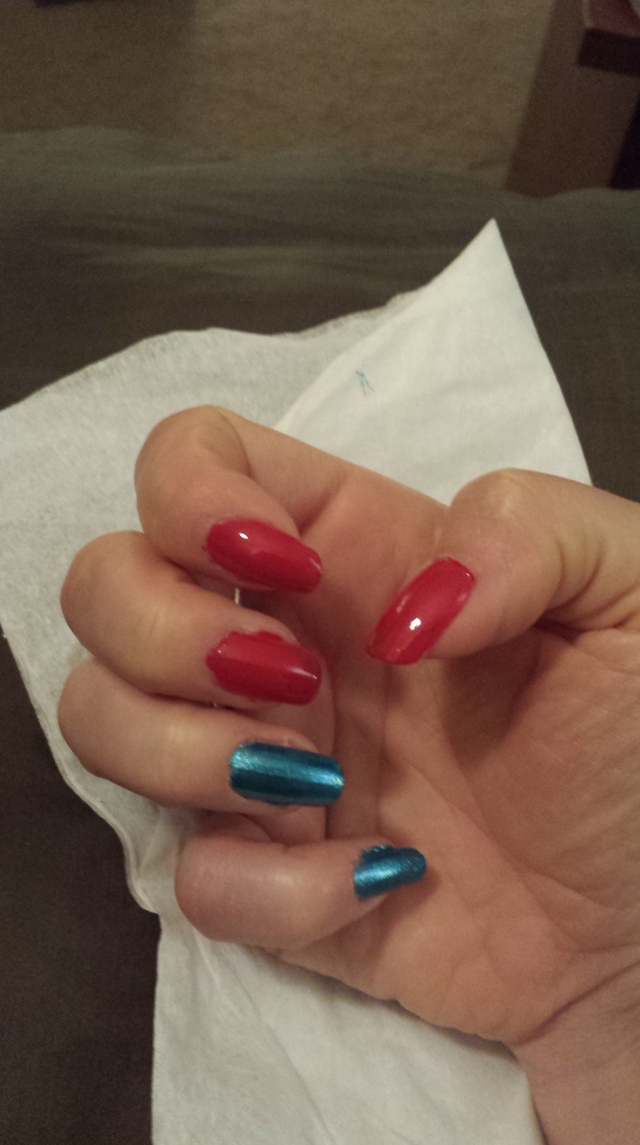
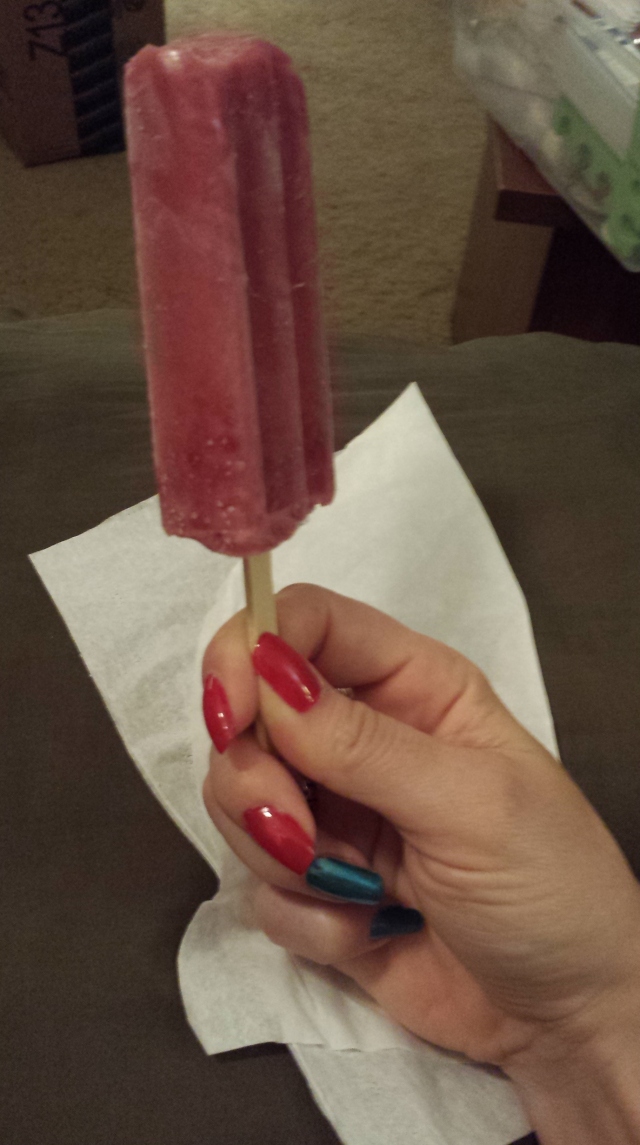
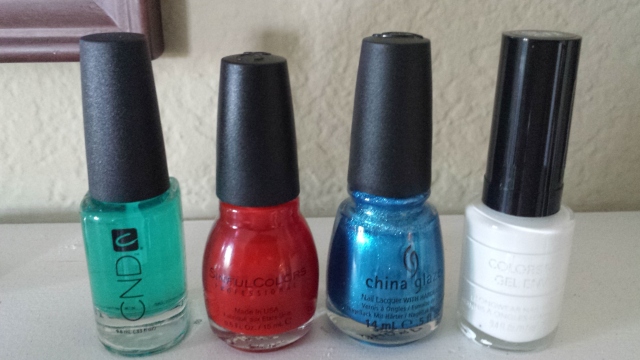
I started with CND super sticky base coat. I painted China Glaze 1258 “So Blue Without You” on my last two nails. Oh, I love this color! SO shimmery! I painted Sinful Colors’ 852 “Good Girl” on the rest of my fingers. I shocked the boy with this color. It is the most classic, shiny, red nail polish out there. It was so bright, I think it blew him over with visions of Marilyn Monroe and waitresses across America. Then I had to eat a popsicle. ‘Cause it’s hot out side!
The warm weather did a great job on the nails, they dried instantly. Then I took a couple Shany nail plates. This is where it gets fun. I covered the blue nails with white stars (Revlon 510 “Sure Thing”). My nails instantly turned into Wonder Woman panties! Dooooioooooode! Best nails ever! Then I added white stripes on the red, completing the look of the American flag. This manicure is inarguably the best plating I’ve done yet. Cuz Wonder Woman! I finished with CND super shiny top coat.
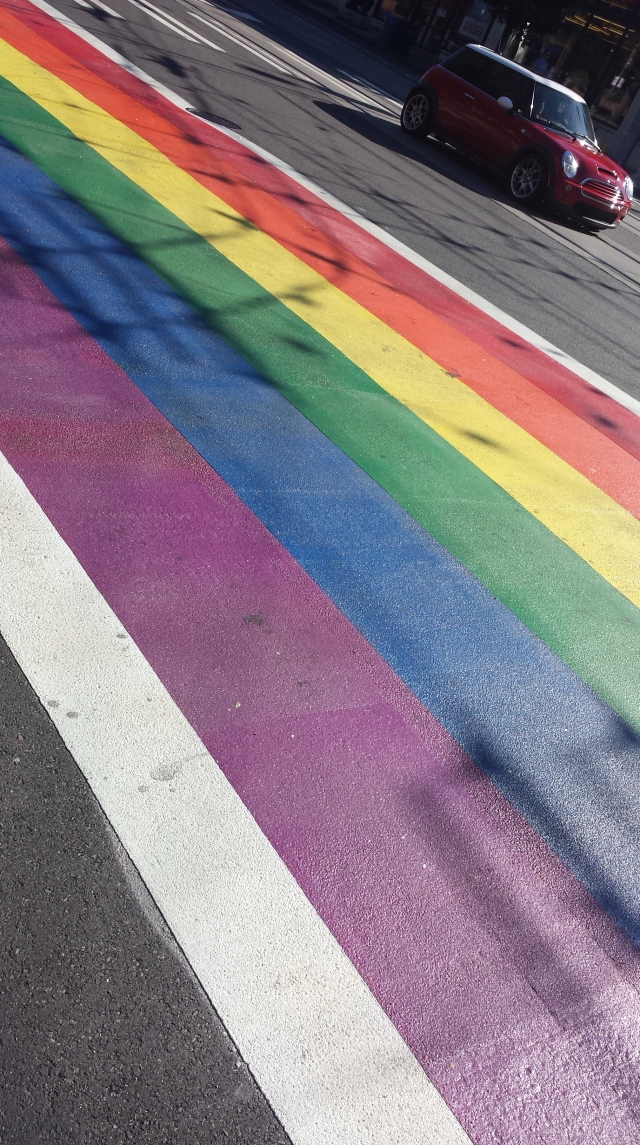
To make it better, I had to ride down to Capitol Hill afterward and, not only did my manicure last, I touched the rainbow. In Capitol Hill, even the crosswalks are gay! I could care less about marriage, but I think America has made a powerful step forward. And I am proud.
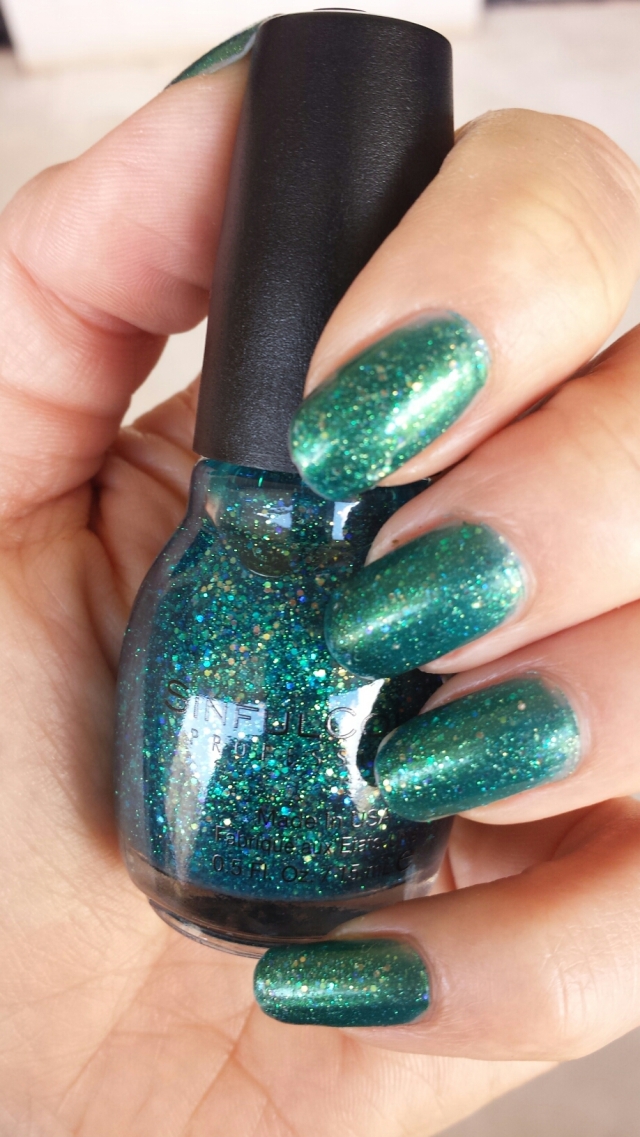
Here I took Sinful 927 Nail Junkie and layered it on top of Sinful 1517 Sheer Flight, shown below without the glitter.

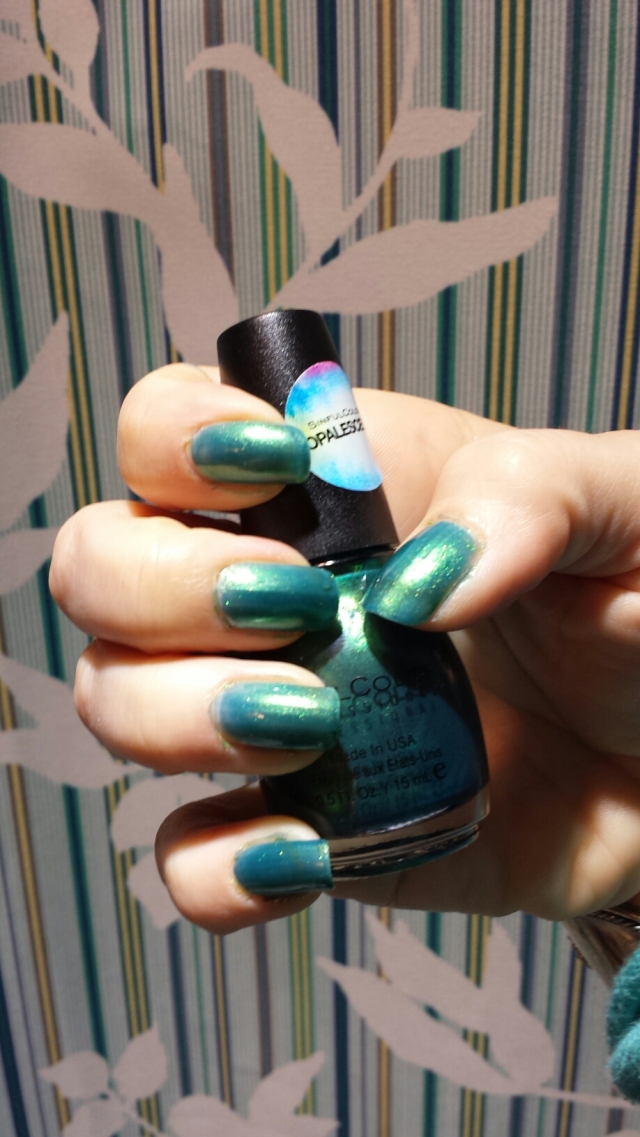
It looks like mermaid scales! It looks like mermaid scales!
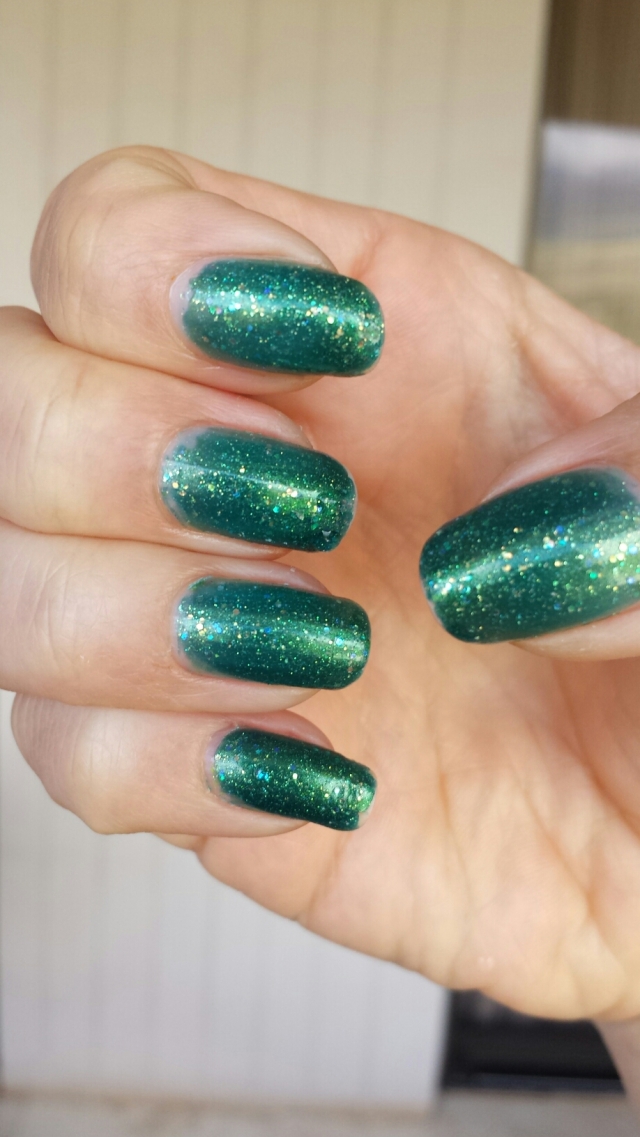
I totally loves this polish, I can’t get enough of it. Anna…I actually have a confession to make. I painted these nails weeks and weeks ago, made this post, and failed to actually post it. I must have gotten distracted after loading the photos, because weeks later, there it was in my drafts folder. Oops! No I know why no one commented on it! Ah, well, we are all a little bit absent-minded sometimes, especially if you’ve been turned into a mermaid.
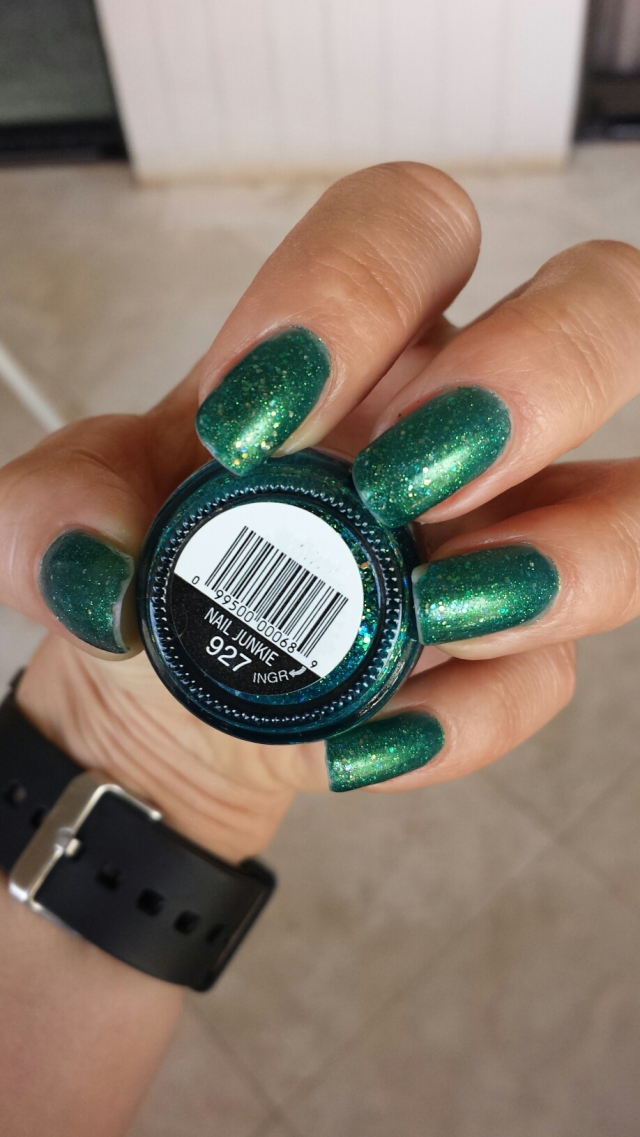
This is a great color, with a lot of depth in the blues and greens when light shines on it. Sinful, while one of the cheapest polishes I can find these days, is my long-standing favorite brand. They produce polishes with good consistency, easy to apply, nice smooth brushes, and deep vibrant colors in hues and shades I adore.
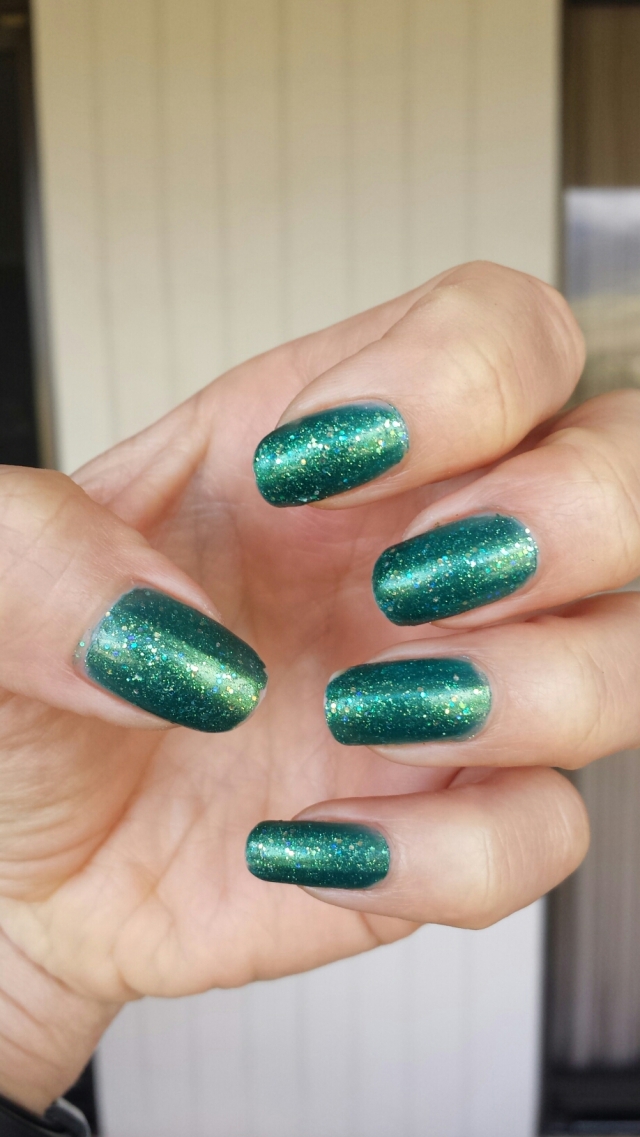
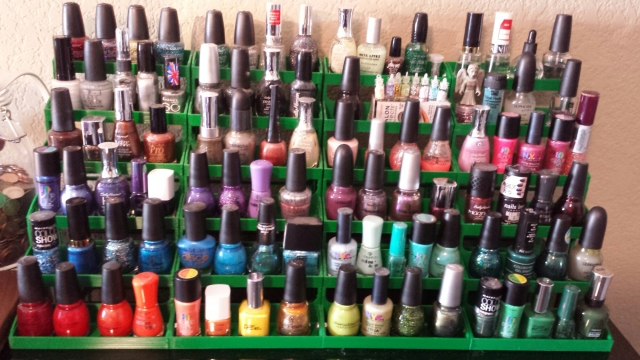
There comes a time in every nail polish girl’s life that she needs more room to store more polish. Barely a year ago, I created my very own nail polish display case using a 3D Printer (actually, the boy did all the software and hardware work, all I provided was my vision and template for repeating trays that could be easily reprinted over and over until a whole case is made). This is what it looked like last May:
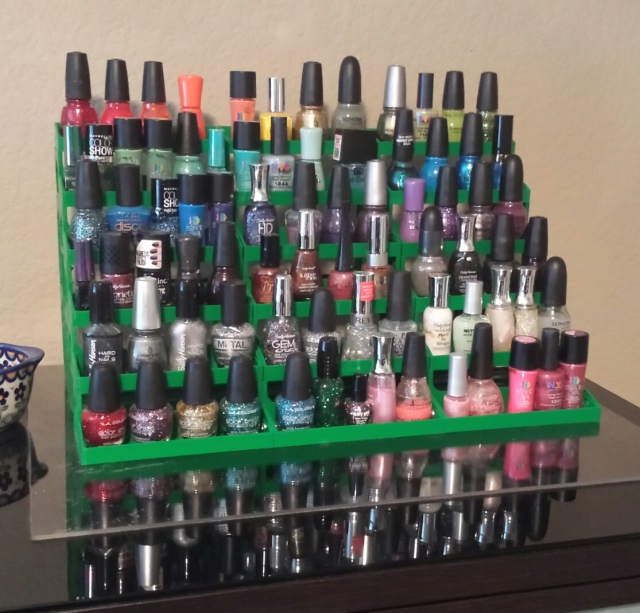
Well, I accumulated a few new polishes over the year, and wasn’t willing to get rid of any of the colors I already had. And why should I? They are still usable. And, I still have filament left over from the first print. So, why not make up some more! If you are curious, the whole design is open source and free to download for yourself. If you’d like to print your very own nail polish stand display case like this one, you can. Just go to Thingiverse and download it.
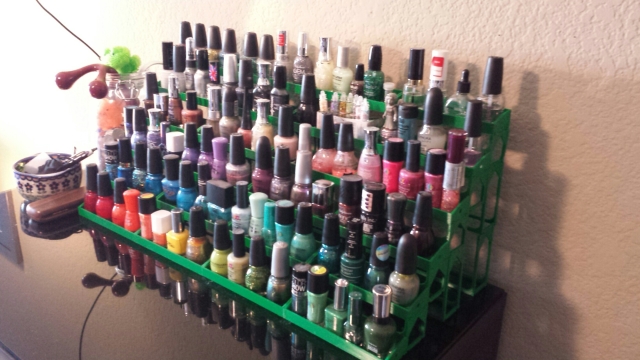
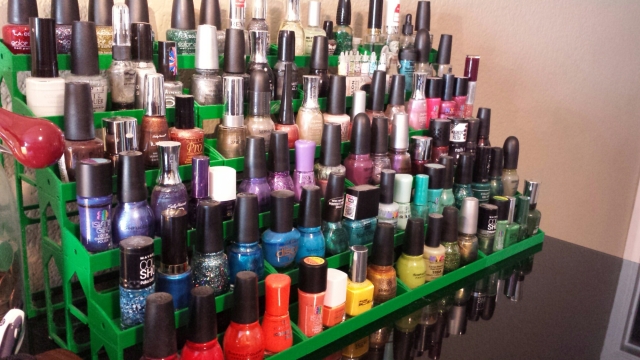
I added a whole new row to the right of the existing rack. That meant printing 5 more trays, one more top rack tray, and 3 support pieces on the back to hold the polish up. Now I have extra room! There is enough room now to spread out many of the bottles, making them easier to see and less cramped. You can see in the old stand that several of the bottles had to be turned on their sides to fit. I also have enough space to store the top coats, base coats, and cuticle oils, something I couldn’t do last year. On top of that, I have enough extra space to include my tiny bottles of confetti, powder, ball bearings, and some nail stickers. And a weeping angel. If you blink while walking by the nail polish stand, she will leap off of her perch in an attempt to turn you into stone. Or fall on the floor. I know because it happened. Don’t blink!
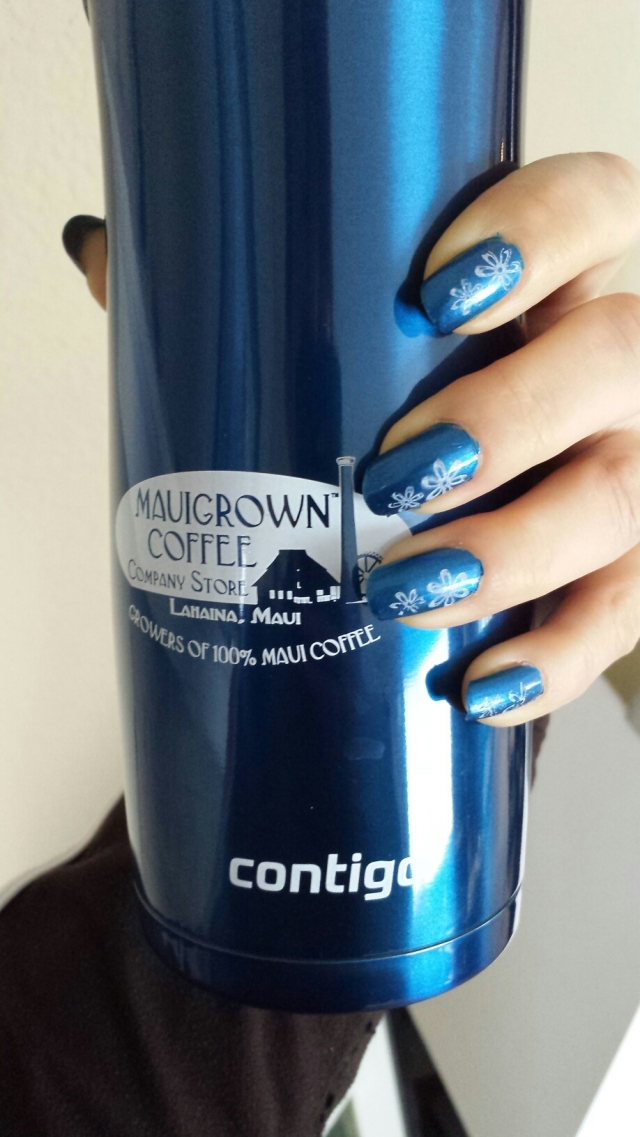
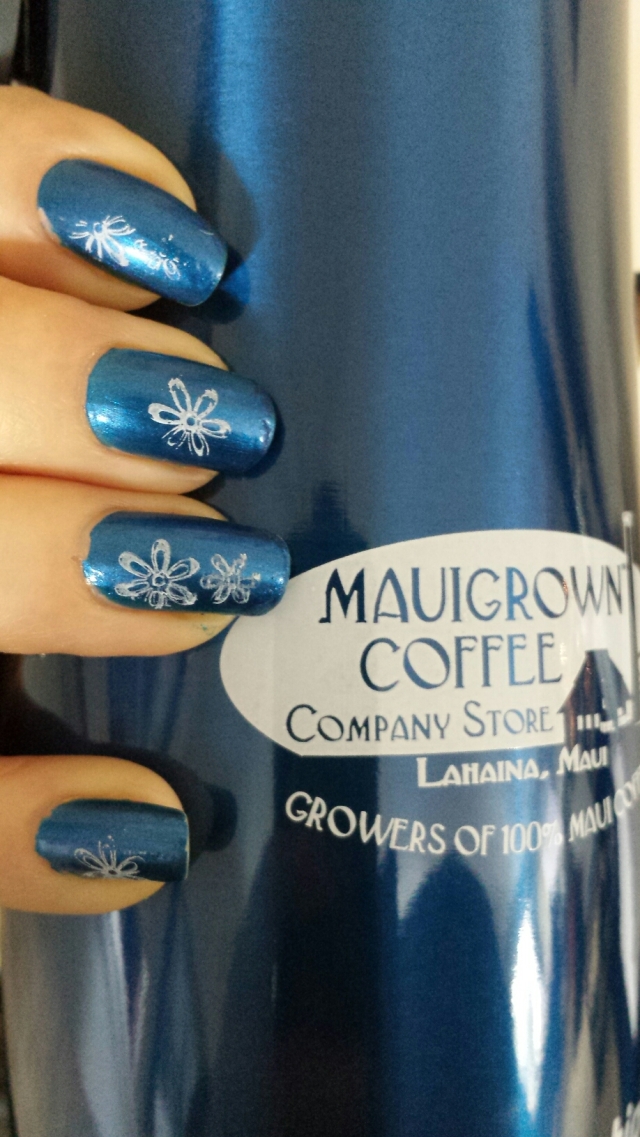
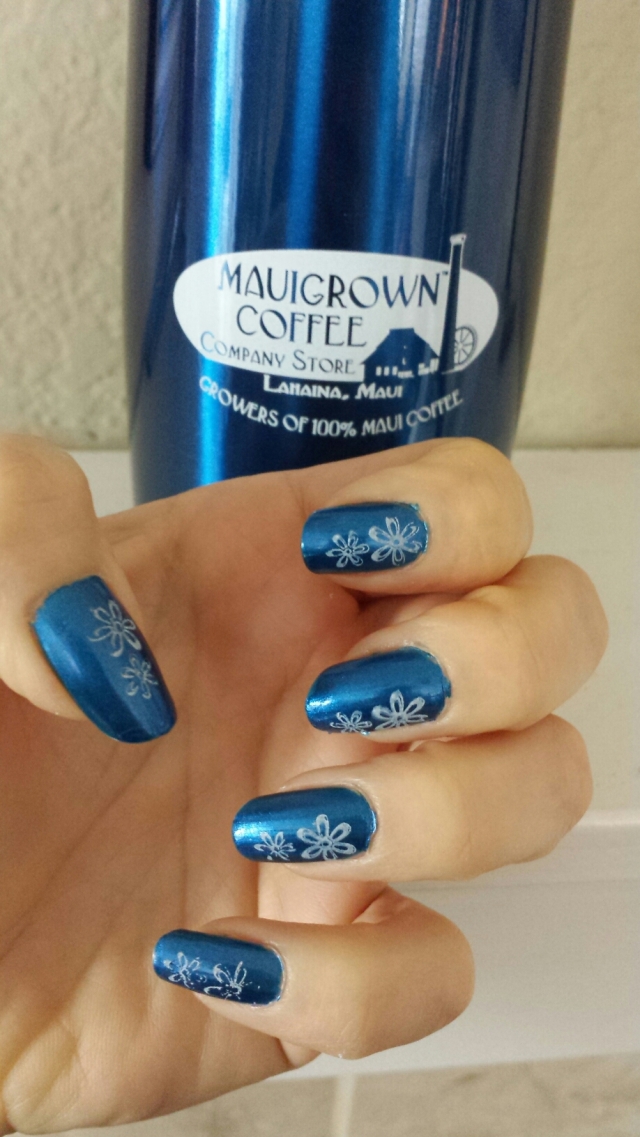
I spent the last week of March in sunny Maui. I tired to be a good tourist and patronize quality local companies. One morning we were taking a drive and decided to get mochas along the way. It was my duty to pick a stop. As we drove from Kaanapali to Lahaina, I searched the internet. How could I choose, there were so many! I don’t trust reviews, and they seem to be especially bad in a tourist town, as tourists seem to write the review more on the vacation they were having than the quality of the store. I ended up picking out Maui Grown Coffee because some reviewer said it was “an educational experience.” Well, that sounded intriguing! Boy, did I pick the right place! The coffee shop is next to some rail car artifacts and waste sugar cane farming tools. It’s easy to pick out in town because it is right next to a tall smoke stack, from the old sugar mill that came before coffee. It is easily the tallest thing in Lahaina. As we stepped in, we were greeted by a cheerful hipster type who set us on a coffee tasting. He told us all about his coffee, the different roasts and how and why each bean came to be roasted that way. Then he told us about the history of coffee in Hawaii and warned us of the coffee borer beetle that is devastating the coffee plantations in Kona right now. So far the beetle hasn’t hit Maui, but it could be disaster for the company if it does. Once we confirmed we have visited no other Hawaiian islands, he invited us to drive through the coffee plantations just north of Kaanapali. We promptly drank tons of coffee, bought beans, a mug, and toured the coffee farming lands with many an “oooooohhh” and “ahhhhhhh”. My new Maui Grown Coffee mug inspired this week’s manicure, mainly because I happened to have a metallic blue polish that perfectly matched the mug.
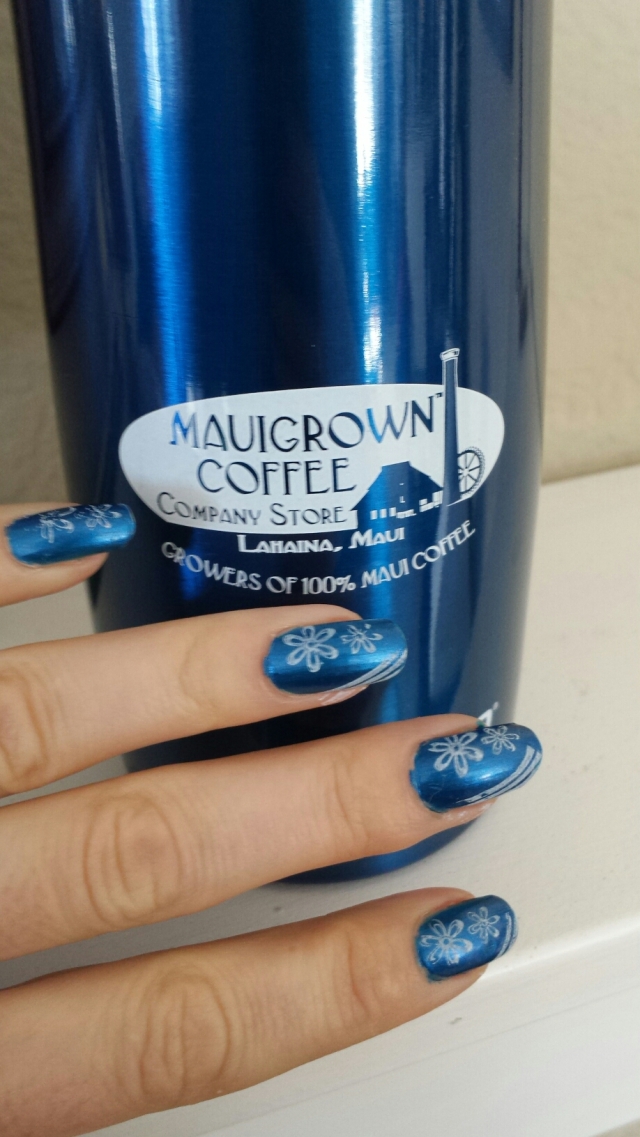
This is where I need to qualify that I am not a nail polish professional. I don’t get droves of free polish mailed to me. I don’t enter contests or lurk around cosmetology schools. I simply paint my nails once a week, then go to work only to promptly have them destroyed by the labors of my profession. I hope to look back on this post a year from now, and get all teary and nostalgic about “my early stamping days.” I’ll laugh and shake my head over what an inexperienced amateur I was then, “Look at how I could barely get the stamps to transfer, much less get them aligned and balanced in a way that aligns with my artistic vision. Ahh, I was so young, so inexperienced!”
I have one nail, yes one nail, that turned out how I wanted, shown below. It is, ironically, my middle finger. Take that, nail stamps!
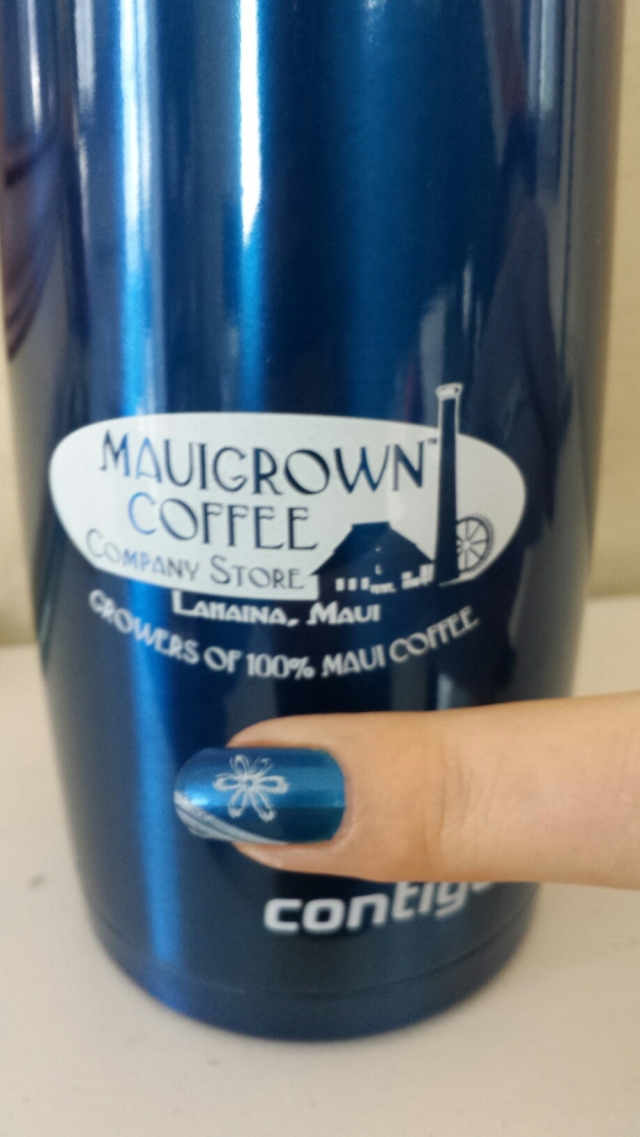
I started with Revlon Nail Enamel in 460 Mysterious. This is the metallic blu that perfectly matches the mug. I stamped using Revlon ColorStay Gel Envy in 510 Sure Thing. There are a couple things I learned about stamping that I need to remember every time I stamp. For some reason, I only seem to remember them after the 95th failed stamp attempt. Perhaps I need more coffee.
1. You must go quick. Nail polish dries quickly. You only get one shot, do not miss your chance to blow. This opportunity comes once in a lifetime. Yes, the voice of Eminem haunts me when I rush to frantically get these nails done right. You own it, you better never let it go!
2. A little bit of polish goes a long way. You do not need as much polish as when painting your nail. In fact, you only need a drip.
3. Scrape the plate with the quick and light touch. I tend to press down hard and slow with my scraper. This leaves streaks and takes to long. If I nonchalantly run the scraper across the plate like I don’t care, I get a perfect image every time. I always wanted to take on silk screening. I wonder if I would run into the same issues?
4. Use a thick, opaque polish on the plate. Don’t use glitter. I thought it might be cute. It was impossible to wipe the remainder off the plate when I was done! See below. I will be seeing glitter for years!
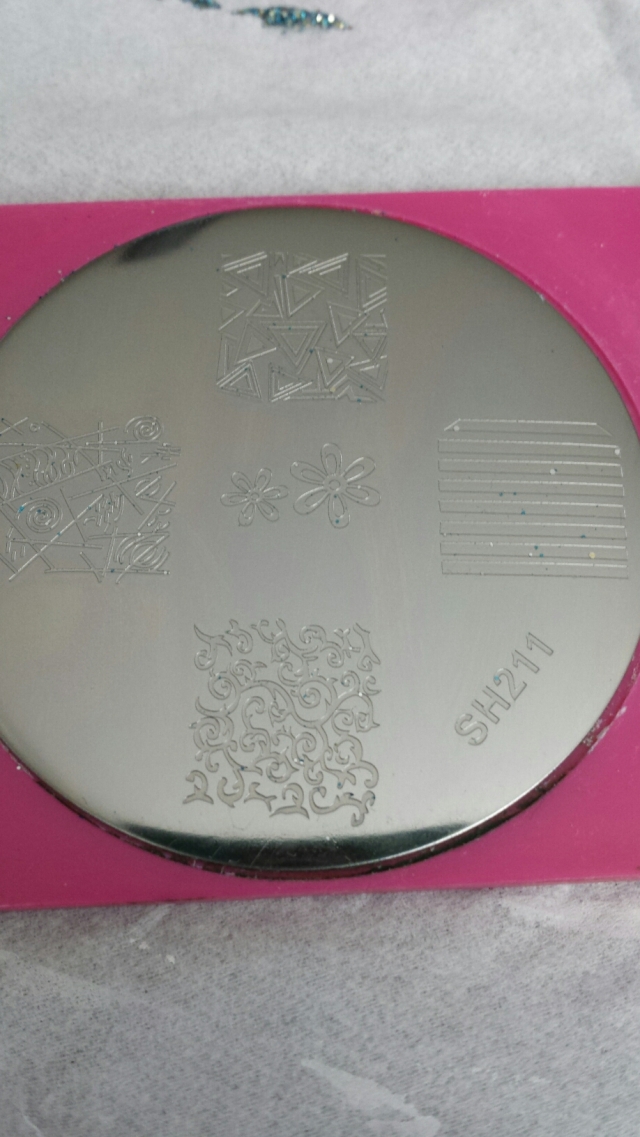
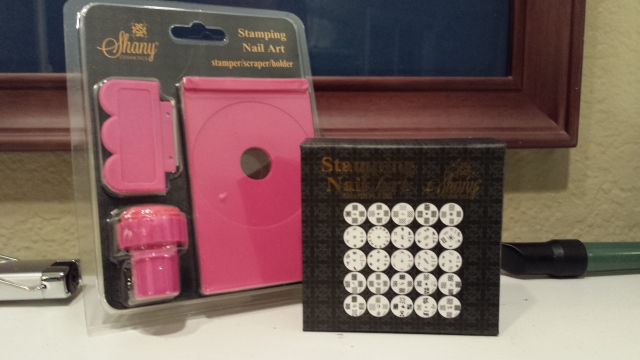
I used Shany Nail Stamping kit. I am eager to try out some different stamps. I’d like stamps themed more toward things I like, such as outer space or sci-fi images, geekery (tardis nails, anyone?), art deco, nature and wildlife themes, to name a few. First, I need to get good at the stamping, though, before I move on and invest more in this art. So for now, I will work with what I have. I have barely touched the surface of the stamps from my Shany kit. So many of them still have the stickers on them!
I know, with time, I will improve. It is fun, and sure has a great outcome! Aloha! Mahalo!
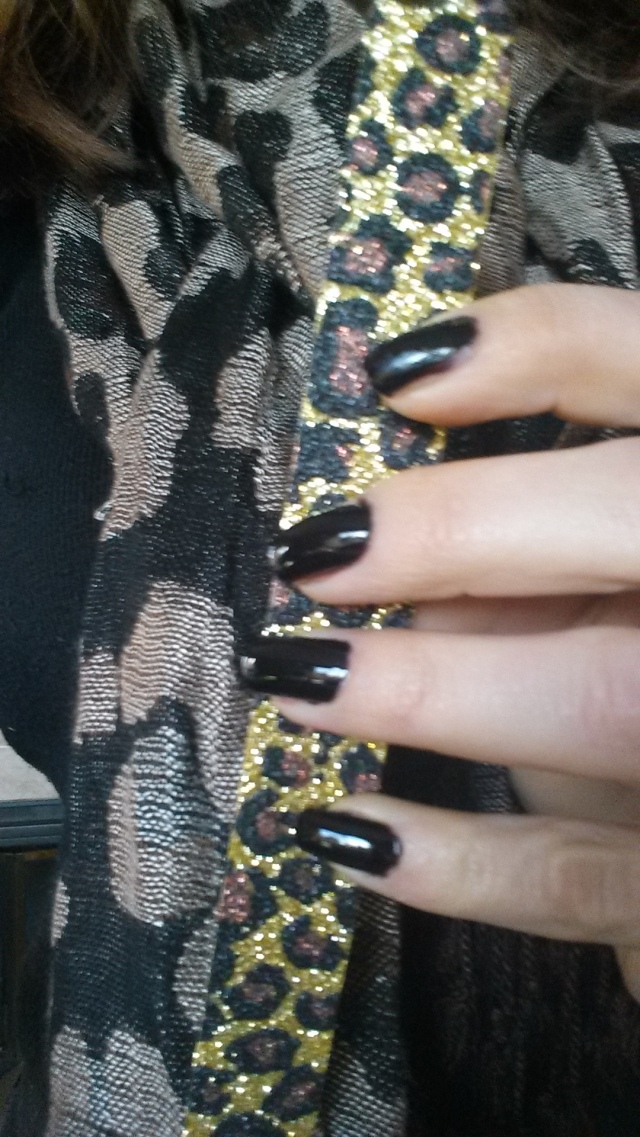
I got this awesome sparkly animal print nail file for Christmas last year. How cool is that? It’s so cool I don’t want to use it! Just kidding, I use it all the time. In fact, I have it sitting here right next to my desk so I can google its sparkles while I lounge on the couch (Yes, I use low gauge files meant for acrylic nails on my nails because they are that thick!).
Oh, and I painted my nails black. I love the black. Sadly, I tried to make the do more exciting, and failed. I tried some designs (more on this later) and they didn’t turn out. Then I tried matte french tips- I love this look! And….they didn’t turn out either! I think it’s because I layered the matte top coat over my super shiny top coat. Oh well. Black is still awesome. 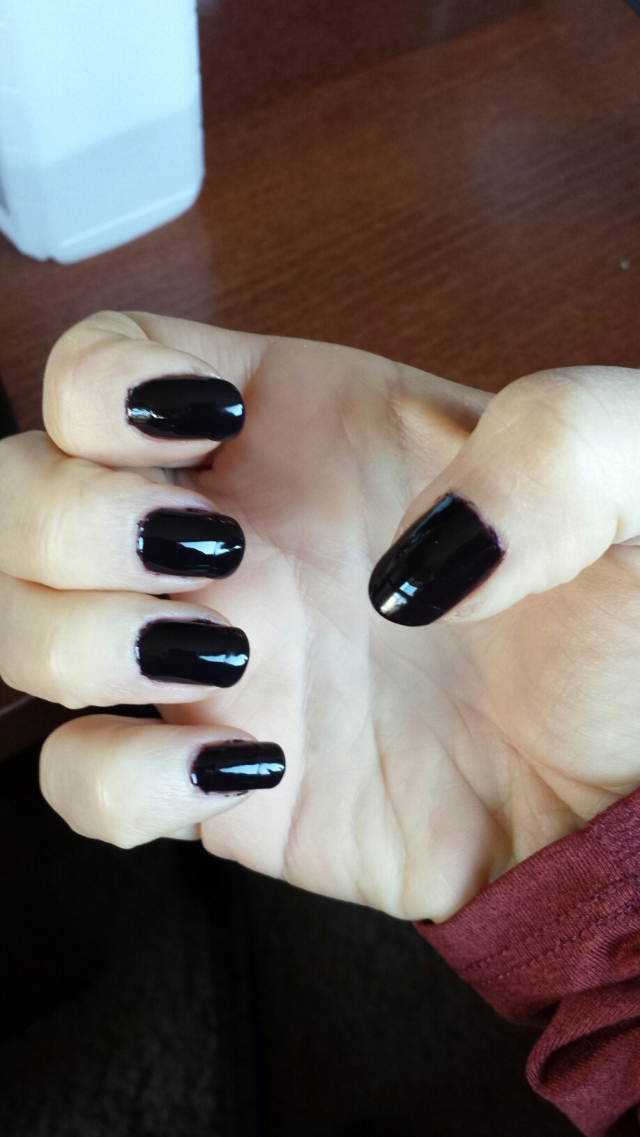
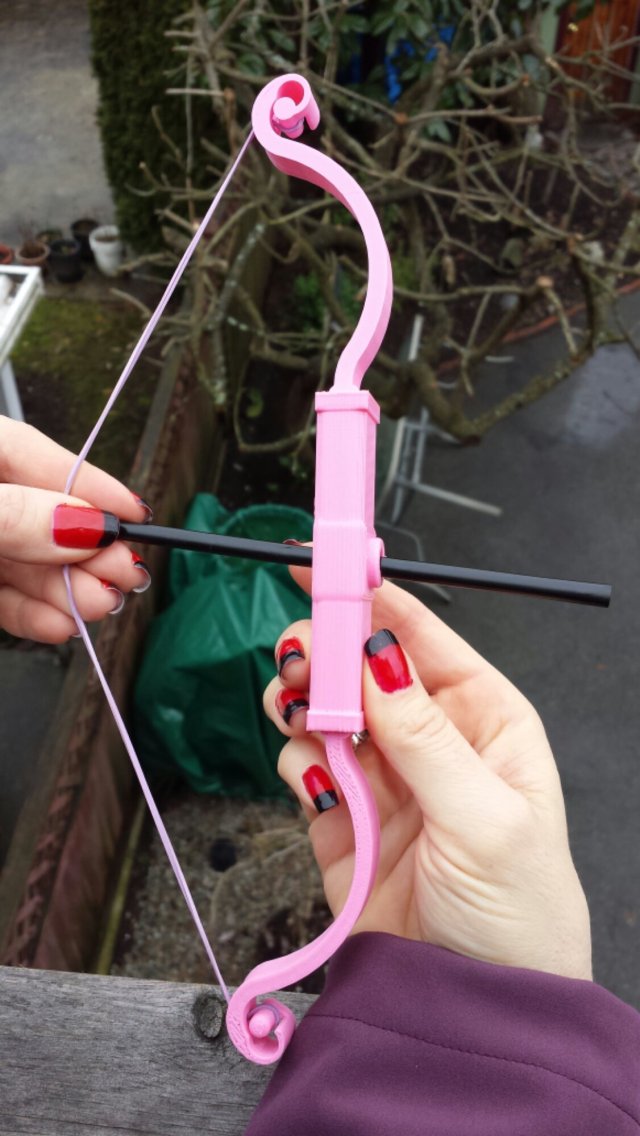
For Valentine’s Day we 3-D printed a cupid’s bow that shot straw arrows- quite well! Here I am showcasing my black and red nails I made up to highlight my black and red outfit for the Valentine’s Ball that evening.
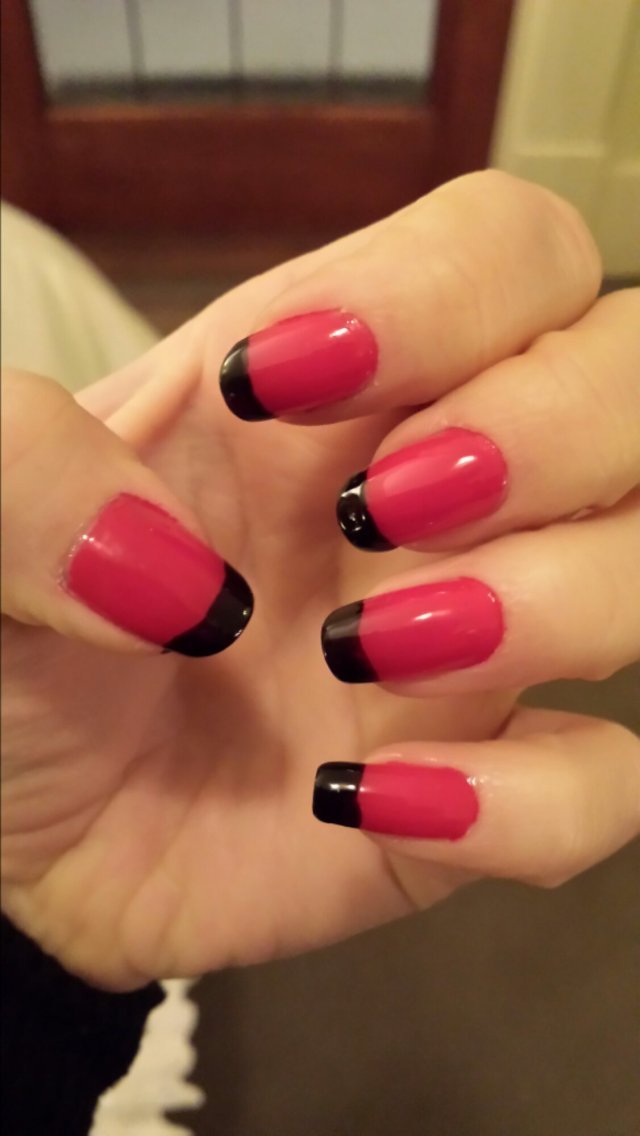
I think they turned out well!
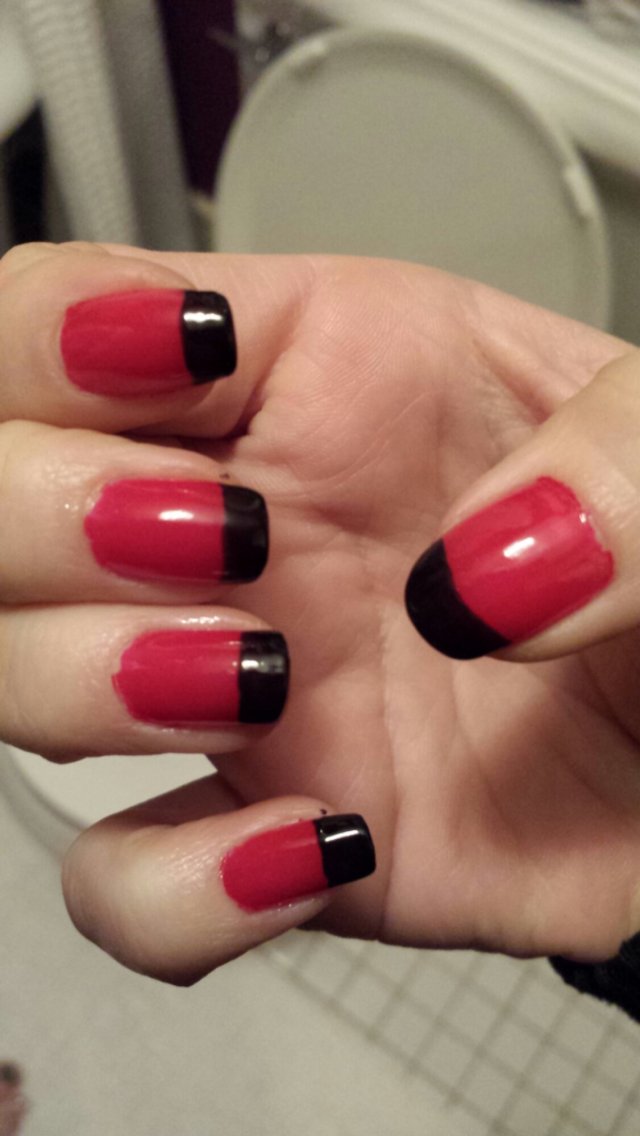
I finished these nails right before leaving on a weekend and I forgot to photograph them. So, yes, I took this photo in the bathroom of the b&b we stayed at. Had a lot of fun with these nails! I find Valentine’s Day the one time a year to wear pink on my nails, but sometimes even that is too much. With these nails, I can properly celebrate Valentine’s without feeling too girly about the whole thing. Feels very Queen of Hearts a’la Alice in Wonderland.
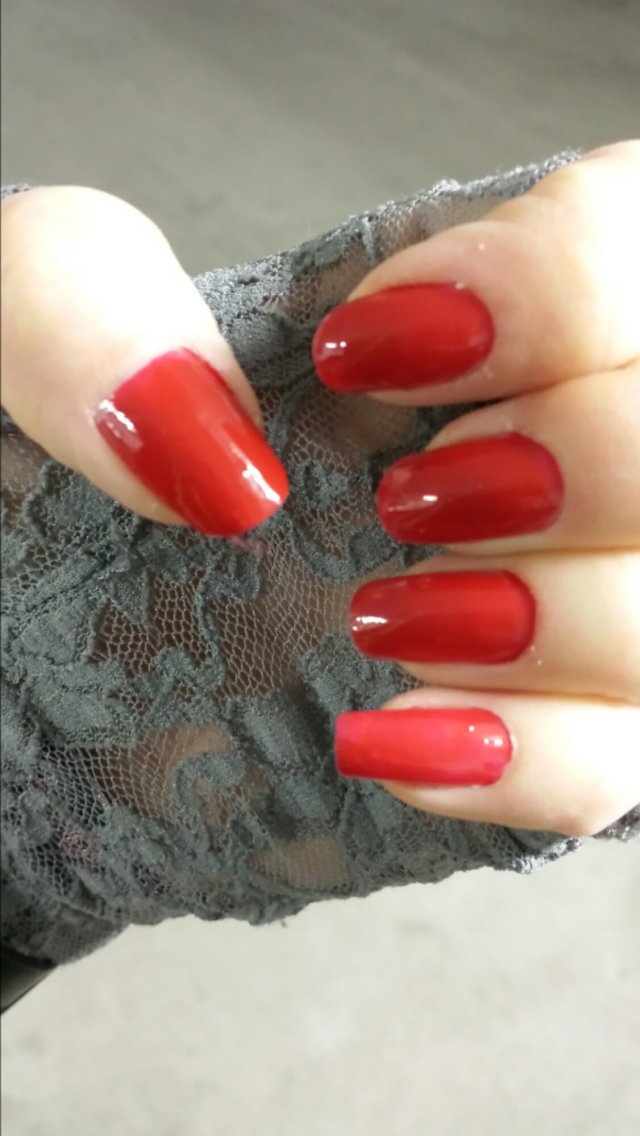
Here are the nails before I added the red tip. With fun funky lace gloves! I love it!

For Steamposium, I decided to paint my nails with a modern Victorian theme. I cut out nail-shaped pieces of lace, and pressed them onto Sinful Colors Rich In Heart. This is one of my favorite colors, one of my favorite colors; a dark gothic bronze. 

While the 2nd coat was still wet, I pressed the lace on top. It looked fantastic! Then, to seal the lace on the nail and smooth out the finish, I added a top coat. This is wear it all went wrong. The color below wicked u to the lace when wet, making the lace look like nothing more than a pile of textured dirt.You can see this look on the thumb of the below picture:  I opted to wear the nails with the lace exposed, which looked great. However, with nothing to protect the fabric, it caught on everything I touched and because torn and stringy within a day. It was so bad that the cashier at the grocery store thought that I had affixed cobwebs on my nails for Halloween!
I think the trick is to use only black lace, so that any wicking of polish doesn’t change the look of the lace. When searching other nail polish websites for lacy looks, I noted that all lace was indeed black. Now I need to get some black lace and try that out!


The boy, who happens to be my nail polish pusher, by the way. Picked up some nail striping tape for me the other day. I don’t know how he finds this stuff!

It was called So Easy Stripe ‘Em Striping Tape. It included 10 different rolls of a whole variety of colors; white, black, gold, silver, purple, red, blue, green, and so on. They all had a metallic look to them. The stripes were very hard to start, because they were so narrow, they were harder to start than scotch tape. It was very hard to find the end and then figure out if the tape was that thin, or if I created a tear in it.

So yeah, I know, I know, the edges look horrible. I am just too lazy to clean them up, and don’t really know how. The marks are undetectable in real life, but highlight them in a photo-and wow! They look terrible. I don’t know how all those more polished nail bloggers out there do it! And by those, I mean all of you!

So anyway, I started with one of my most favorite colors. This is a deep electric blue from Island Girl. This is a color changing nail polish. This blue doesn’t change a whole lot, but it does change a little. Maybe the bottle was old or something.

Above you can see it under hot and cold conditions. I ran water over the nails to create the effect on each nail. Pretty cool stuff. I love the matte finish of these nails, but knew that it would be wiped away with all the top coats I’d have to apply over the striping tape and not wanting to dull the silvery finish of the tape.

I think it turned out pretty good!
But here is the bummer- it didn’t last! I applied 2 coats of CND Super Shiney top coat, but it did no good. The striping started peeling off in less than an hour! Here are some photos after just one hour of wear:


By the next day, whole strips had fallen off. By the third day, I just peeled them all off because they looked so crappy and removed the polish a day later as lines were left where the strips were, and it just didn’t look very good.


