Tag Archive: Revlon


image

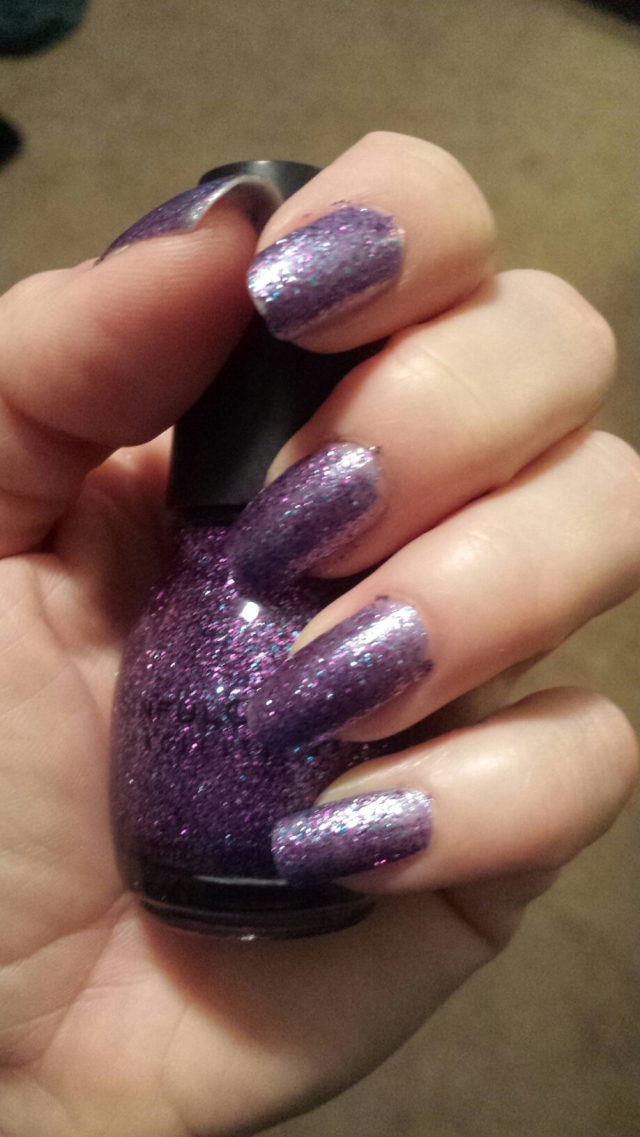
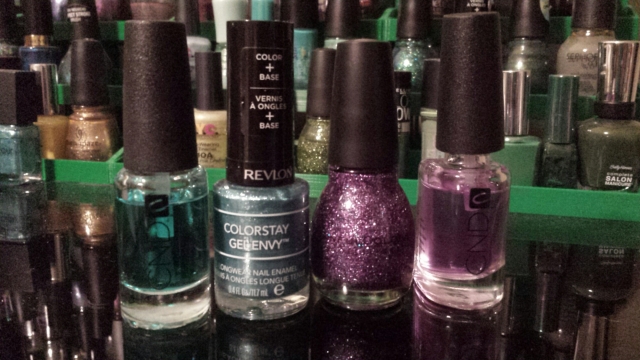
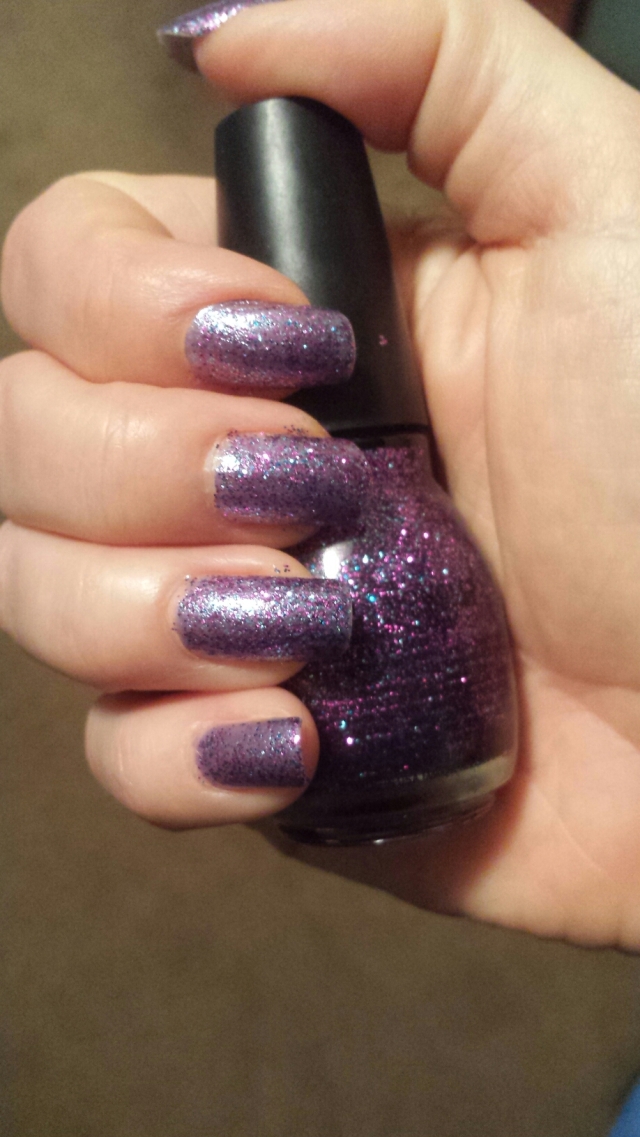
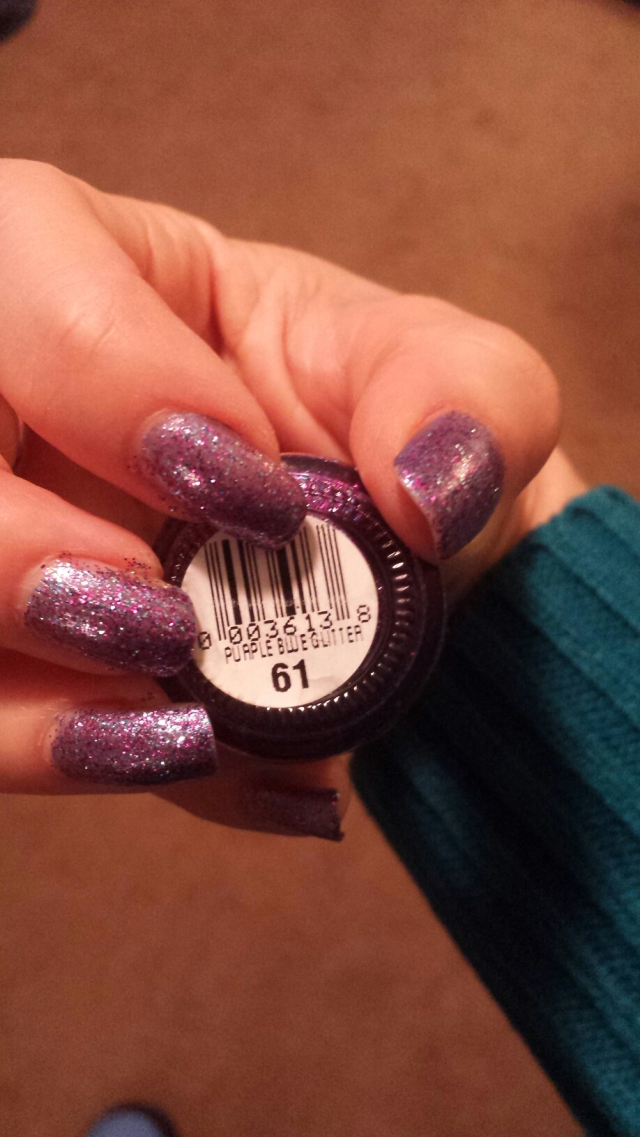
I painted my nails a Revlon Colorstay Gel Envy purpleish blue shimmer, and they looked fabulous, but I felt the needed a little more pizzaz for these grey rainy days. I pulled out this Sinful glitter, a purple and teal blend that has been one of my go-to colors for years. I haven’t worn a purple in months, so this was especially welcome.

image

That all changed when I opened the purple blue glitter bottle and discovered the tiny amount left to be the consistency of wall spakle.

image

I added a few milliliters of acetone, shook, and added a few more until I round up enough polish from the bottle’s edges and softened it up enough to spread. The glitter lost some if the reflectivity that I remembered, assumably from the acetone. I scraped and scraped to pull enough polish from the bottle’s edges to spread on my nails. It’s a wonderful glitter, and I think now its time to say good bye.

image

Frozen Nails

wpid-20151012_202347.jpg

The other day the boy surprised me with an unbirthday present- a new nail polish color! He got me a nice, high quality polish- Revlon Colorstay Gel Envy. It is pricier than most of the other brands I buy. He wouldn’t tell me how much it was, but did say it was pricey.

The shimmery blue color of it reminded me of the icy blue of winter. I am tempted to find some snowflake nail stamps and paint this color in the winter with white snowflakes over the top of it. Check this site later this winter for that! This color is so cool and icy, it should look pretty good.

wpid-20151012_202411.jpg

The funny thing about this polish is that he picked it thinking it was unlike any other color that I have. Ironically, he purchased a color for me a year ago that is nearly identical to this one! I think the boy likes icy blue colors! I really like the Hoof brand color that is almost the same as this one, so now I have to decide if I can get rid of it, or if I have enough room in my collection for two bottles of the same color!

wpid-20151019_122854.jpg

Pride to be an American

wpid-20150702_075832.jpg

See what I did there? See, I always get a little nervous when it’s time to do 4th of July nails. I love holiday-themed-costumes, and getting in the spirit, but I am leery of coming of as one of those Proud Americans. I am truly grateful for the many fortunes benefitted to me as an American citizen, but, like so many, I share in the shame as well. I won’t dwell here, this is, after all, a nail blog, not some political thing. But, it’s important to recognize the tentativeness I feel every time I don myself in red, white, and blue.

wpid-20150701_224454.jpg

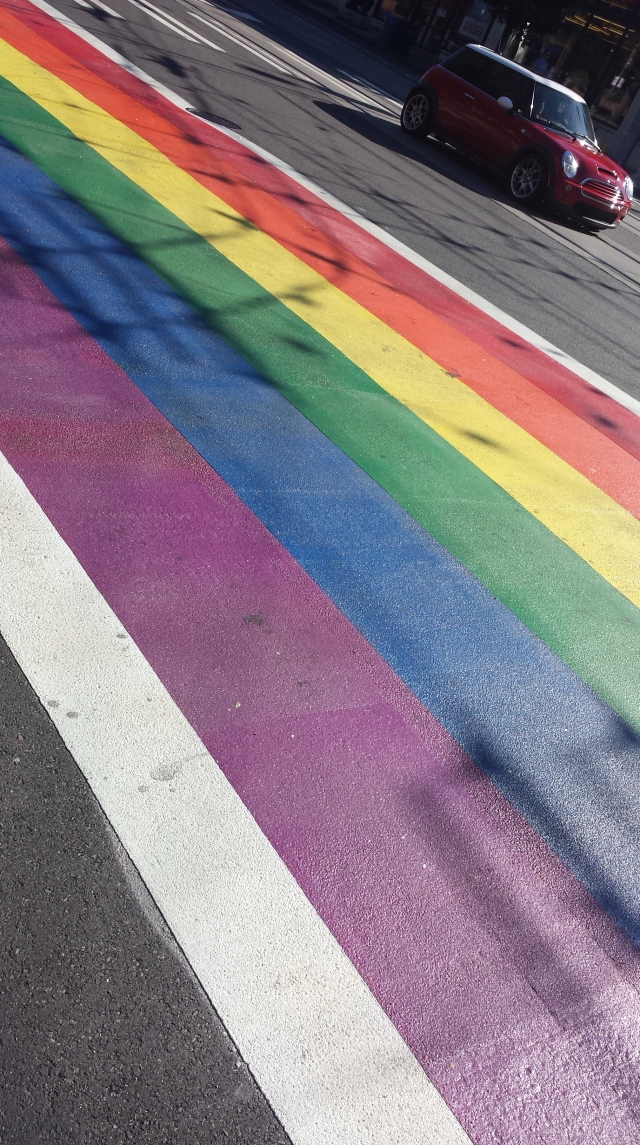
But then, the country announced that all states would recognize gay marriage. All during Pride week. So, I thought about painting my nails in some sort of rainbow fashion. While I have every color of the rainbow, none of them would contrast well or work with the nail stamps. And I had to use my nail stamping kit! So, red, white, and blue it is. And, boy am I PROUD of the results!

wpid-20150701_224433.jpg

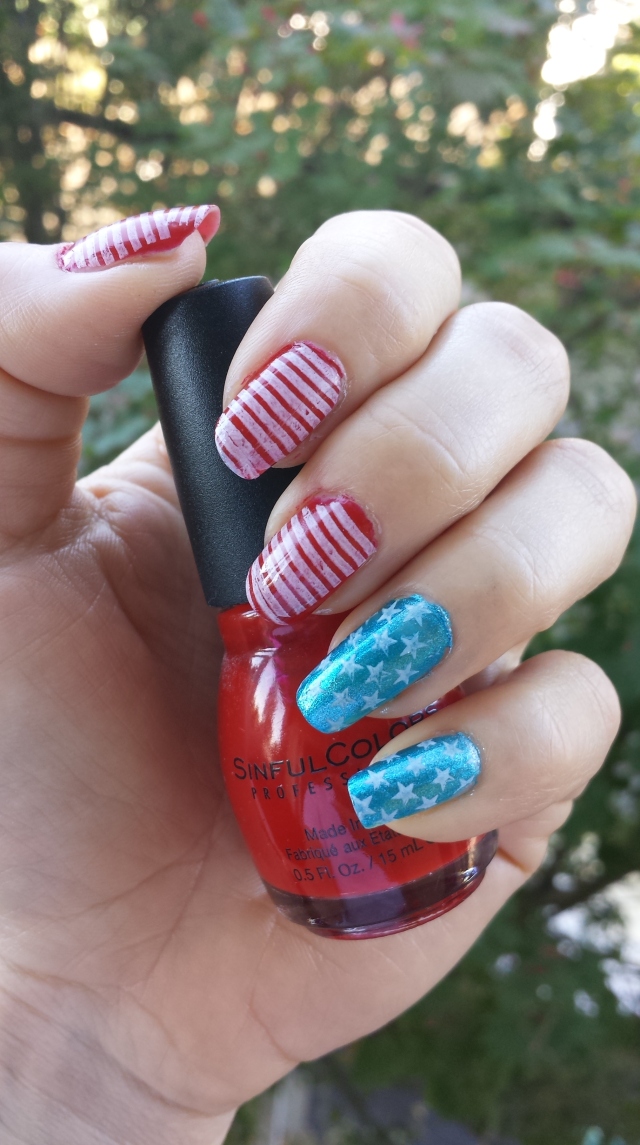
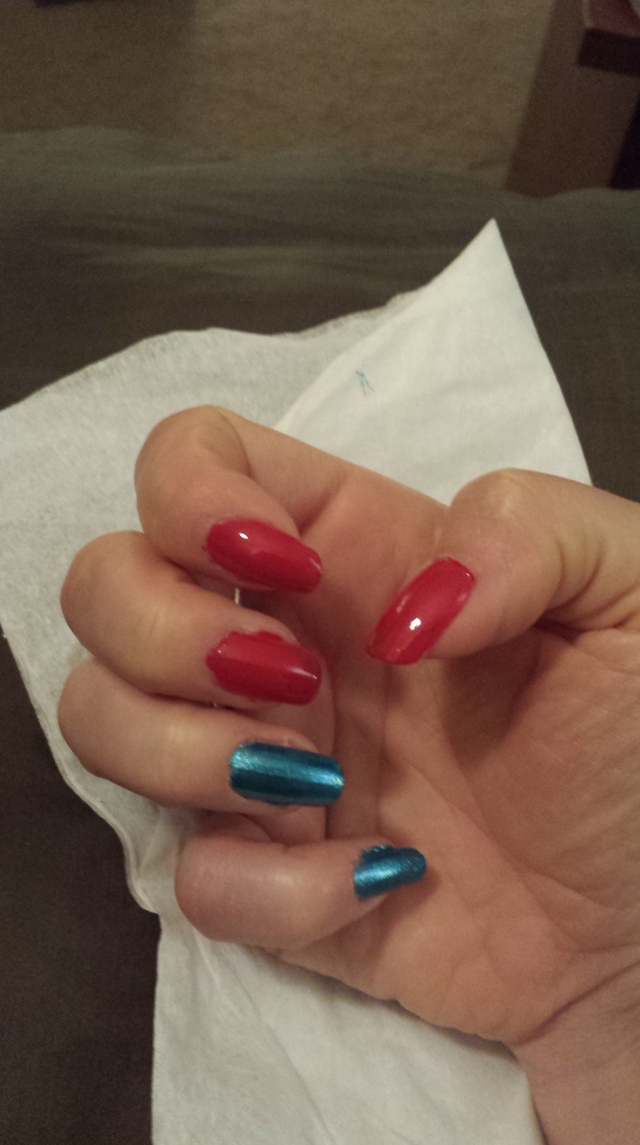
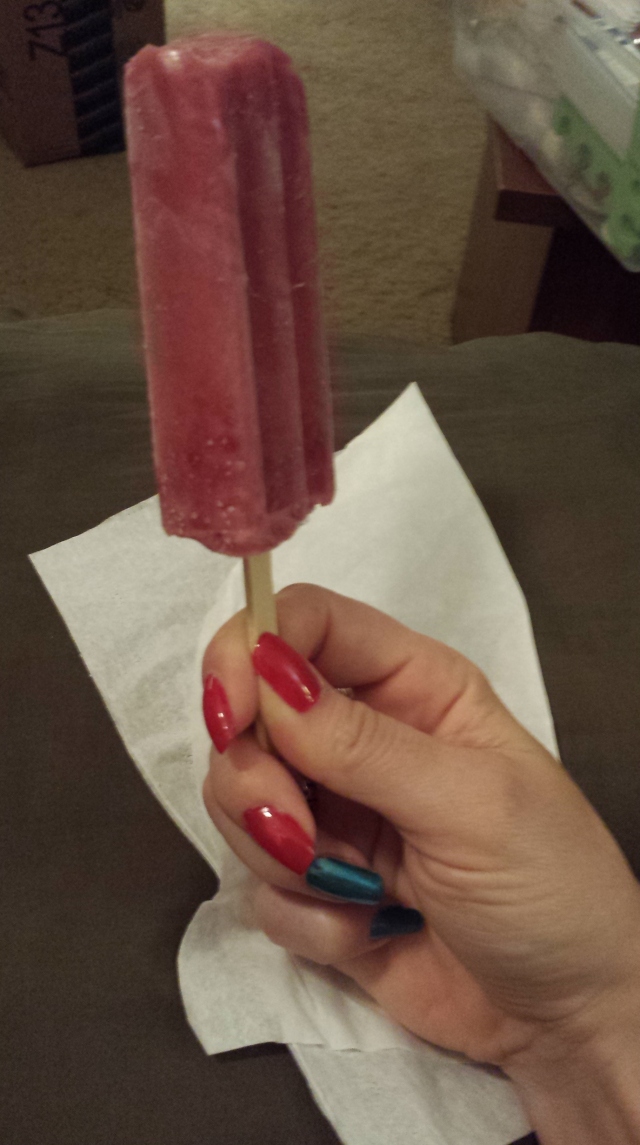
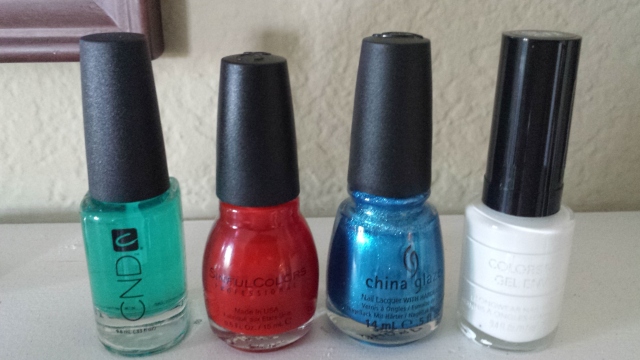
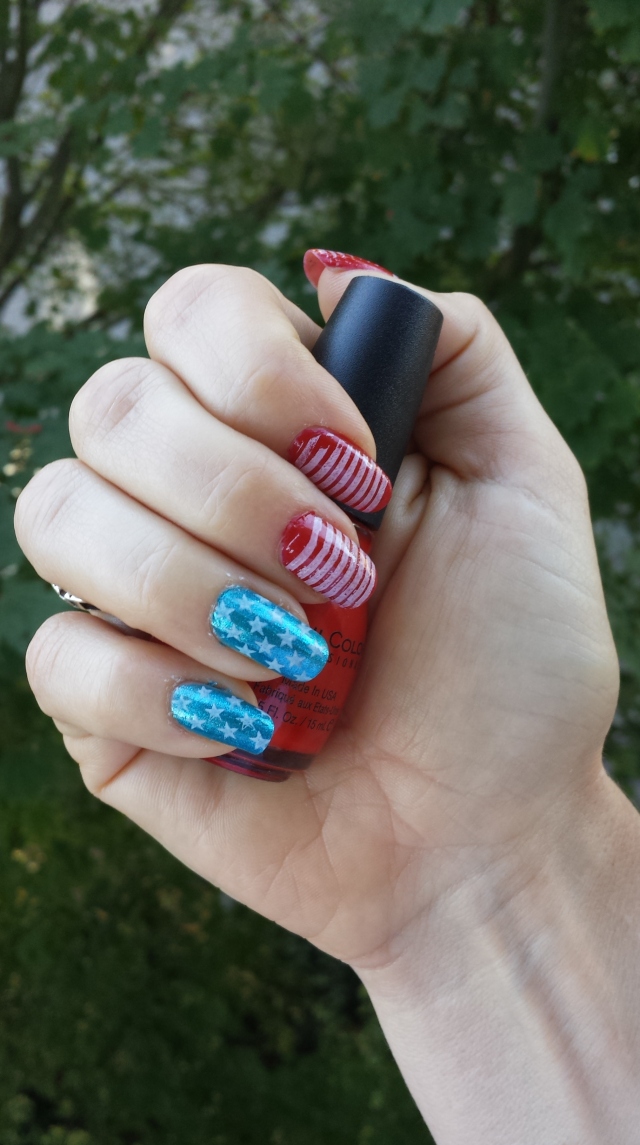
I started with CND super sticky base coat. I painted China Glaze 1258 “So Blue Without You” on my last two nails. Oh, I love this color! SO shimmery! I painted Sinful Colors’ 852 “Good Girl” on the rest of my fingers. I shocked the boy with this color. It is the most classic, shiny, red nail polish out there. It was so bright, I think it blew him over with visions of Marilyn Monroe and waitresses across America. Then I had to eat a popsicle. ‘Cause it’s hot out side!

wpid-20150702_080026.jpg

The warm weather did a great job on the nails, they dried instantly. Then I took a couple Shany nail plates. This is where it gets fun. I covered the blue nails with white stars (Revlon 510 “Sure Thing”). My nails instantly turned into Wonder Woman panties! Dooooioooooode! Best nails ever! Then I added white stripes on the red, completing the look of the American flag. This manicure is inarguably the best plating I’ve done yet. Cuz Wonder Woman! I finished with CND super shiny top coat.

wpid-20150702_085605.jpg

To make it better, I had to ride down to Capitol Hill afterward and, not only did my manicure last, I touched the rainbow. In Capitol Hill, even the crosswalks are gay! I could care less about marriage, but I think America has made a powerful step forward. And I am proud.

wpid-20150702_075850.jpg

imageIt’s a new week, it’s time to try a new animal print on the nails. This week is Zebra time! I thought about last’s week’s revelation that the thick, opaque OPI colors do a better job with the stamps than others, so I decided to stick with OPI unitl I had a few weeks of really fabuous nails. 

image

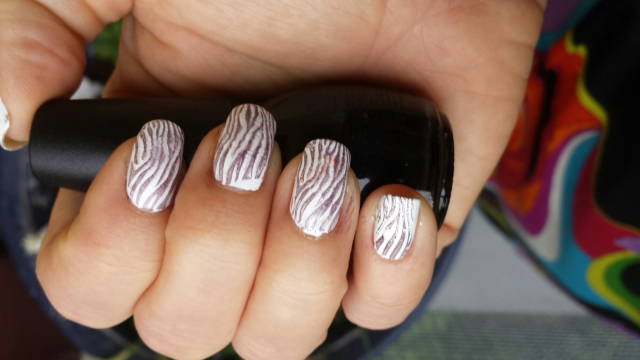
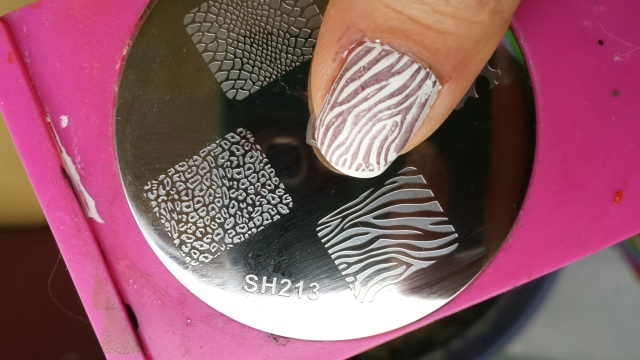
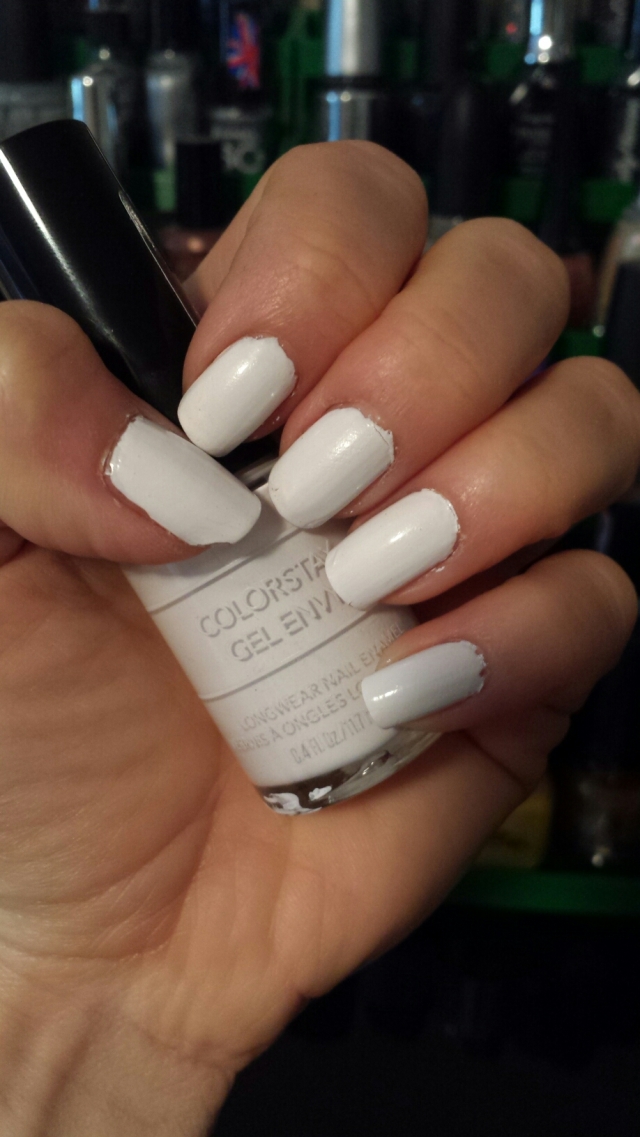
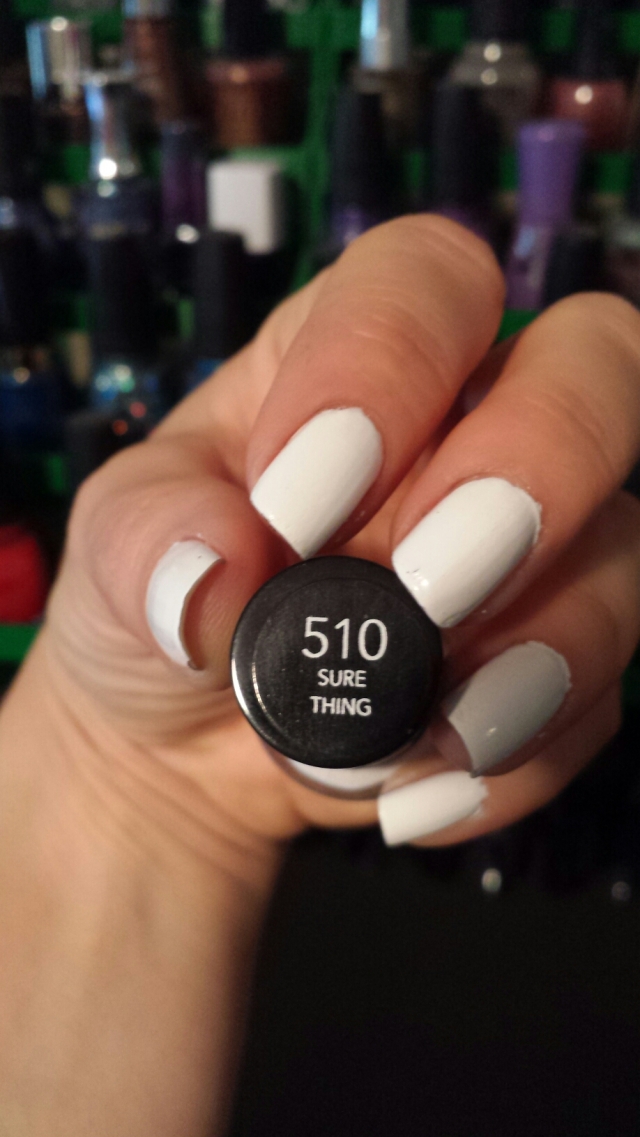
I started out with Revlon ColorStay gel Envy in 510 Sure Thing to make a white base on my nails. Then, I smeared some OPI Inkwell into the zebra stamp of Shany plate SH213. I bought Inkwell so I would have black polish, but it’s not actaully black. It’s dark enough that it always worked as a black for me, even though impure as far as blacks go. When stamped, you can see much more clearly the other dark purple hues that take away the blackness of this color. While I didn’t get a lot of smearing this time (I probably completed both hands in about 3 minutes!) the stripes were thick and didn’t fully fill, leaving som wrinkles in the stamp. Also, oddly enough, in some areas the polish looked even lighter, almost brown instead of purple (see top photo). I thought this to be an interesting “natural feature” to leave on the nail.

image

image

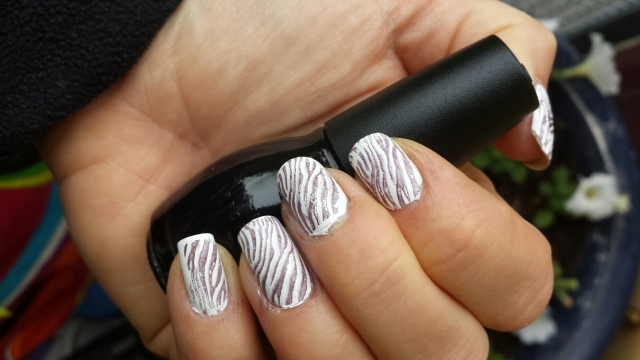
The nails turned out great! Made me wish I still had my zebra-print handlebars on my bike! How cool would that look on a bike?! I applied my topcoat long after the appropriate waiting time, but noted that it blurred the stripes a bit on contact. I decided to call this another “natural feature.” I think I’m getting better at this stamping thing, especially when I use a quality polish!

image

image
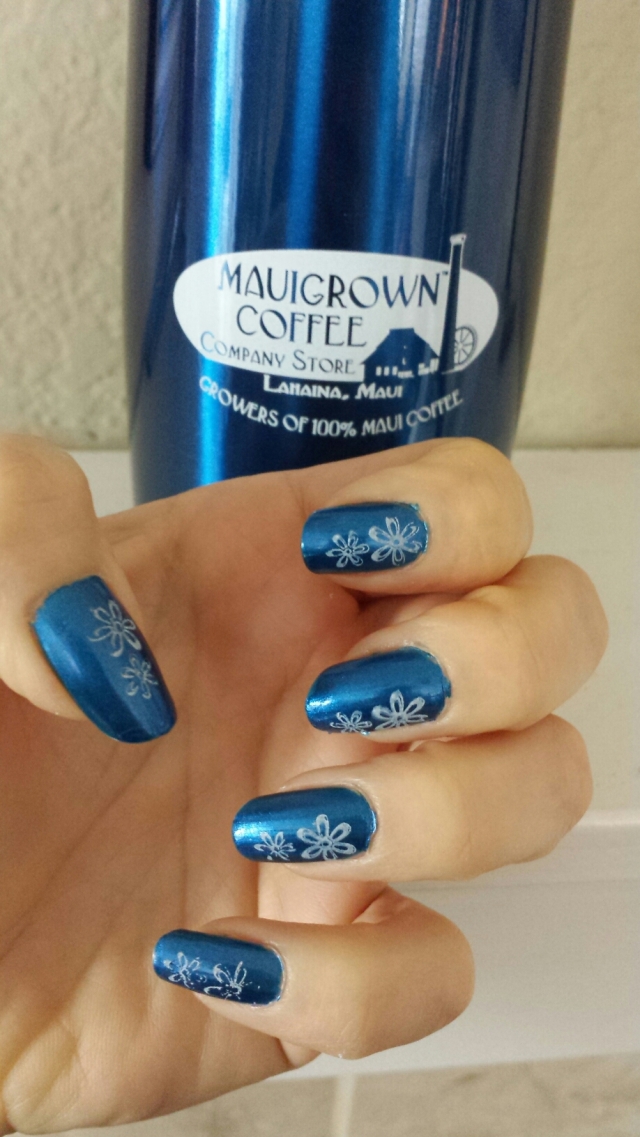
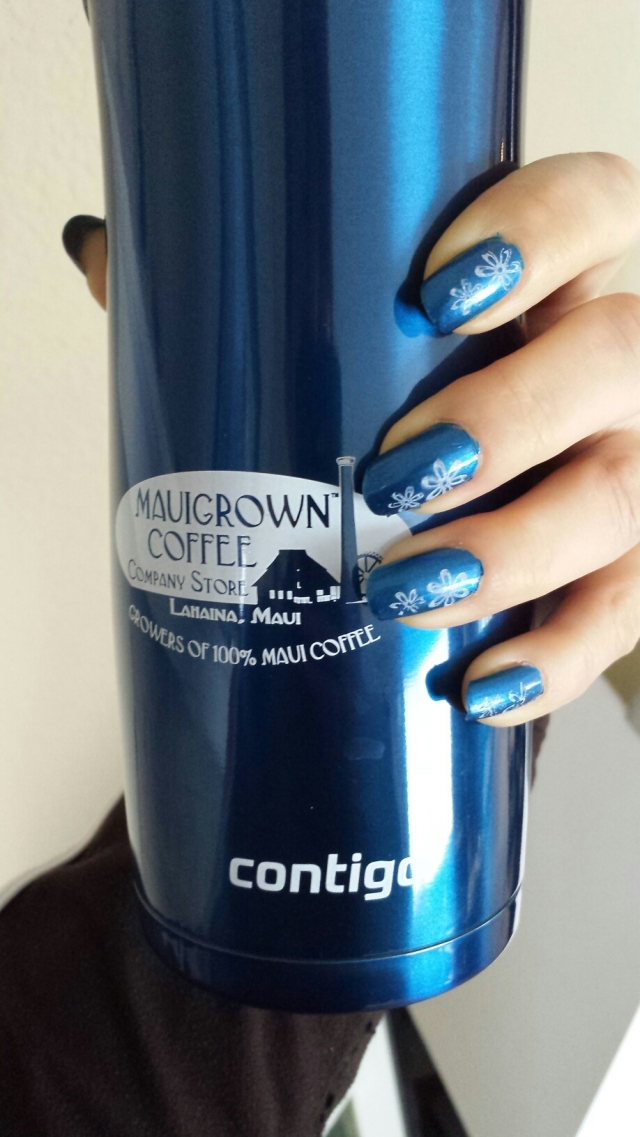
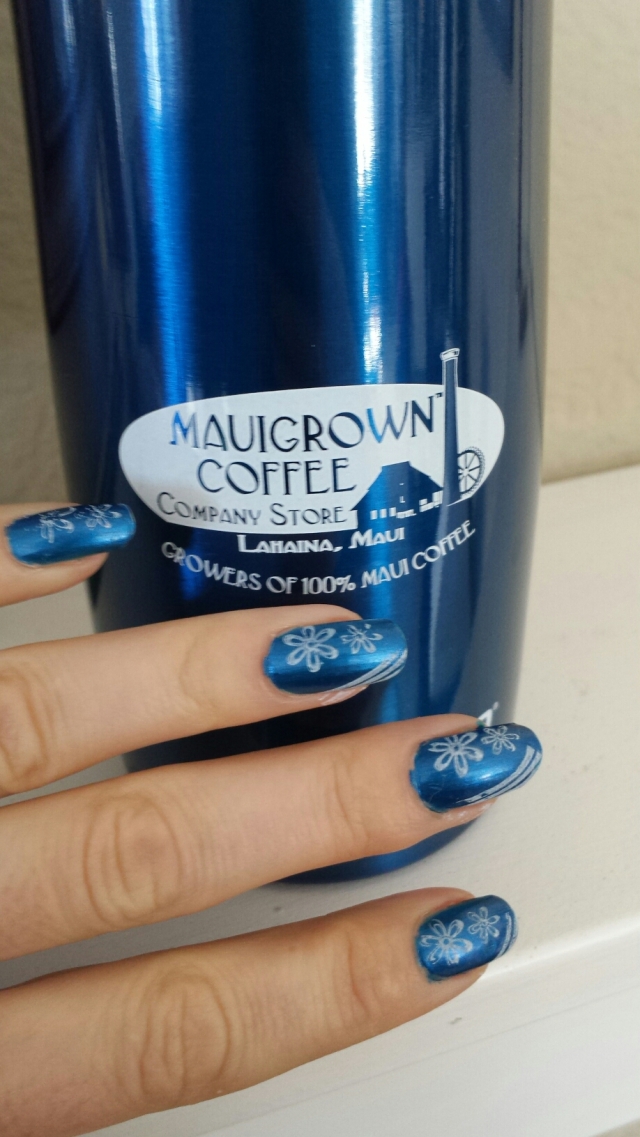
I spent the last week of March in sunny Maui. I tired to be a good tourist and patronize quality local companies. One morning we were taking a drive and decided to get mochas along the way. It was my duty to pick a stop. As we drove from Kaanapali to Lahaina, I searched the internet. How could I choose, there were so many! I don’t trust reviews, and they seem to be especially bad in a tourist town, as tourists seem to write the review more on the vacation they were having than the quality of the store. I ended up picking out Maui Grown Coffee because some reviewer said it was “an educational experience.” Well, that sounded intriguing! Boy, did I pick the right place! The coffee shop is next to some rail car artifacts and waste sugar cane farming tools. It’s easy to pick out in town because it is right next to a tall smoke stack, from the old sugar mill that came before coffee. It is easily the tallest thing in Lahaina. As we stepped in, we were greeted by a cheerful hipster type who set us on a coffee tasting. He told us all about his coffee, the different roasts and how and why each bean came to be roasted that way. Then he told us about the history of coffee in Hawaii and warned us of the coffee borer beetle that is devastating the coffee plantations in Kona right now. So far the beetle hasn’t hit Maui, but it could be disaster for the company if it does. Once we confirmed we have visited no other Hawaiian islands, he invited us to drive through the coffee plantations just north of Kaanapali. We promptly drank tons of coffee, bought beans, a mug, and toured the coffee farming lands with many an “oooooohhh” and “ahhhhhhh”. My new Maui Grown Coffee mug inspired this week’s manicure, mainly because I happened to have a metallic blue polish that perfectly matched the mug.
image
This is where I need to qualify that I am not a nail polish professional. I don’t get droves of free polish mailed to me. I don’t enter contests or lurk around cosmetology schools. I simply paint my nails once a week, then go to work only to promptly have them destroyed by the labors of my profession. I hope to look back on this post a year from now, and get all teary and nostalgic about “my early stamping days.” I’ll laugh and shake my head over what an inexperienced amateur I was then, “Look at how I could barely get the stamps to transfer, much less get them aligned and balanced in a way that aligns with my artistic vision. Ahh, I was so young, so inexperienced!”
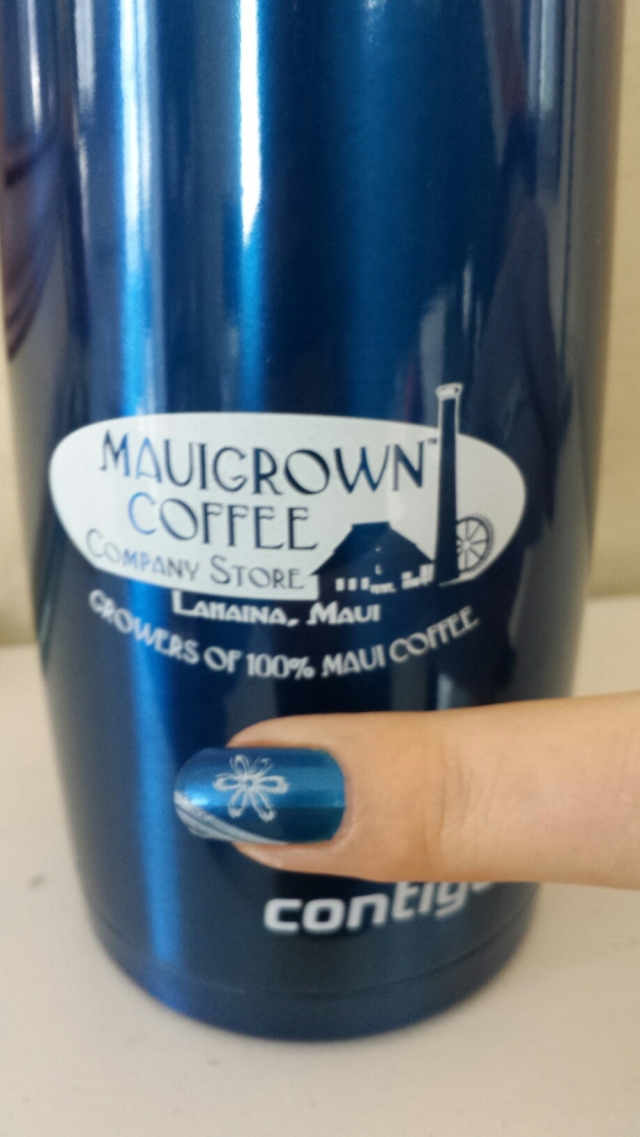
I have one nail, yes one nail, that turned out how I wanted, shown below. It is, ironically, my middle finger. Take that, nail stamps!
image
I started with Revlon Nail Enamel in 460 Mysterious. This is the metallic blu that perfectly matches the mug. I stamped using Revlon ColorStay Gel Envy in 510 Sure Thing. There are a couple things I learned about stamping that I need to remember every time I stamp. For some reason, I only seem to remember them after the 95th failed stamp attempt. Perhaps I need more coffee.
1. You must go quick. Nail polish dries quickly. You only get one shot, do not miss your chance to blow. This opportunity comes once in a lifetime. Yes, the voice of Eminem haunts me when I rush to frantically get these nails done right. You own it, you better never let it go!

2. A little bit of polish goes a long way. You do not need as much polish as when painting your nail. In fact, you only need a drip.

3. Scrape the plate with the quick and light touch. I tend to press down hard and slow with my scraper. This leaves streaks and takes to long. If I nonchalantly run the scraper across the plate like I don’t care, I get a perfect image every time. I always wanted to take on silk screening. I wonder if I would run into the same issues?

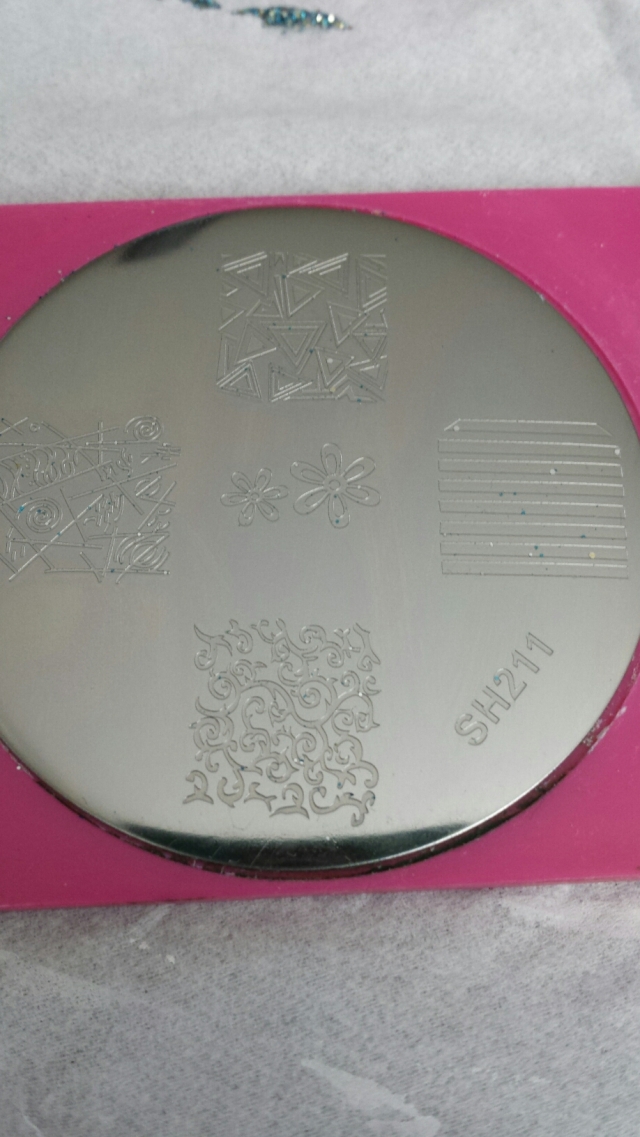
4. Use a thick, opaque polish on the plate. Don’t use glitter. I thought it might be cute. It was impossible to wipe the remainder off the plate when I was done! See below. I will be seeing glitter for years!
image
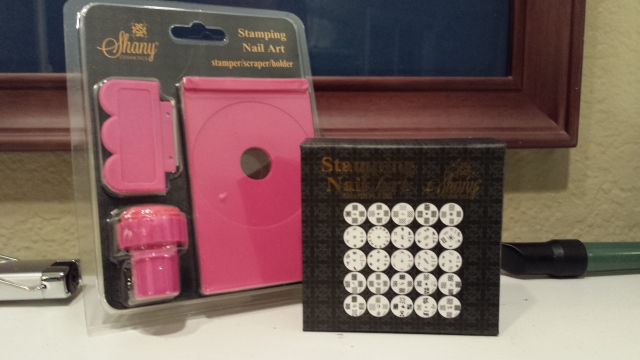
I used Shany Nail Stamping kit. I am eager to try out some different stamps. I’d like stamps themed more toward things I like, such as outer space or sci-fi images, geekery (tardis nails, anyone?), art deco, nature and wildlife themes, to name a few. First, I need to get good at the stamping, though, before I move on and invest more in this art. So for now, I will work with what I have. I have barely touched the surface of the stamps from my Shany kit. So many of them still have the stickers on them!
wpid-20150227_221549.jpg
I know, with time, I will improve. It is fun, and sure has a great outcome! Aloha! Mahalo!
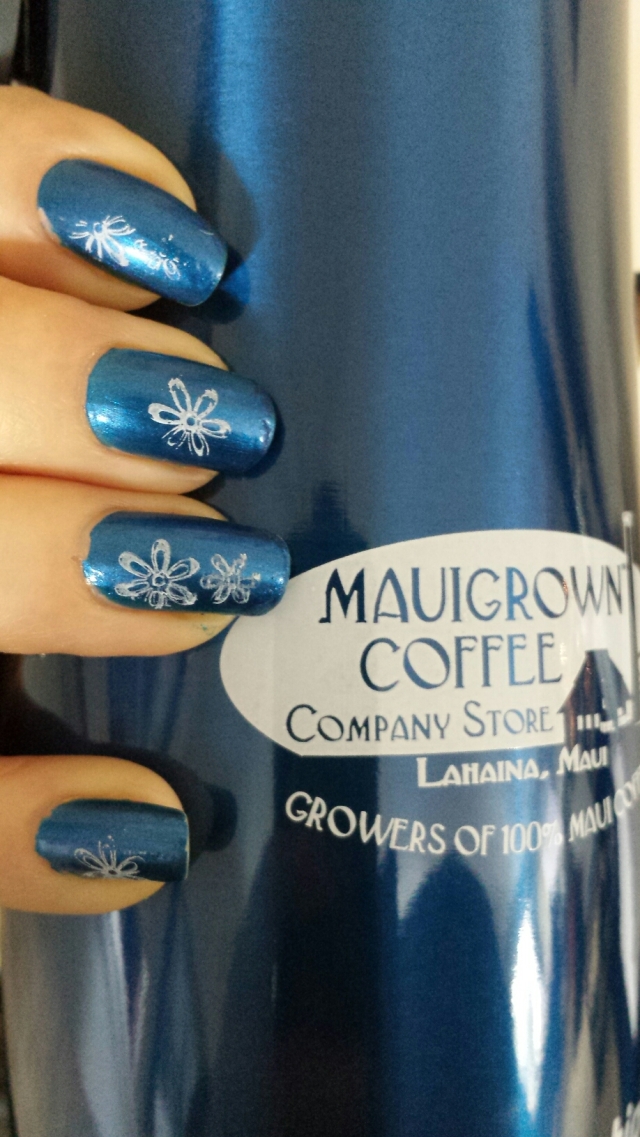
image image

image
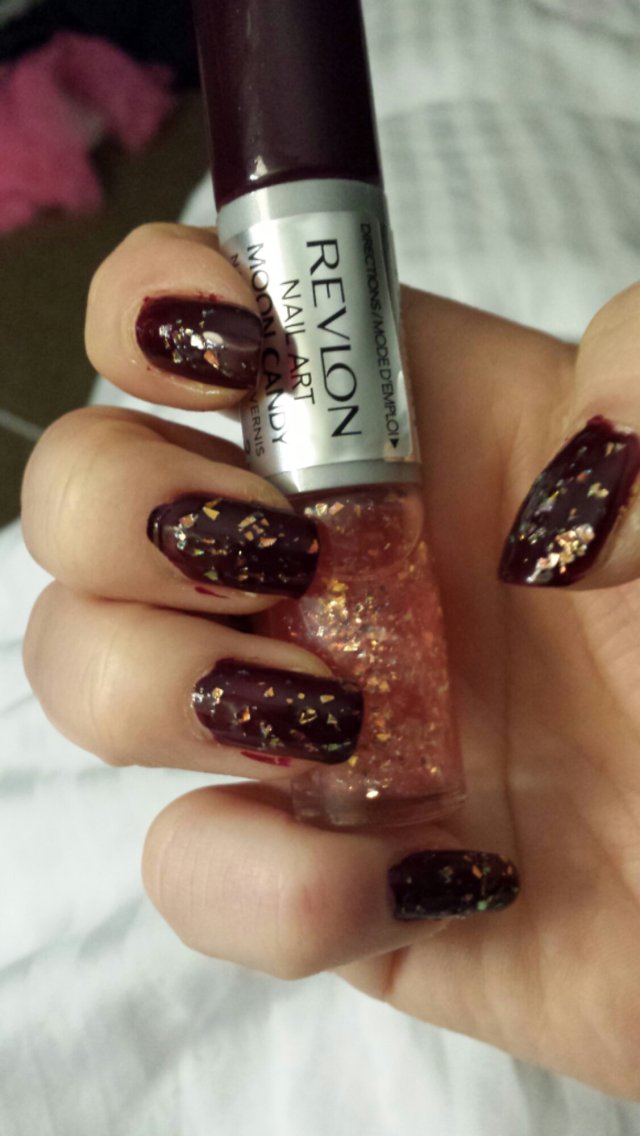
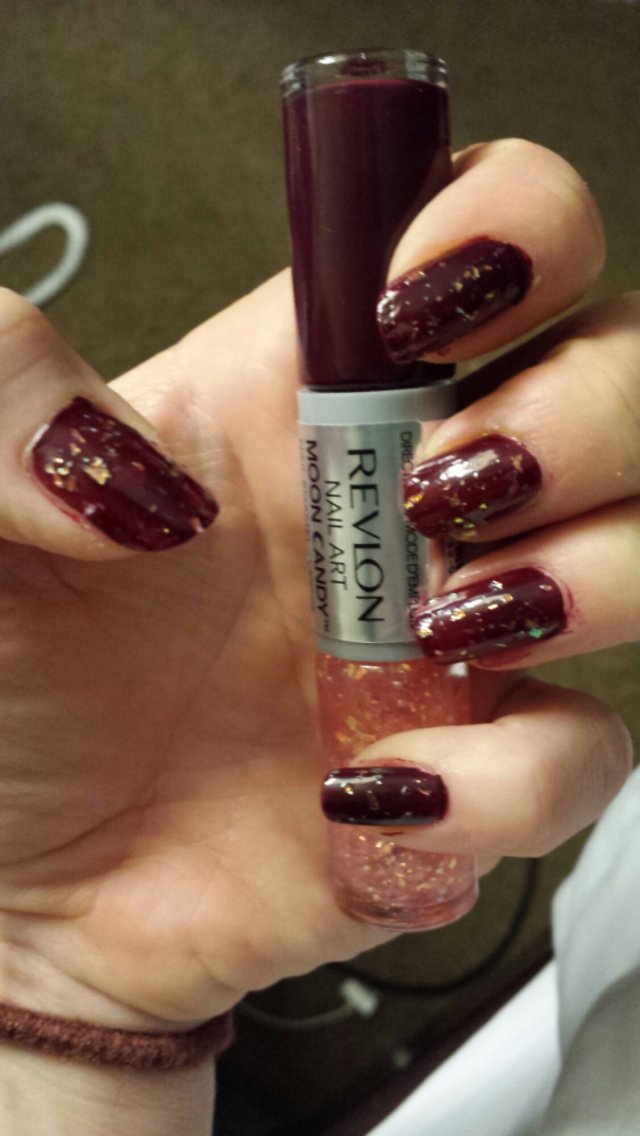
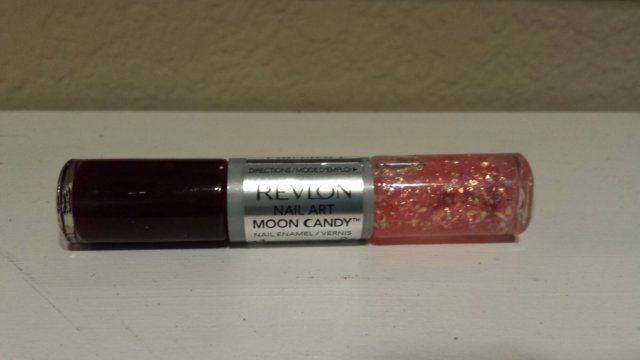
I got this Revlon Nail Art as a gift and have been super excited to try it out! I was curious how the two colors would interact with each other. It was a little disappointing, however. It turned out to be nothing more than a standard polish color and a thick glittery overcoat! I was expecting explosions! Lol, I don’t know what I was expecting….
image
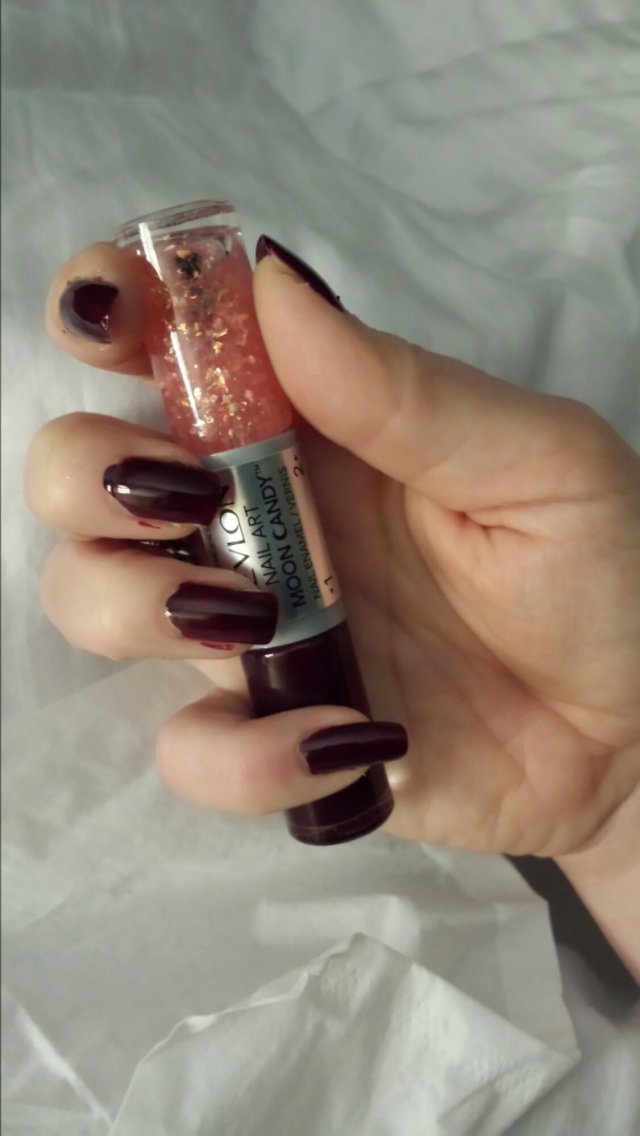
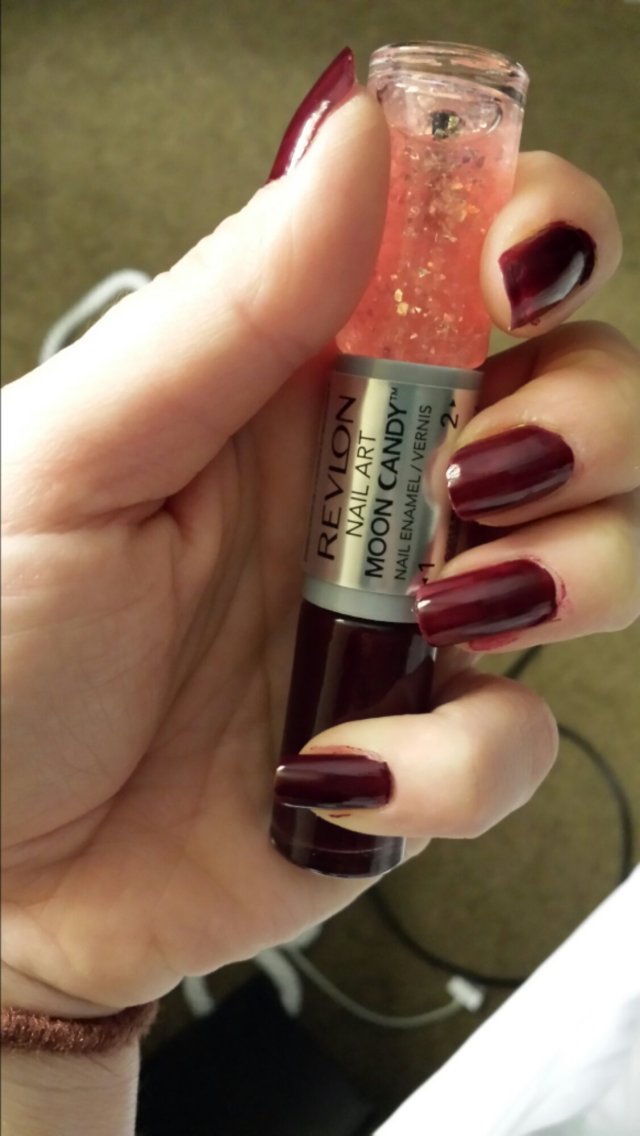
The effect of the bottle style was profound, however. Because of the two-sided bottle, what is usually is light lid and brush is now much heavier and the bottle of color is much more narrow. This made the handle lopsided and awkward because of the weight and off sided balance. This meant LOTS of polish got outside the lines, er, outside of my nails! I felt like an 8-year-old painting my nails! Argh!
image
Here is the base color without the glitter chunks. I like the glitter. Makes me think of the movie Labyrinth for some reason. Something about the gold flecks seems very ’80s glam-rock. But glam-rock in a cool David Bowie way.
image

Presents! Presents!

The boy has this awesome mother who likes to give gifts (now I know where he got it from)! For Christmas this year, one of the many things she lavished me with is a new arsenal of nail polishes! Whoohoo!
image
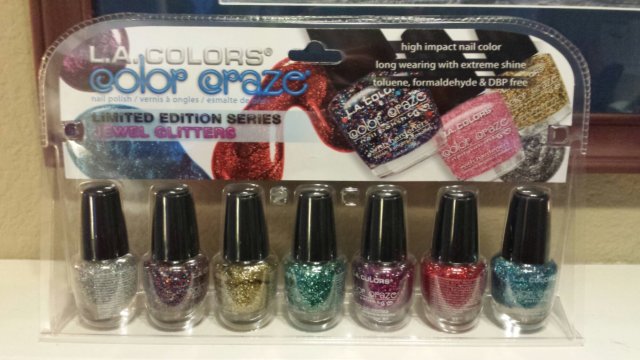
Above is a holiday gift pack of of 7 different jewel glitter colors from L.A. Colors Color Craze. I am excited to try all of these colors, but I am most excited about the teal glitter (center) which is unlike any other nail polish color I’ve tried yet. I’m also pretty excited about the festive one second to the left that looks like a tub of glitter I used from crafting. Ok, I just realized I had something to say about all the colors. To keep from boring you, I’m going to save these comments for each time I post the outcomes.
image
The Revlon Nail Art Mood Candy is one I’ve been seeing in all the stores lately. Many times I’ve stopped and started at it, but I haven’t made the move to buy one yet (how did she know?!) The boy claims he didn’t help her with the Christmas presents at all, but sometimes I wonder 😉
image
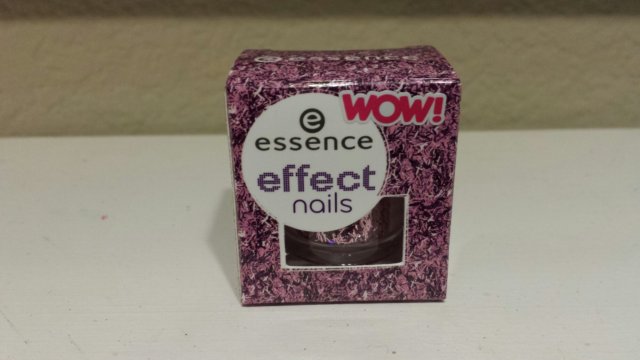
This is a glitter topping which looks perfect for springtime, around Easter when pastels really appeal to me. Stay tuned to see this one in action!
image
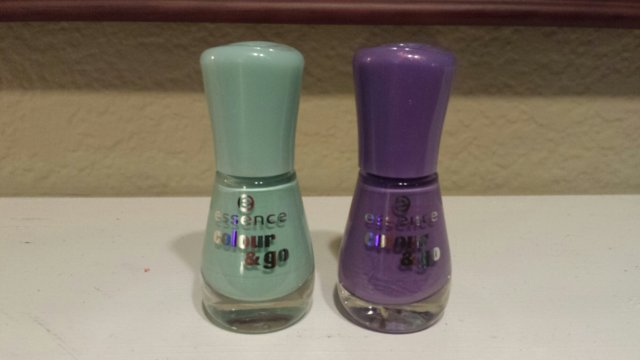
These are 2 fun colors by a tried and true brand, Color and Go. This stuff goes on the nail nice and smooth and dries quickly. I can’t wait to try them all! Check back soon for the results!

20130903_094951
I think I reviewed this polish before, but I really thought my Revlon Top Speed confetti polish in Celestial Fit 902 would look fantastic over my China Glaze Holographic polish. I mean, even the names fit- Celestial Fix and China Glaze’s Cosmic Dust. How perfect is that?
Well, I had to put on several coats of the Revlon to even get one star or mood on the nail. Eventually I started specifically loading the brush with confetti from the bottle, which I remember, is what I had to do last time. Time consuming, and I still only got a few stars on. The polish looks super cool in the bottle however.
20130903_095022

Independence Nails

image

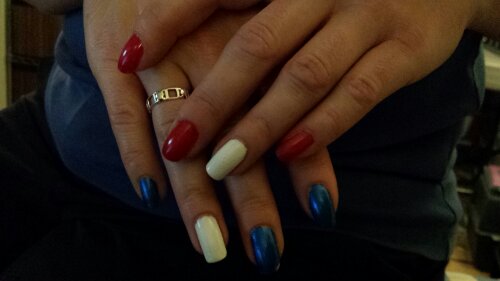
Like usual, I had to get my nails all prettied up for the 4th of July. I wanted to do something quick and simple that would still look festive.

image

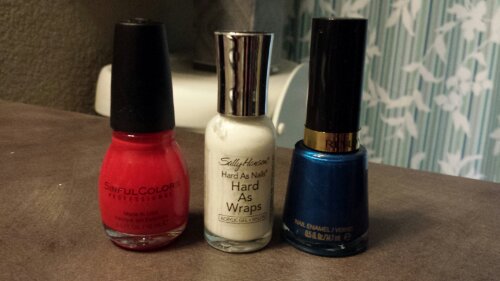
I used Sinful Colors 852, Go Go Girl for red, Sally Hansen Hard As Nails Hard As Wraps 2780-03 White Tip for white, and Revlon Nail Enamel 460 Mysterious for blue.

image

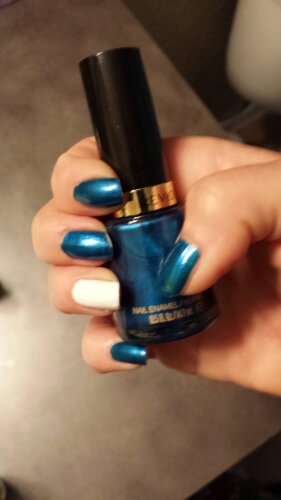
On the right hand I painted all blue nails with a white accent nail.

image

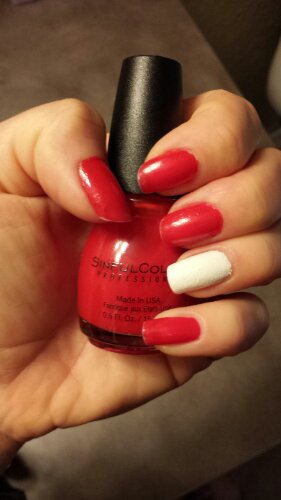
On the left I painted all red nails with another white accent nail. Definitely a quick job. I painted the nails right before I went to bed, like used to do back in the day, but even though I used Opi Drying Drops, the white still got a little imprinted from the bedding. The white is incredibly think though, so it probably took hours upon hours to dry. All whites are strangely thick and goopy, and this “Hard As Wraps” is significantly so!